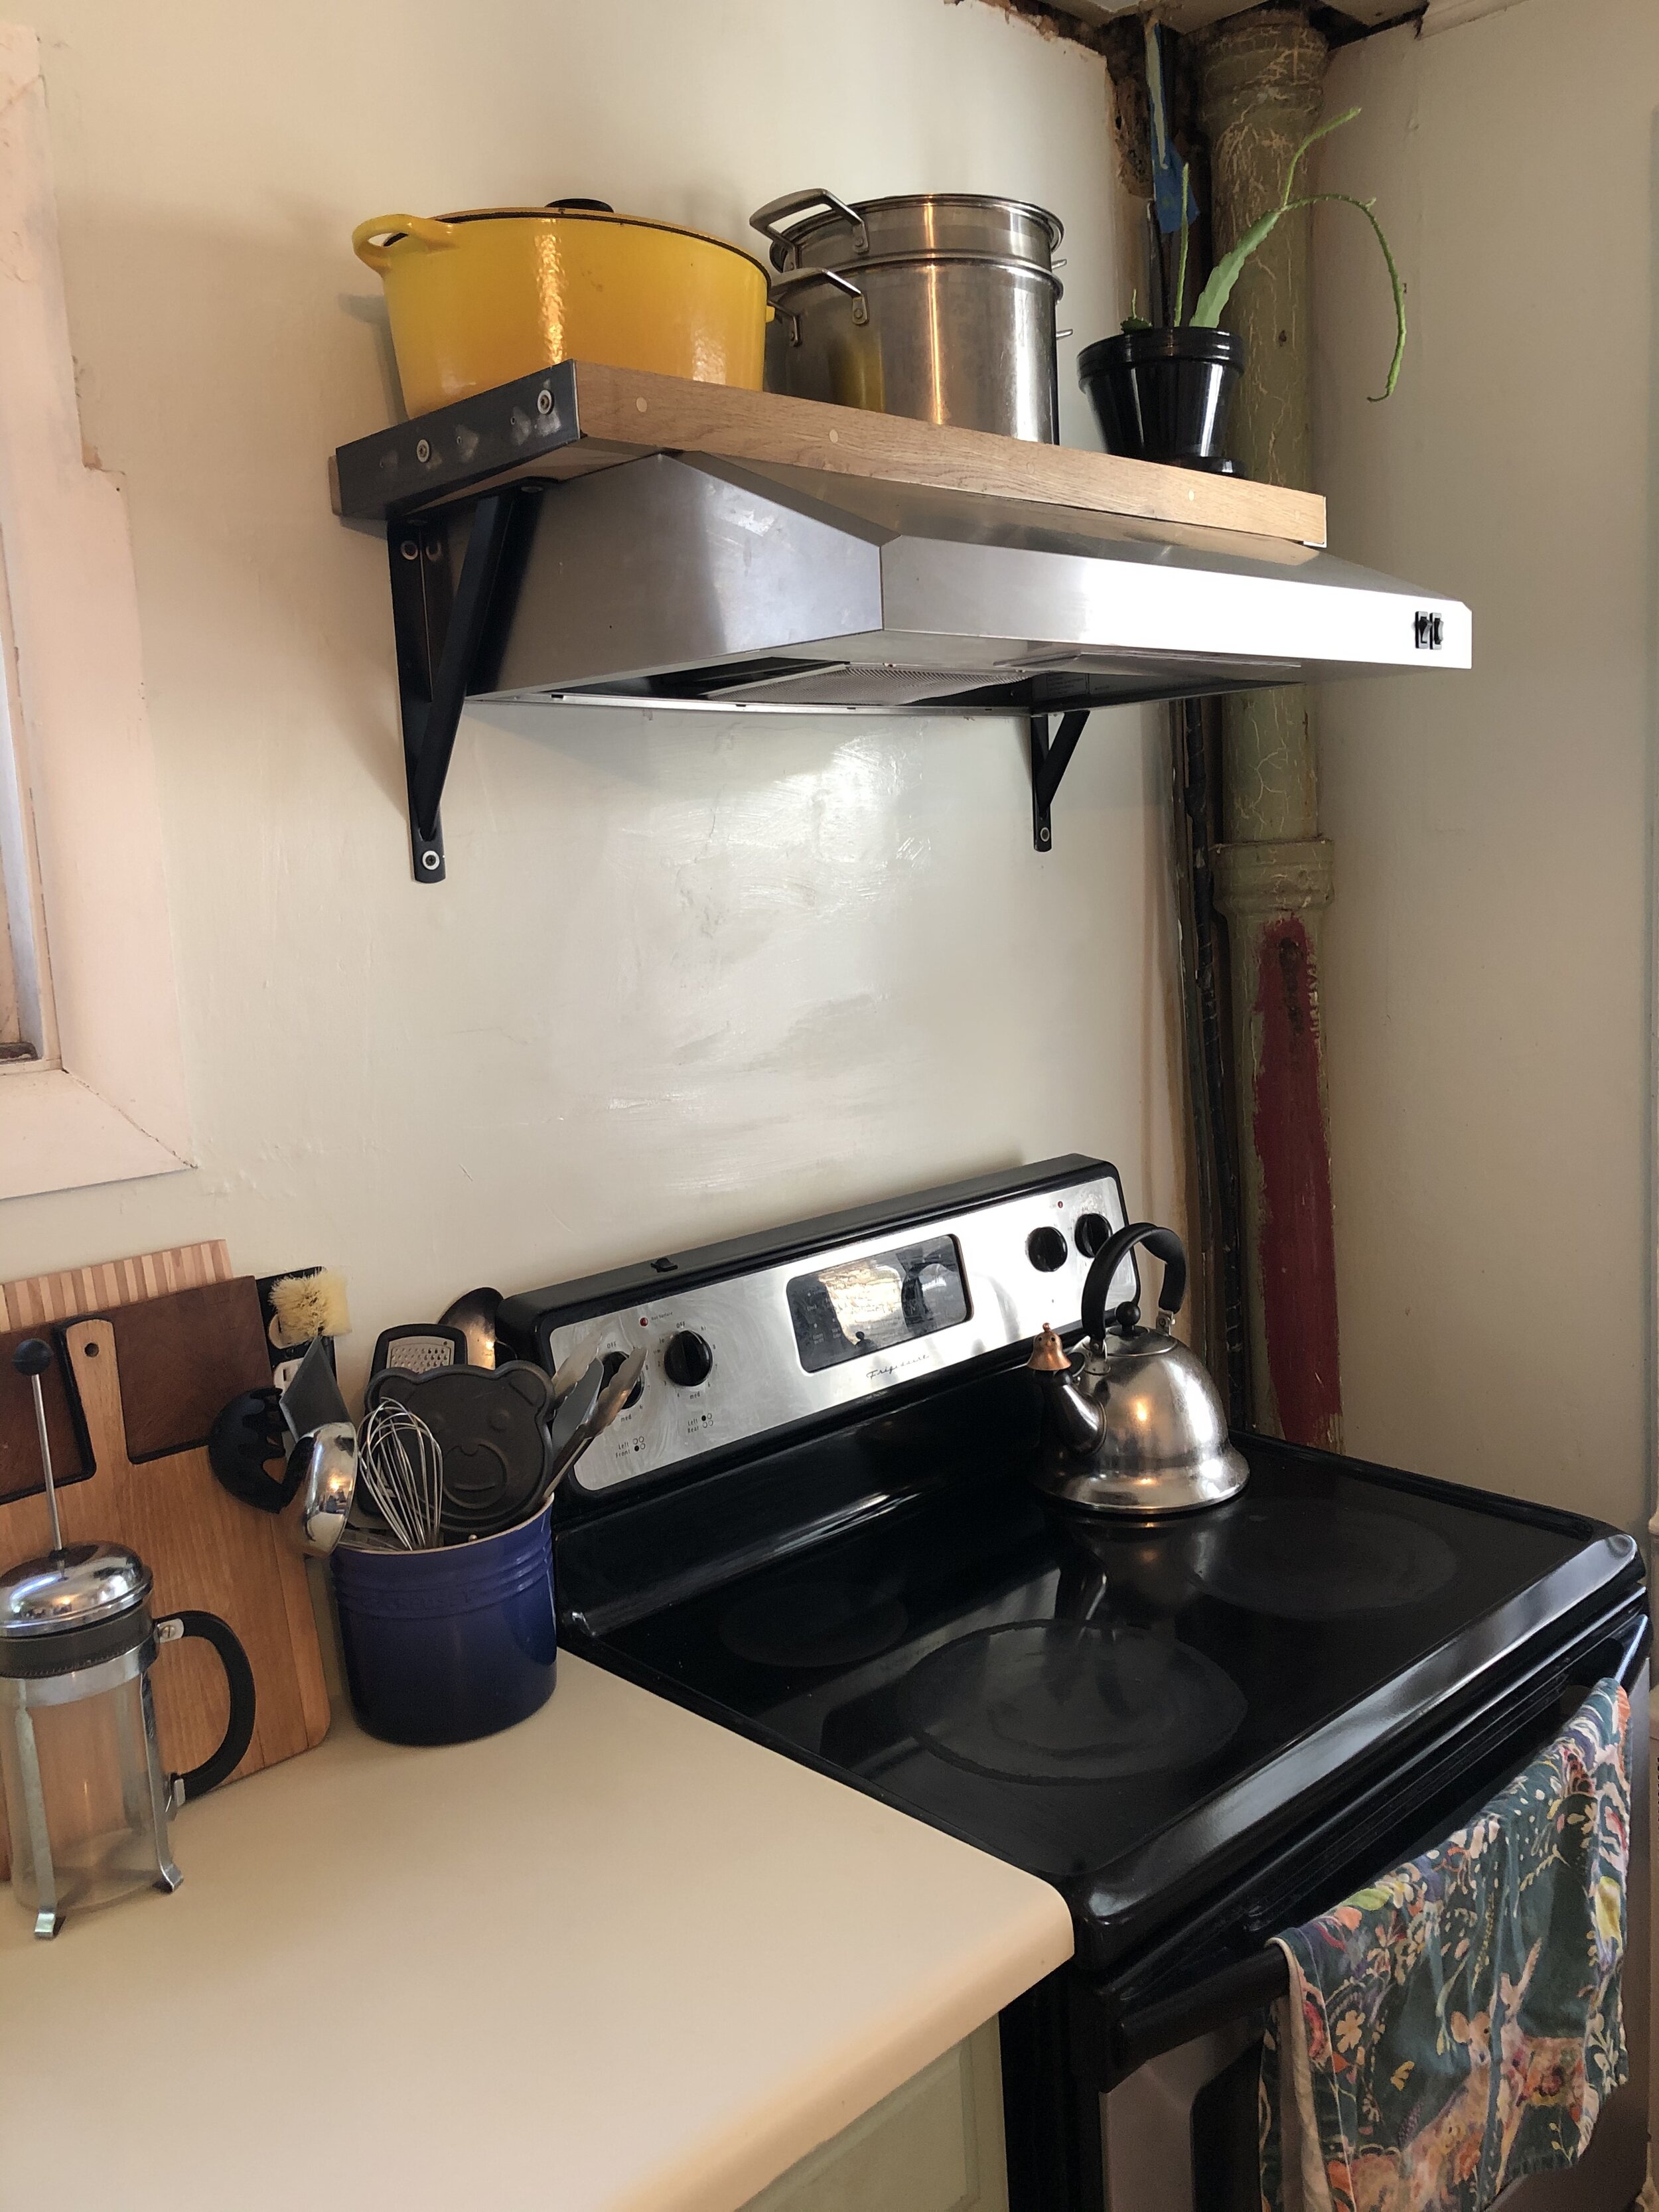
Quarantine Home Reno - Kitchen Open Shelf
While we are home quarantining in NJ, and on Shutdown, we can’t exactly run to get our materials for a client’s projects. So I was able to convince Chris to tackle a few of our “Home Projects” on our list.
First week of Quarantine we tackled removing the cabinet above our stove and installing an open shelf. I am not a huge fan of open shelving in kitchens because I am messy, colorful character toddler plates aren’t very calming and things get so dusty or greasy.
But the cabinet above our stove was wonky, the right cabinet door wasn’t fully straight and I only stored 2 things in it because I had to get on a stepladder to reach it.
WHERE WE STARTED
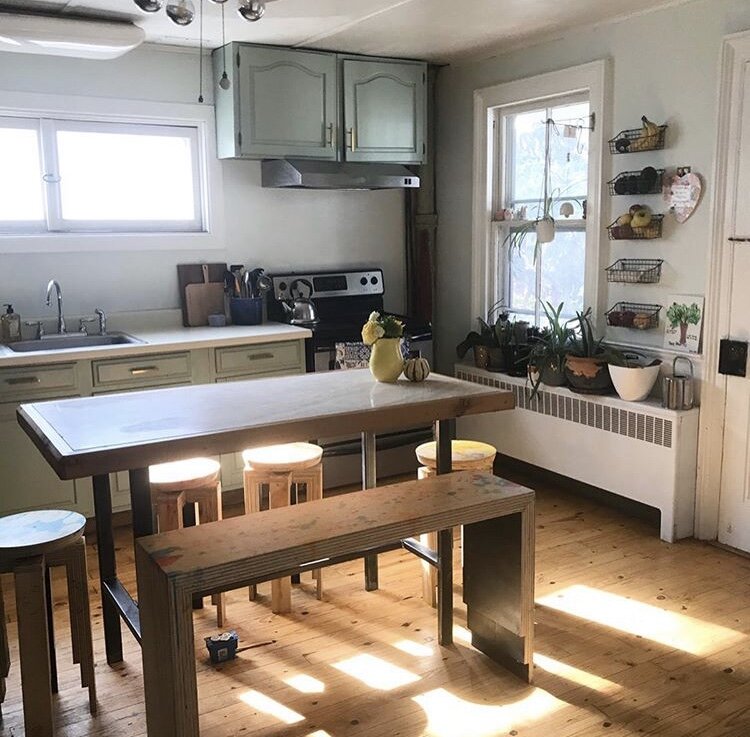
So here is the original shot of the stove when we first bought the house. And next to it is after our quick fix reno right before we moved in 2 years ago.
STEP BY STEP
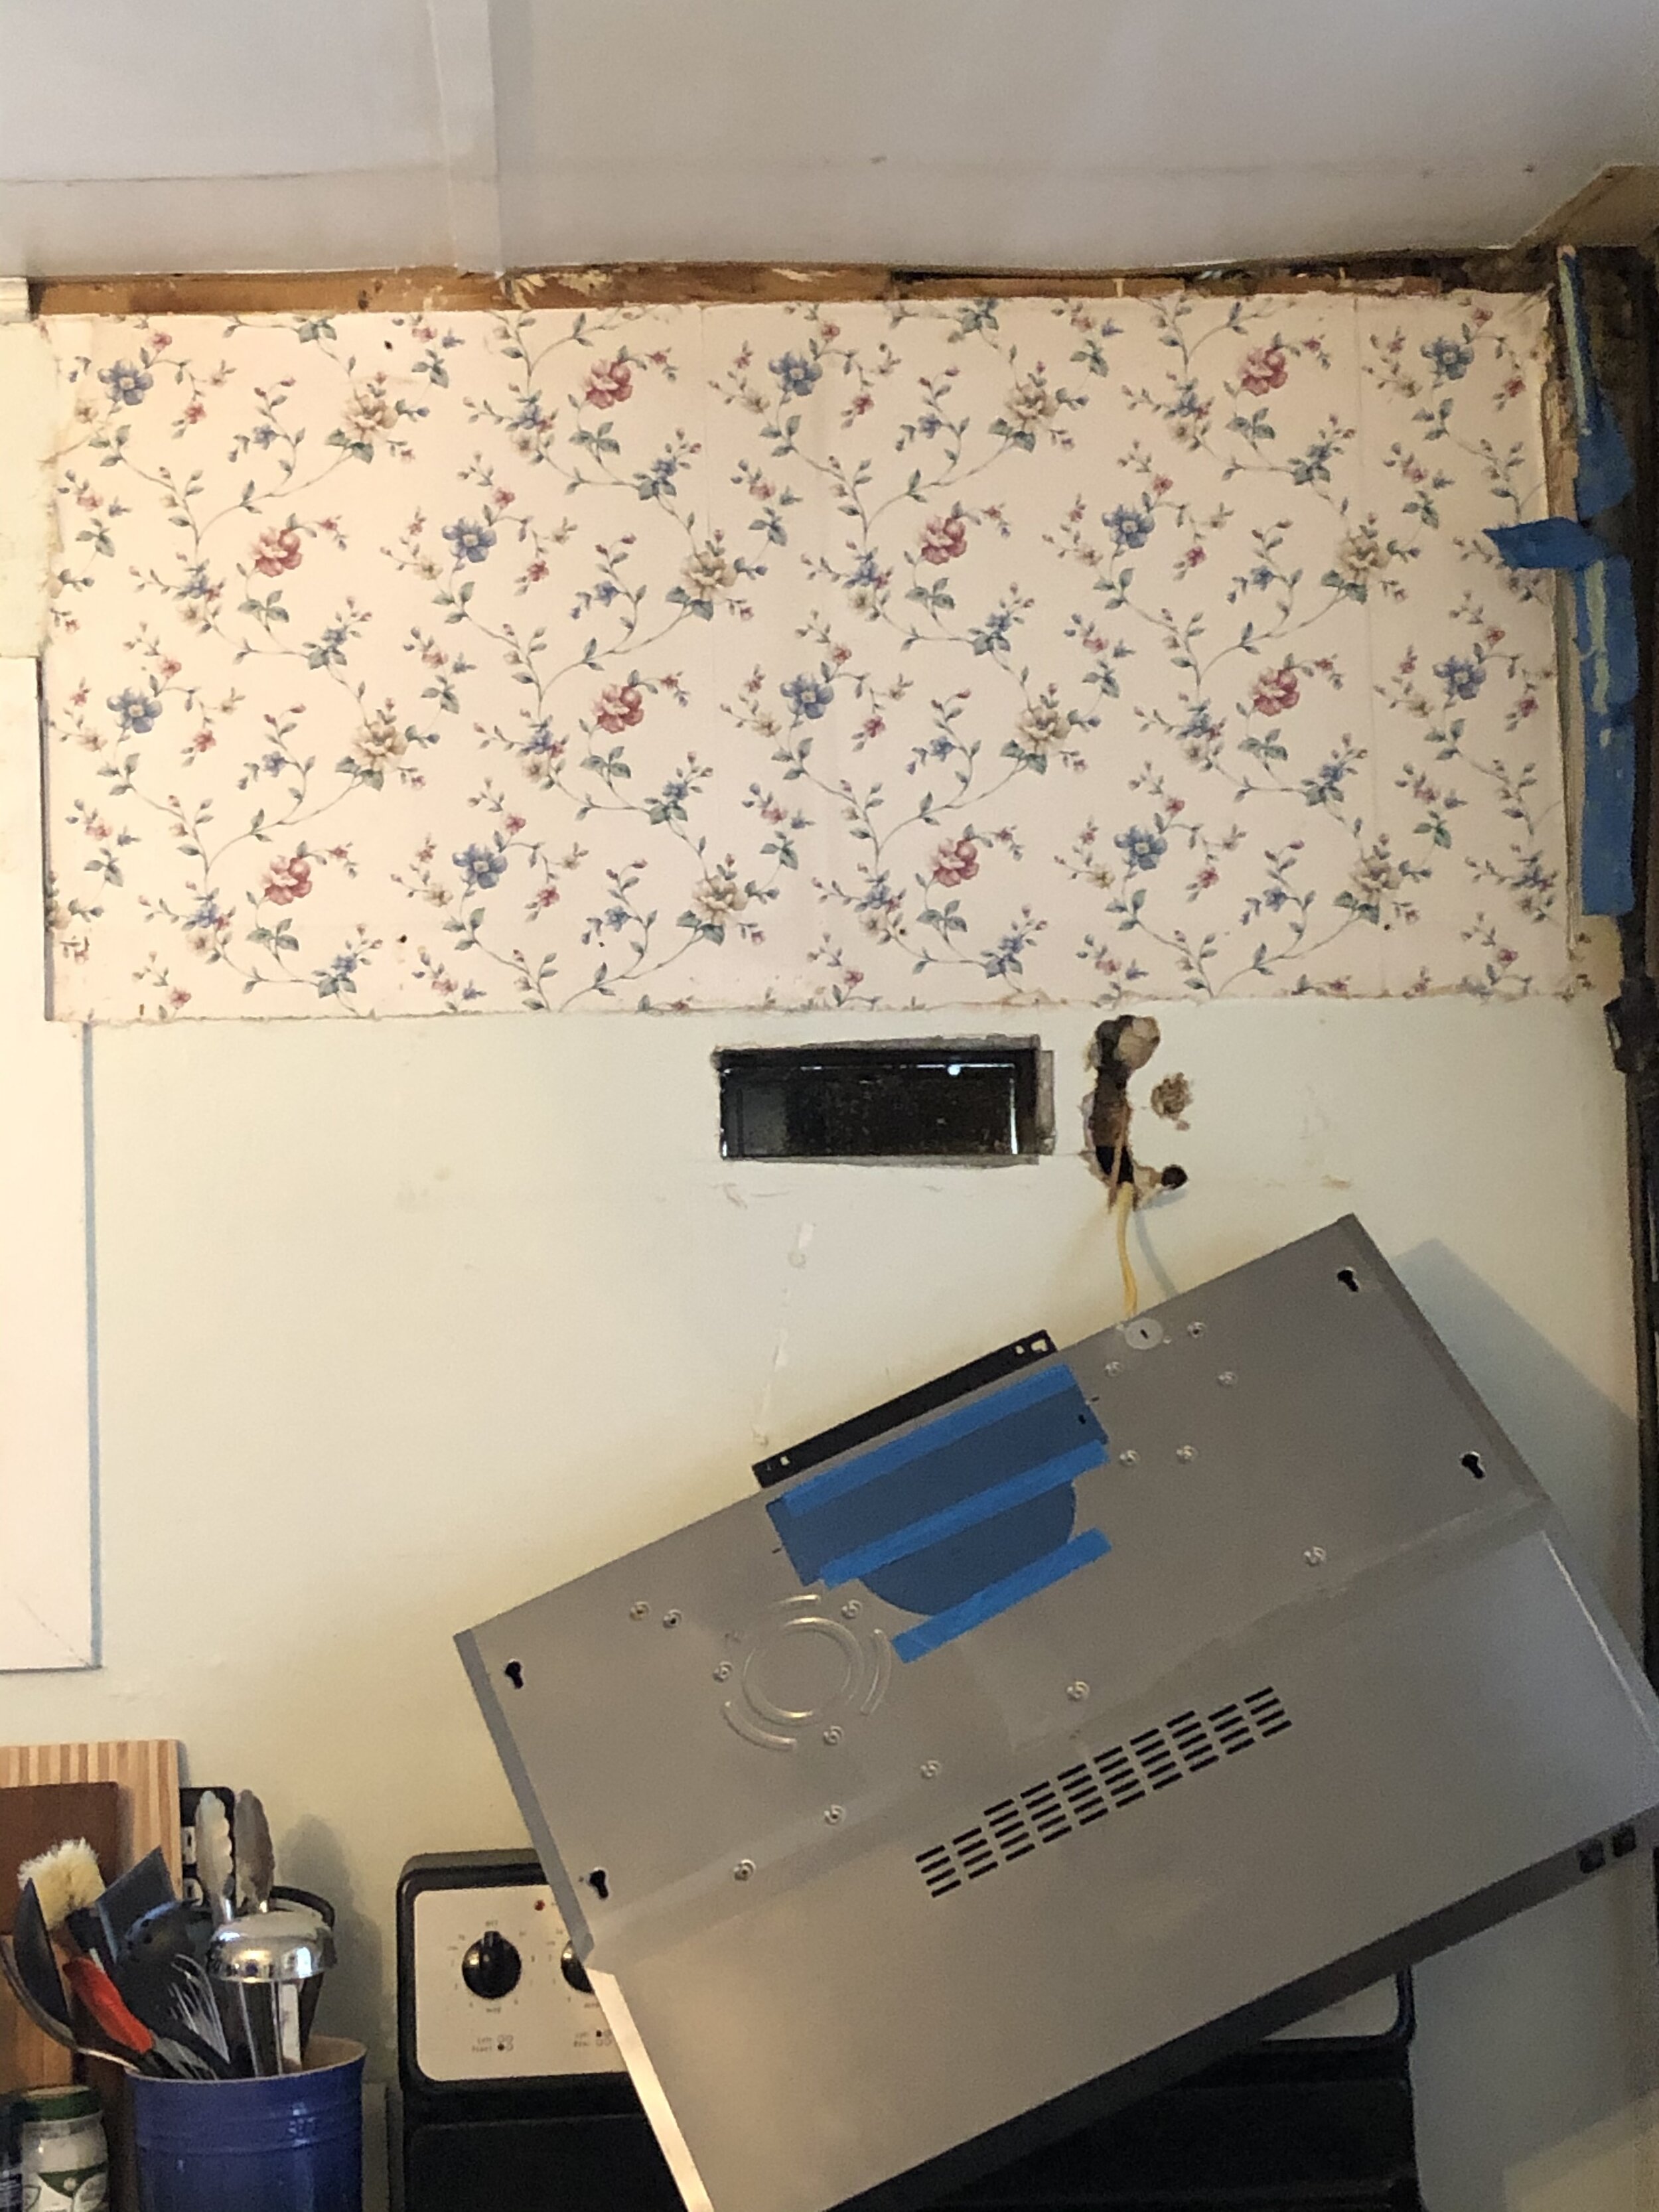
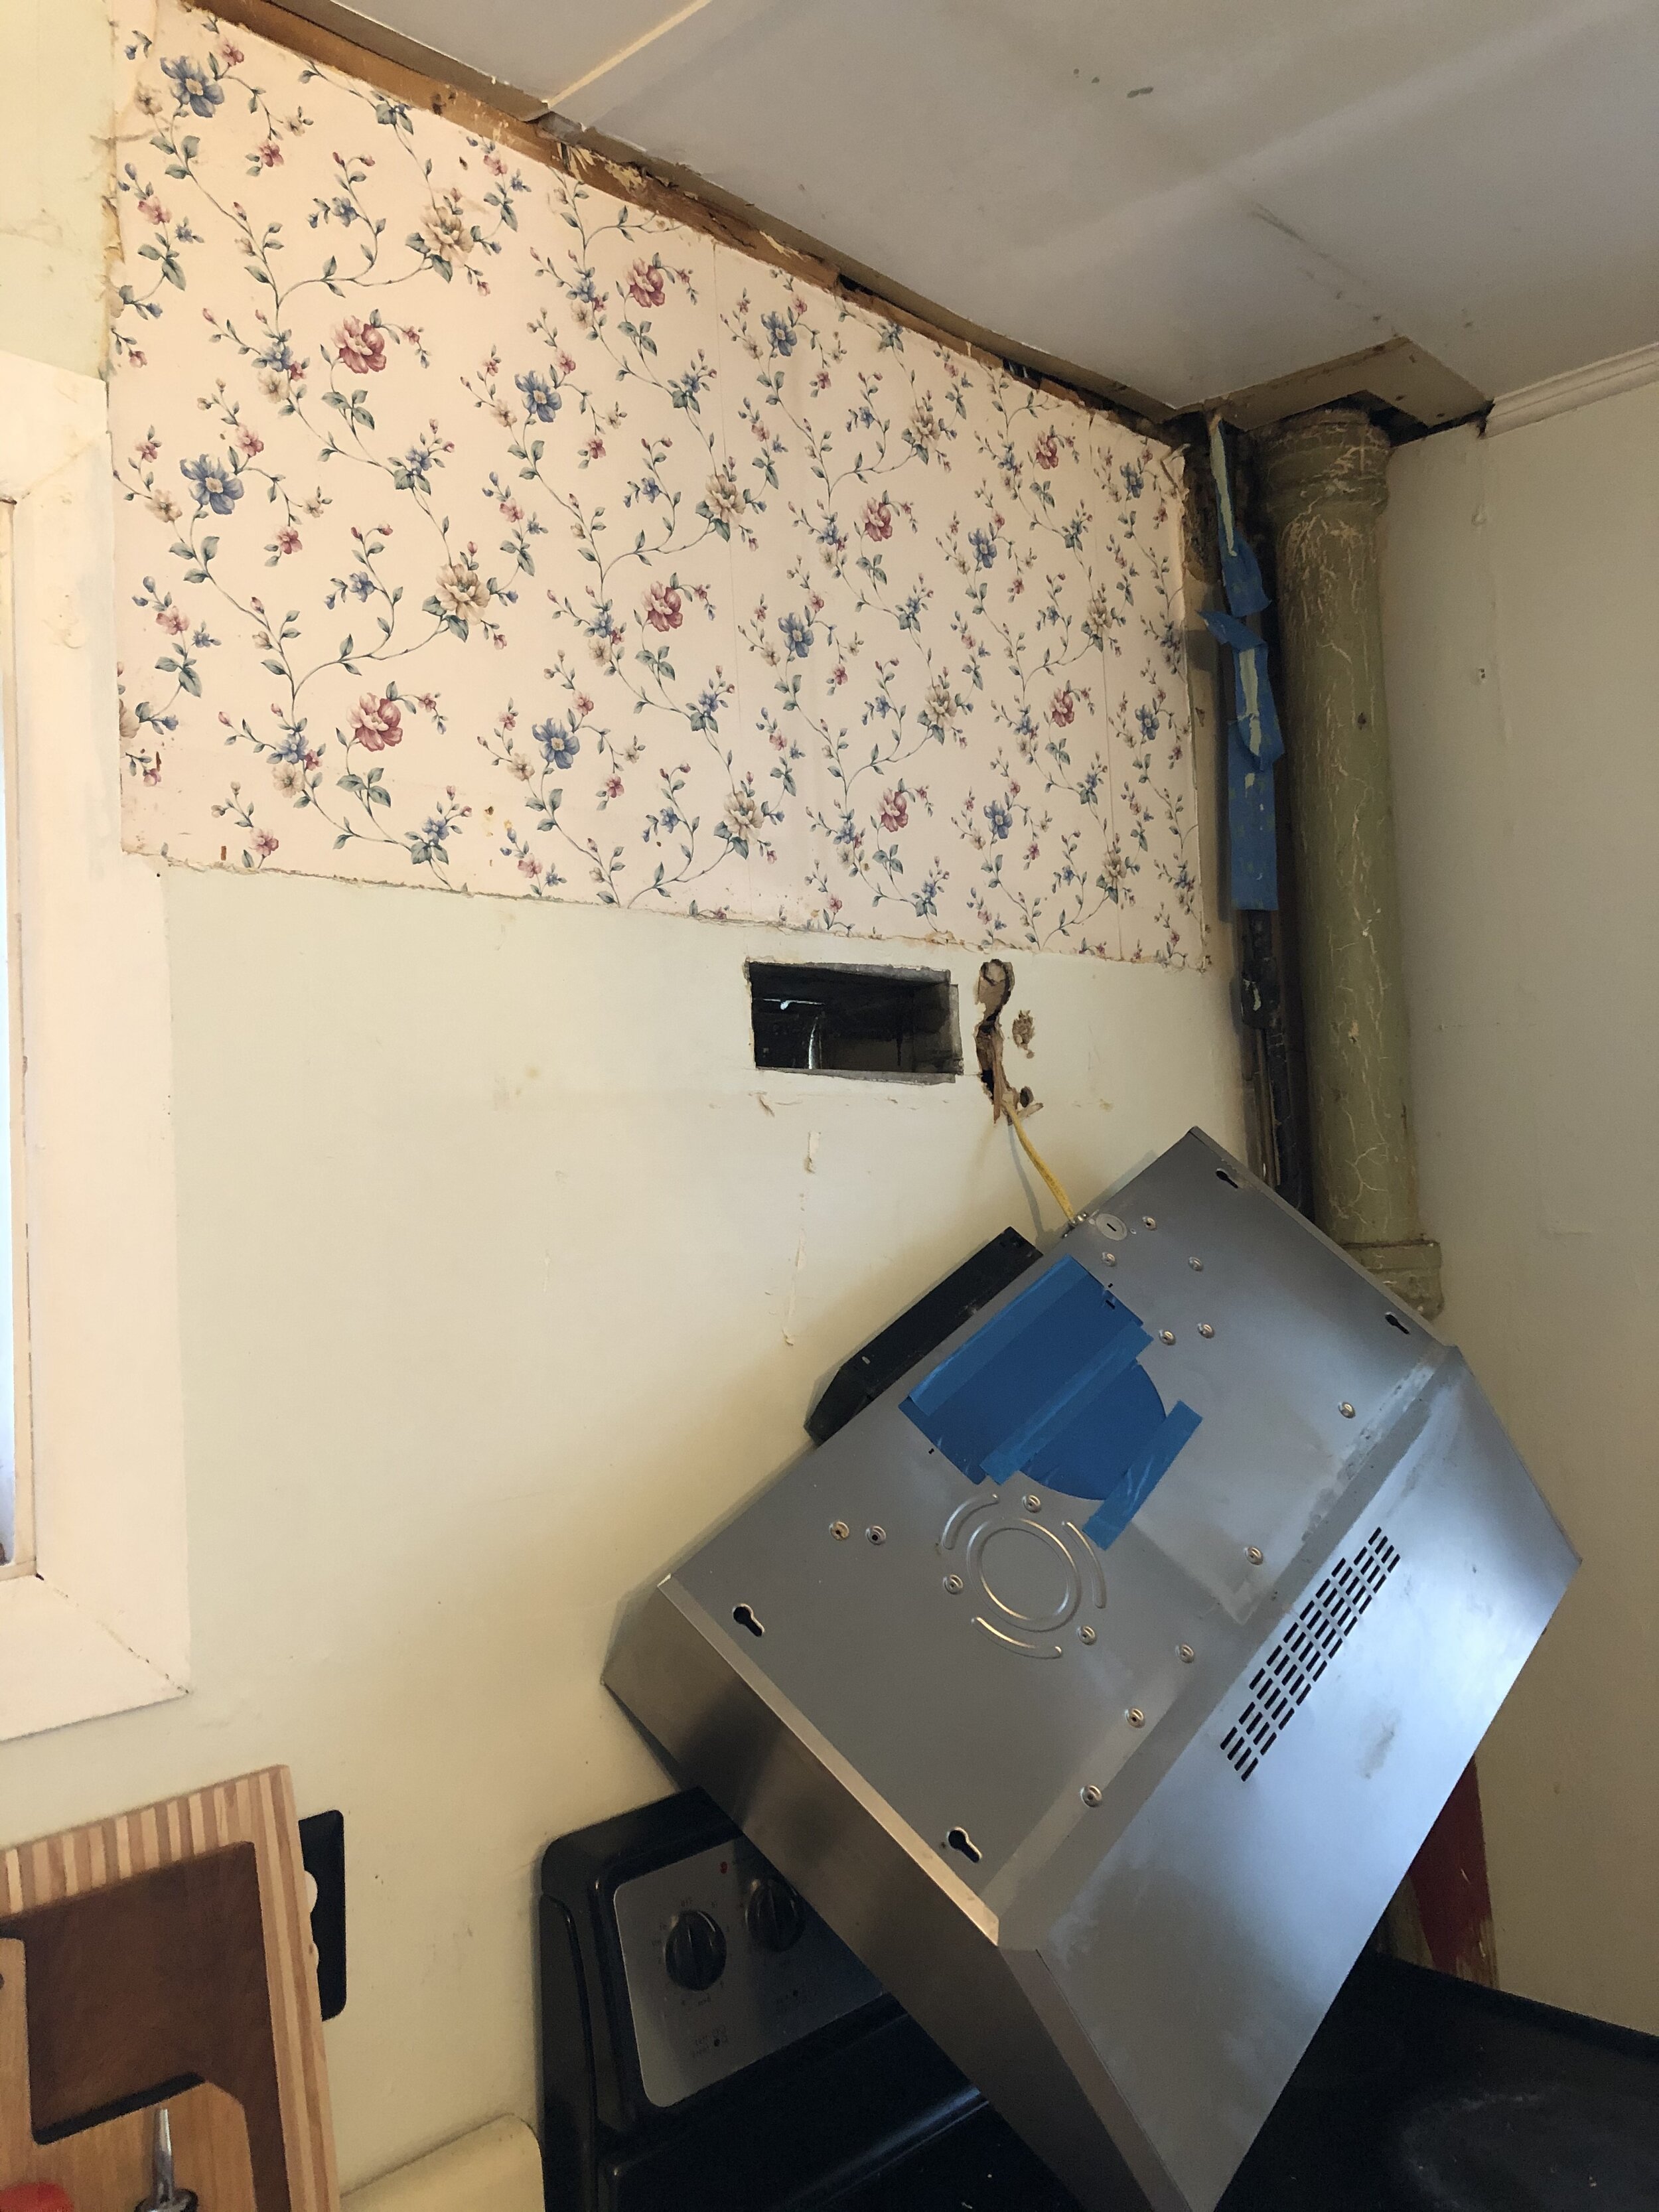
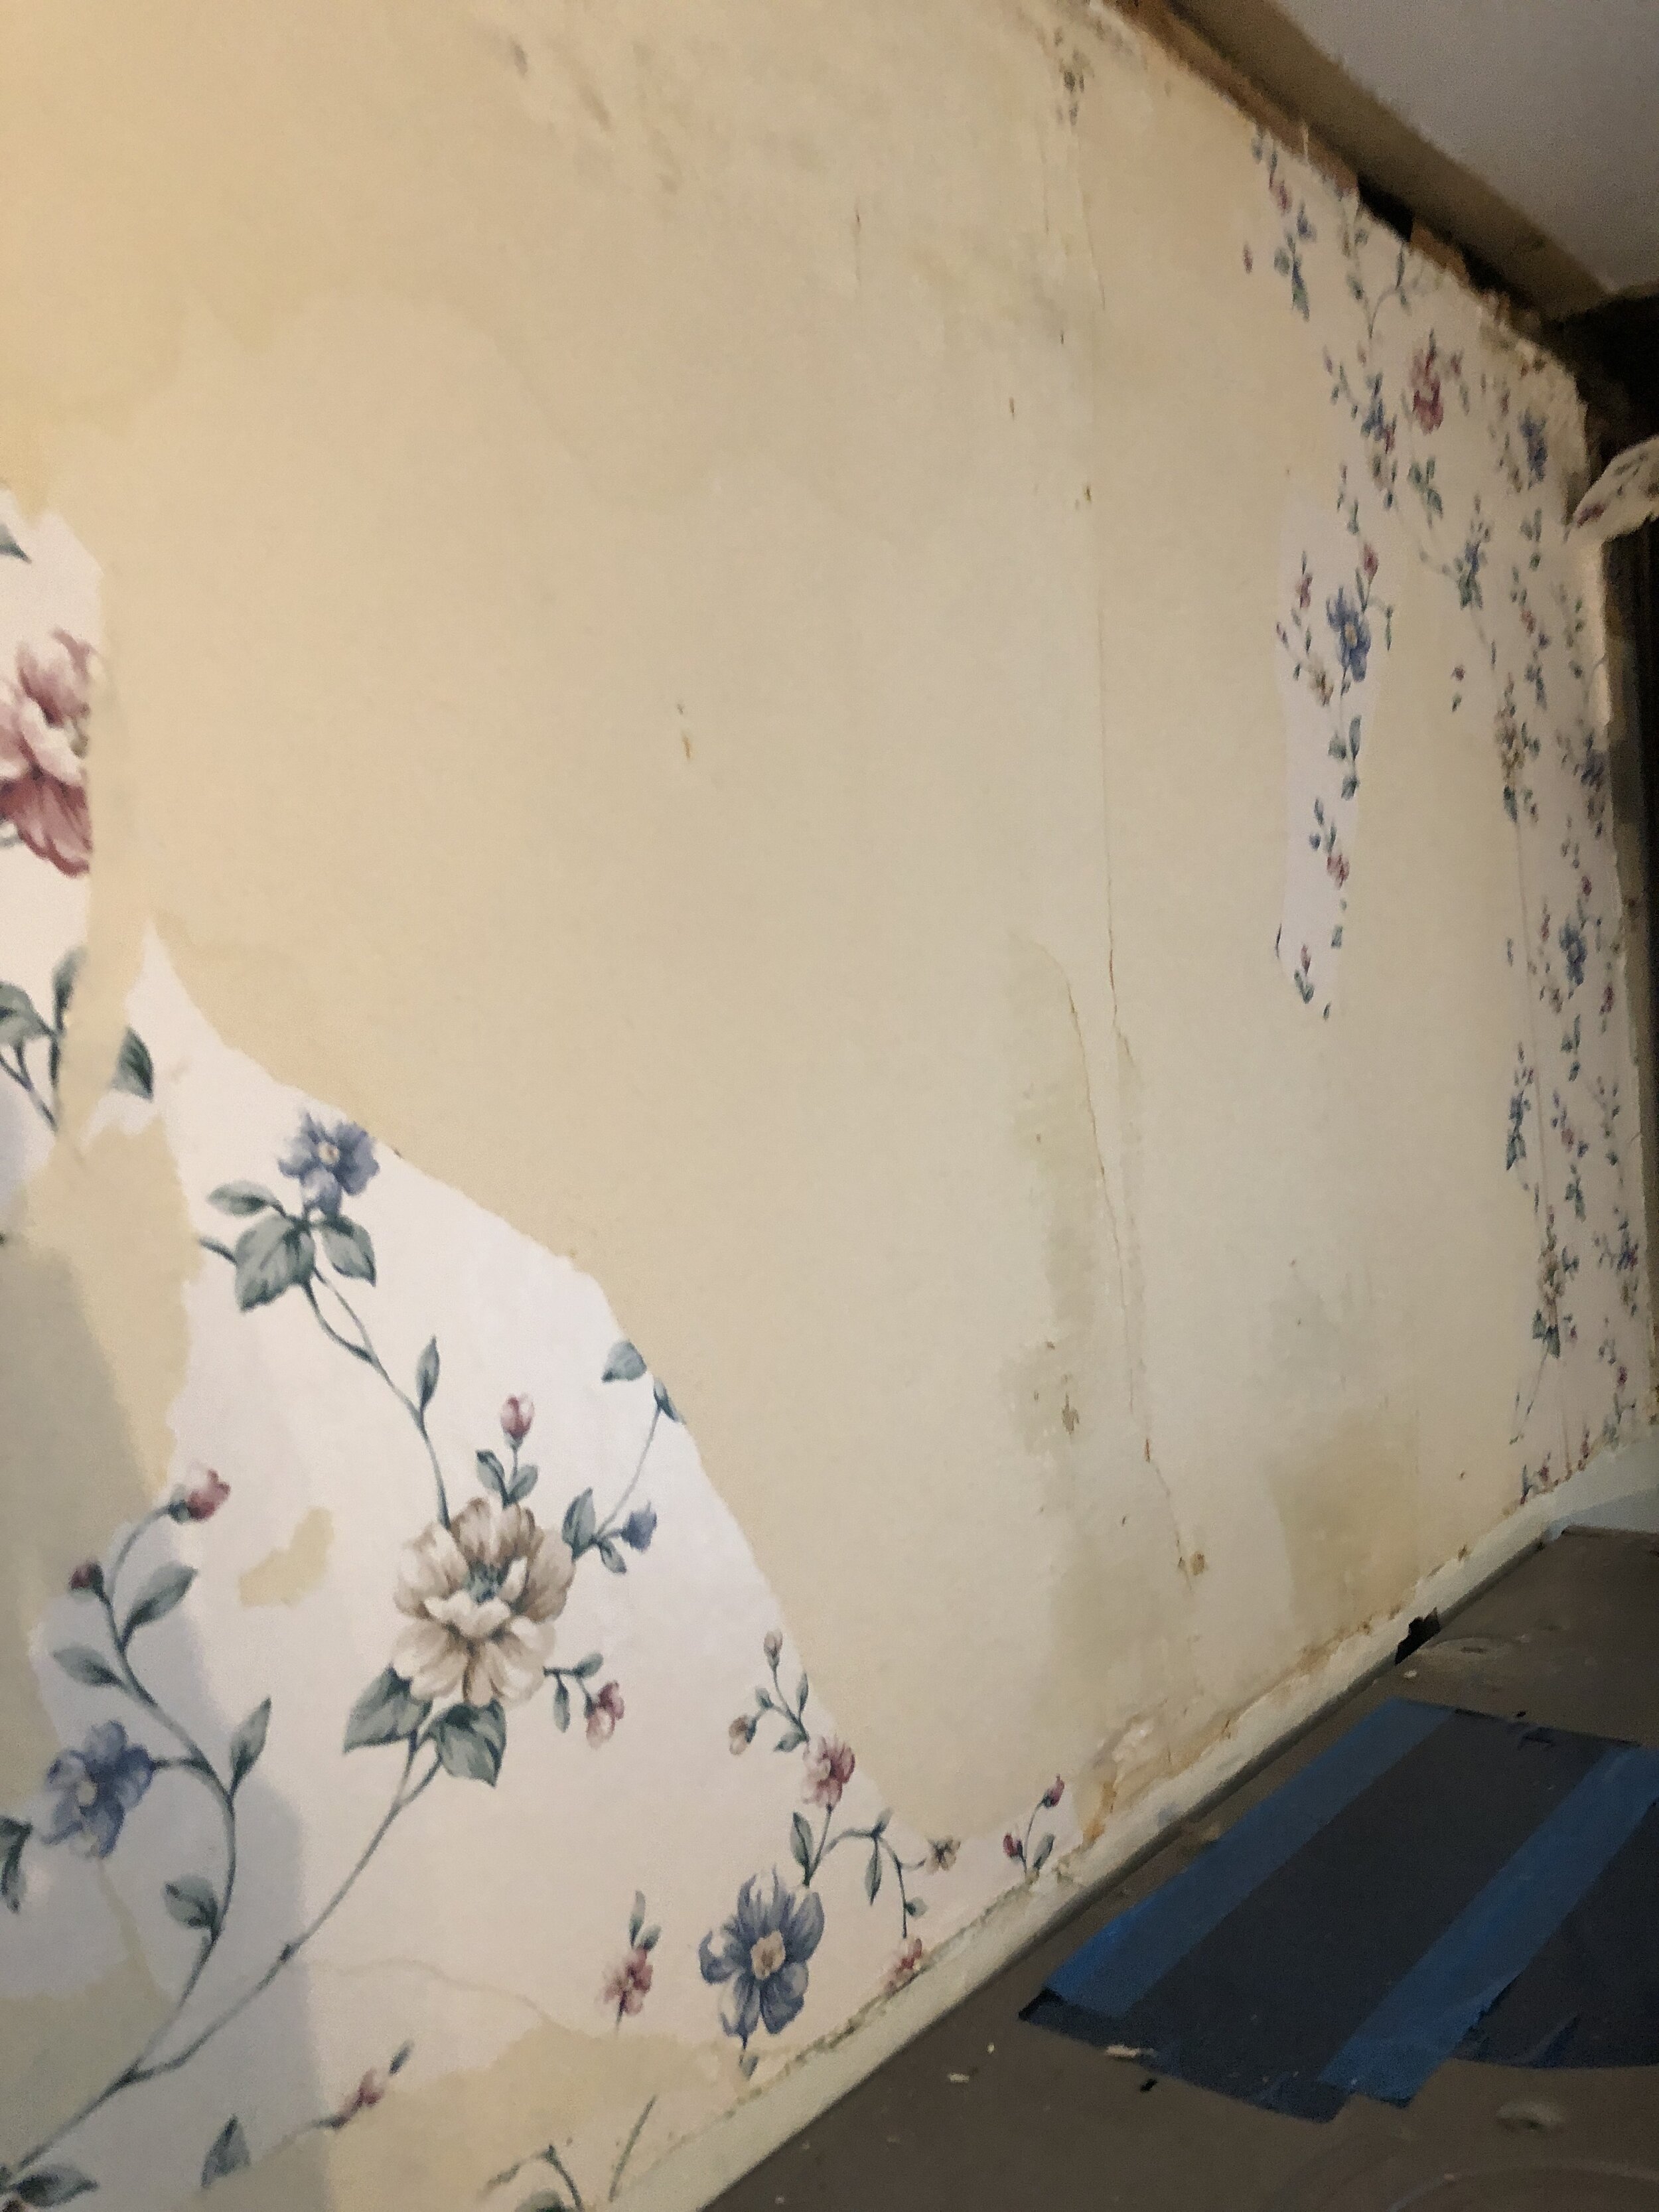
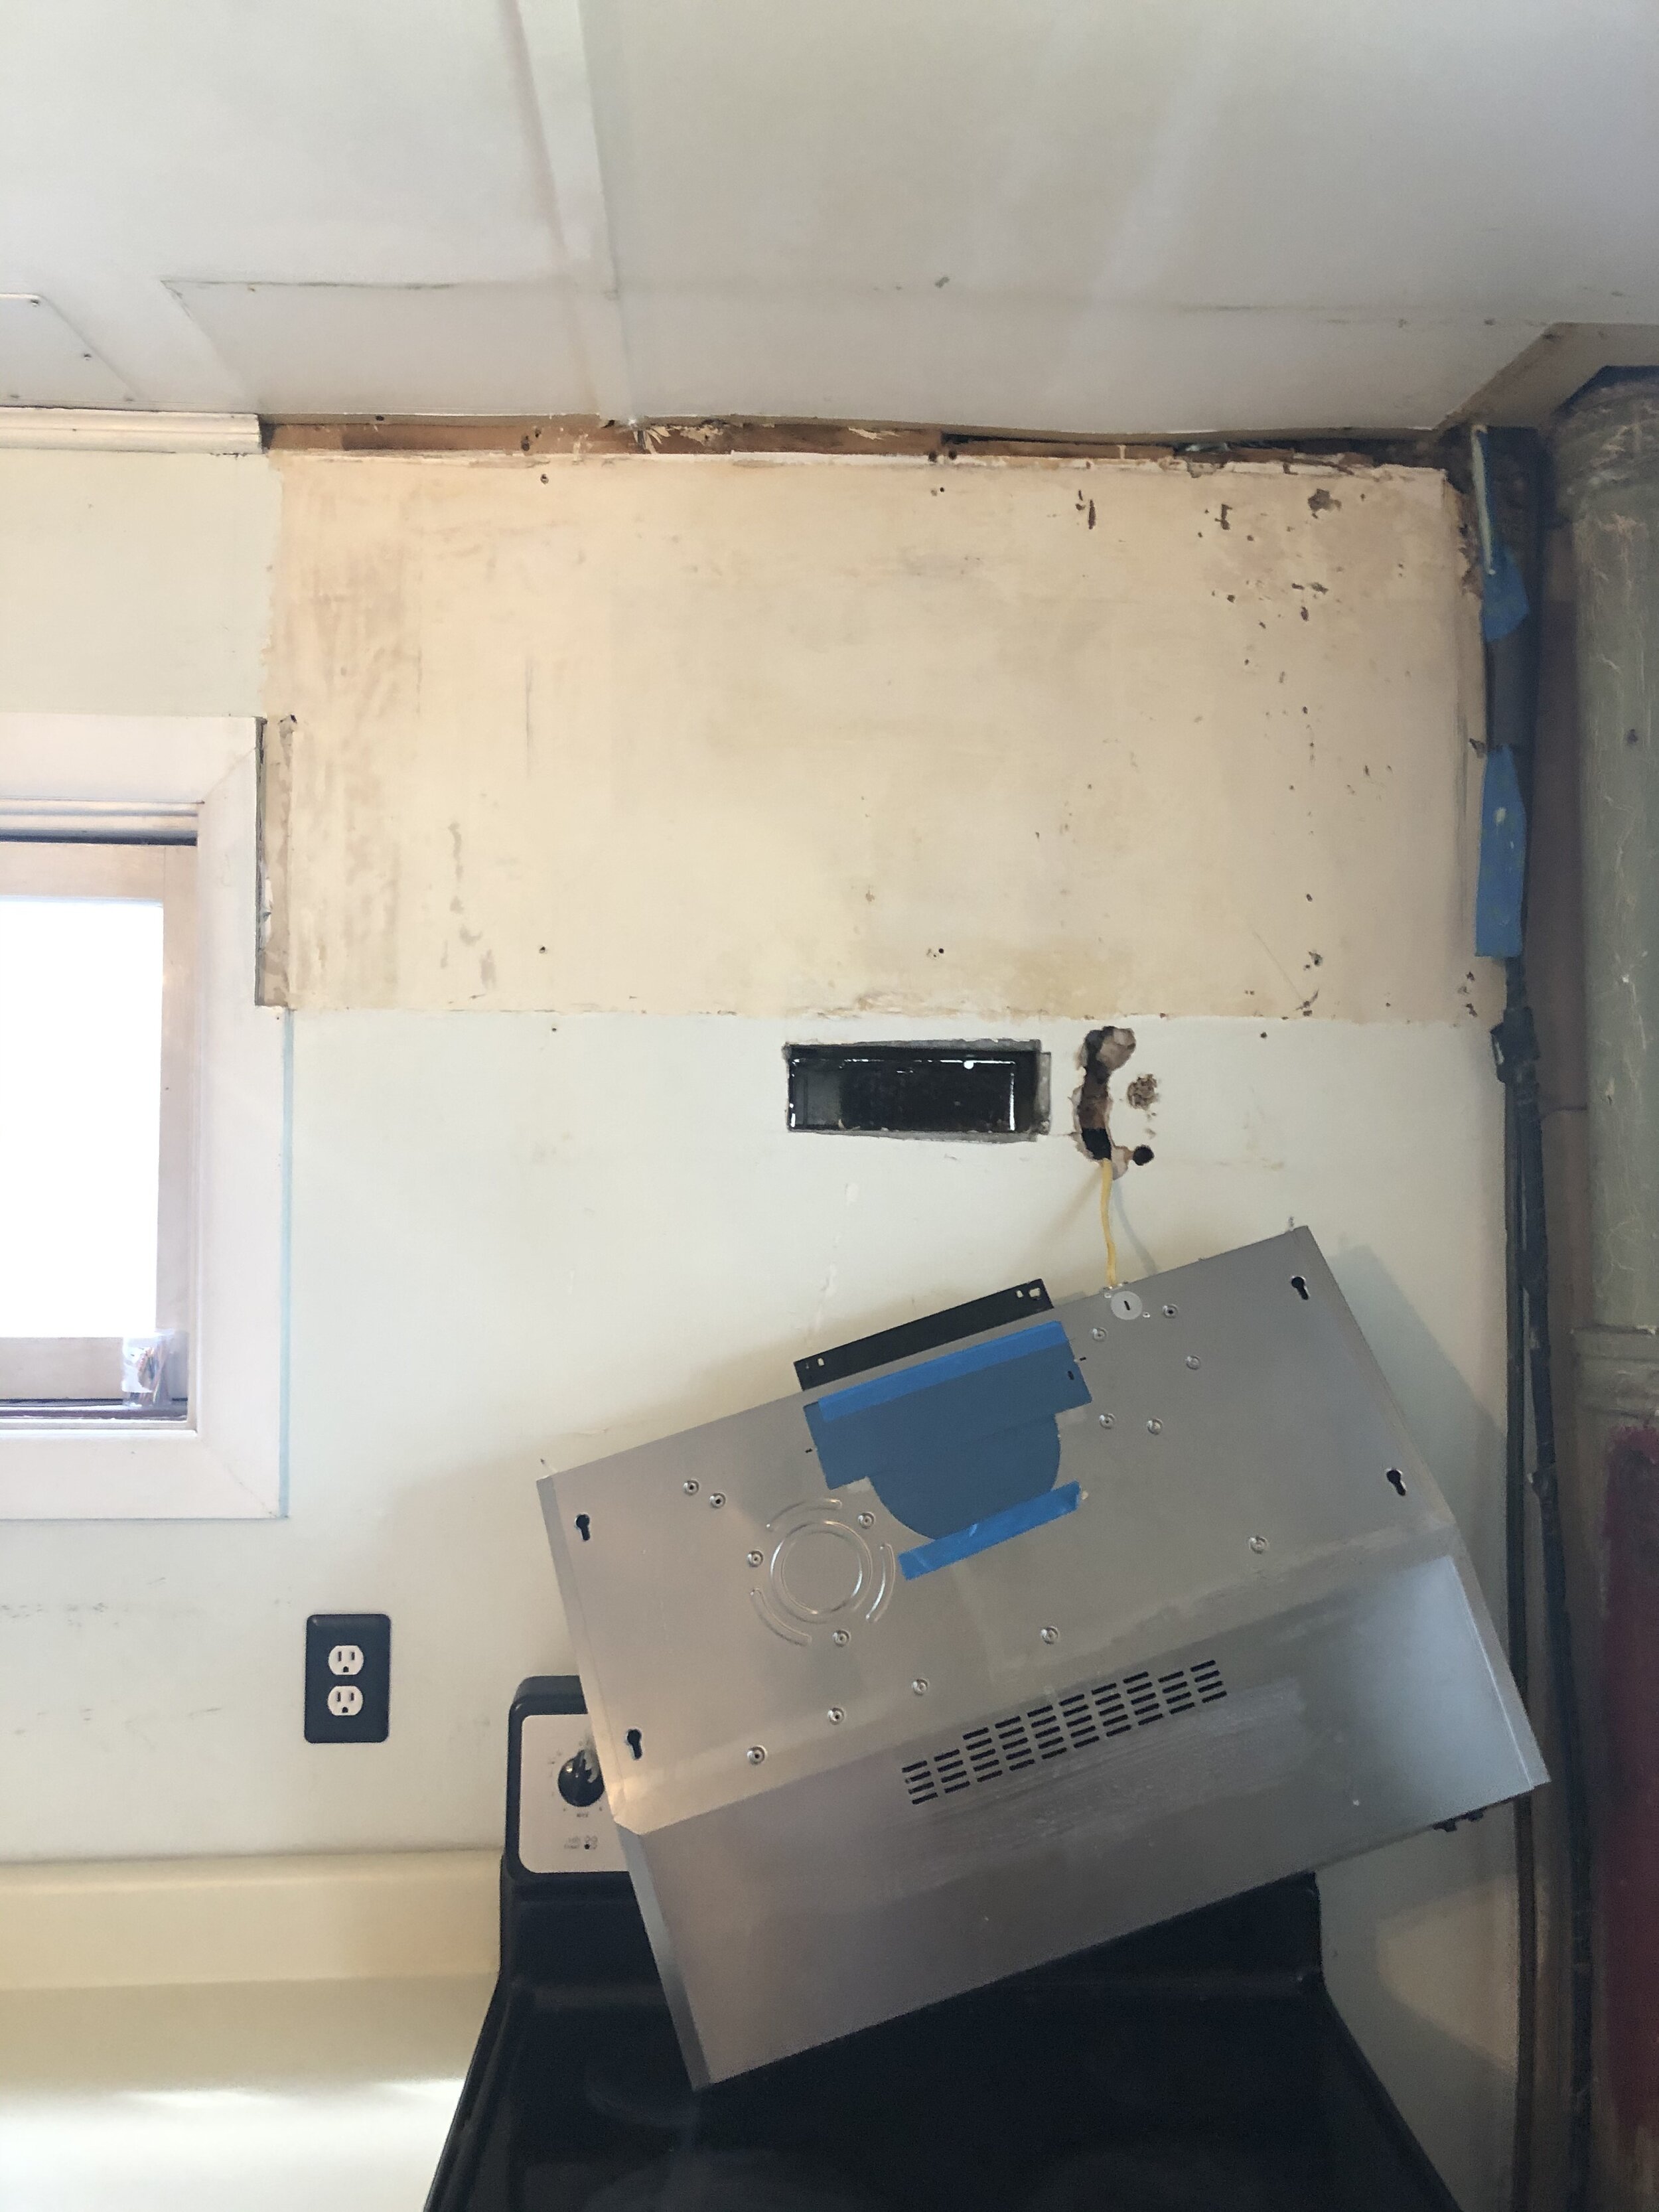
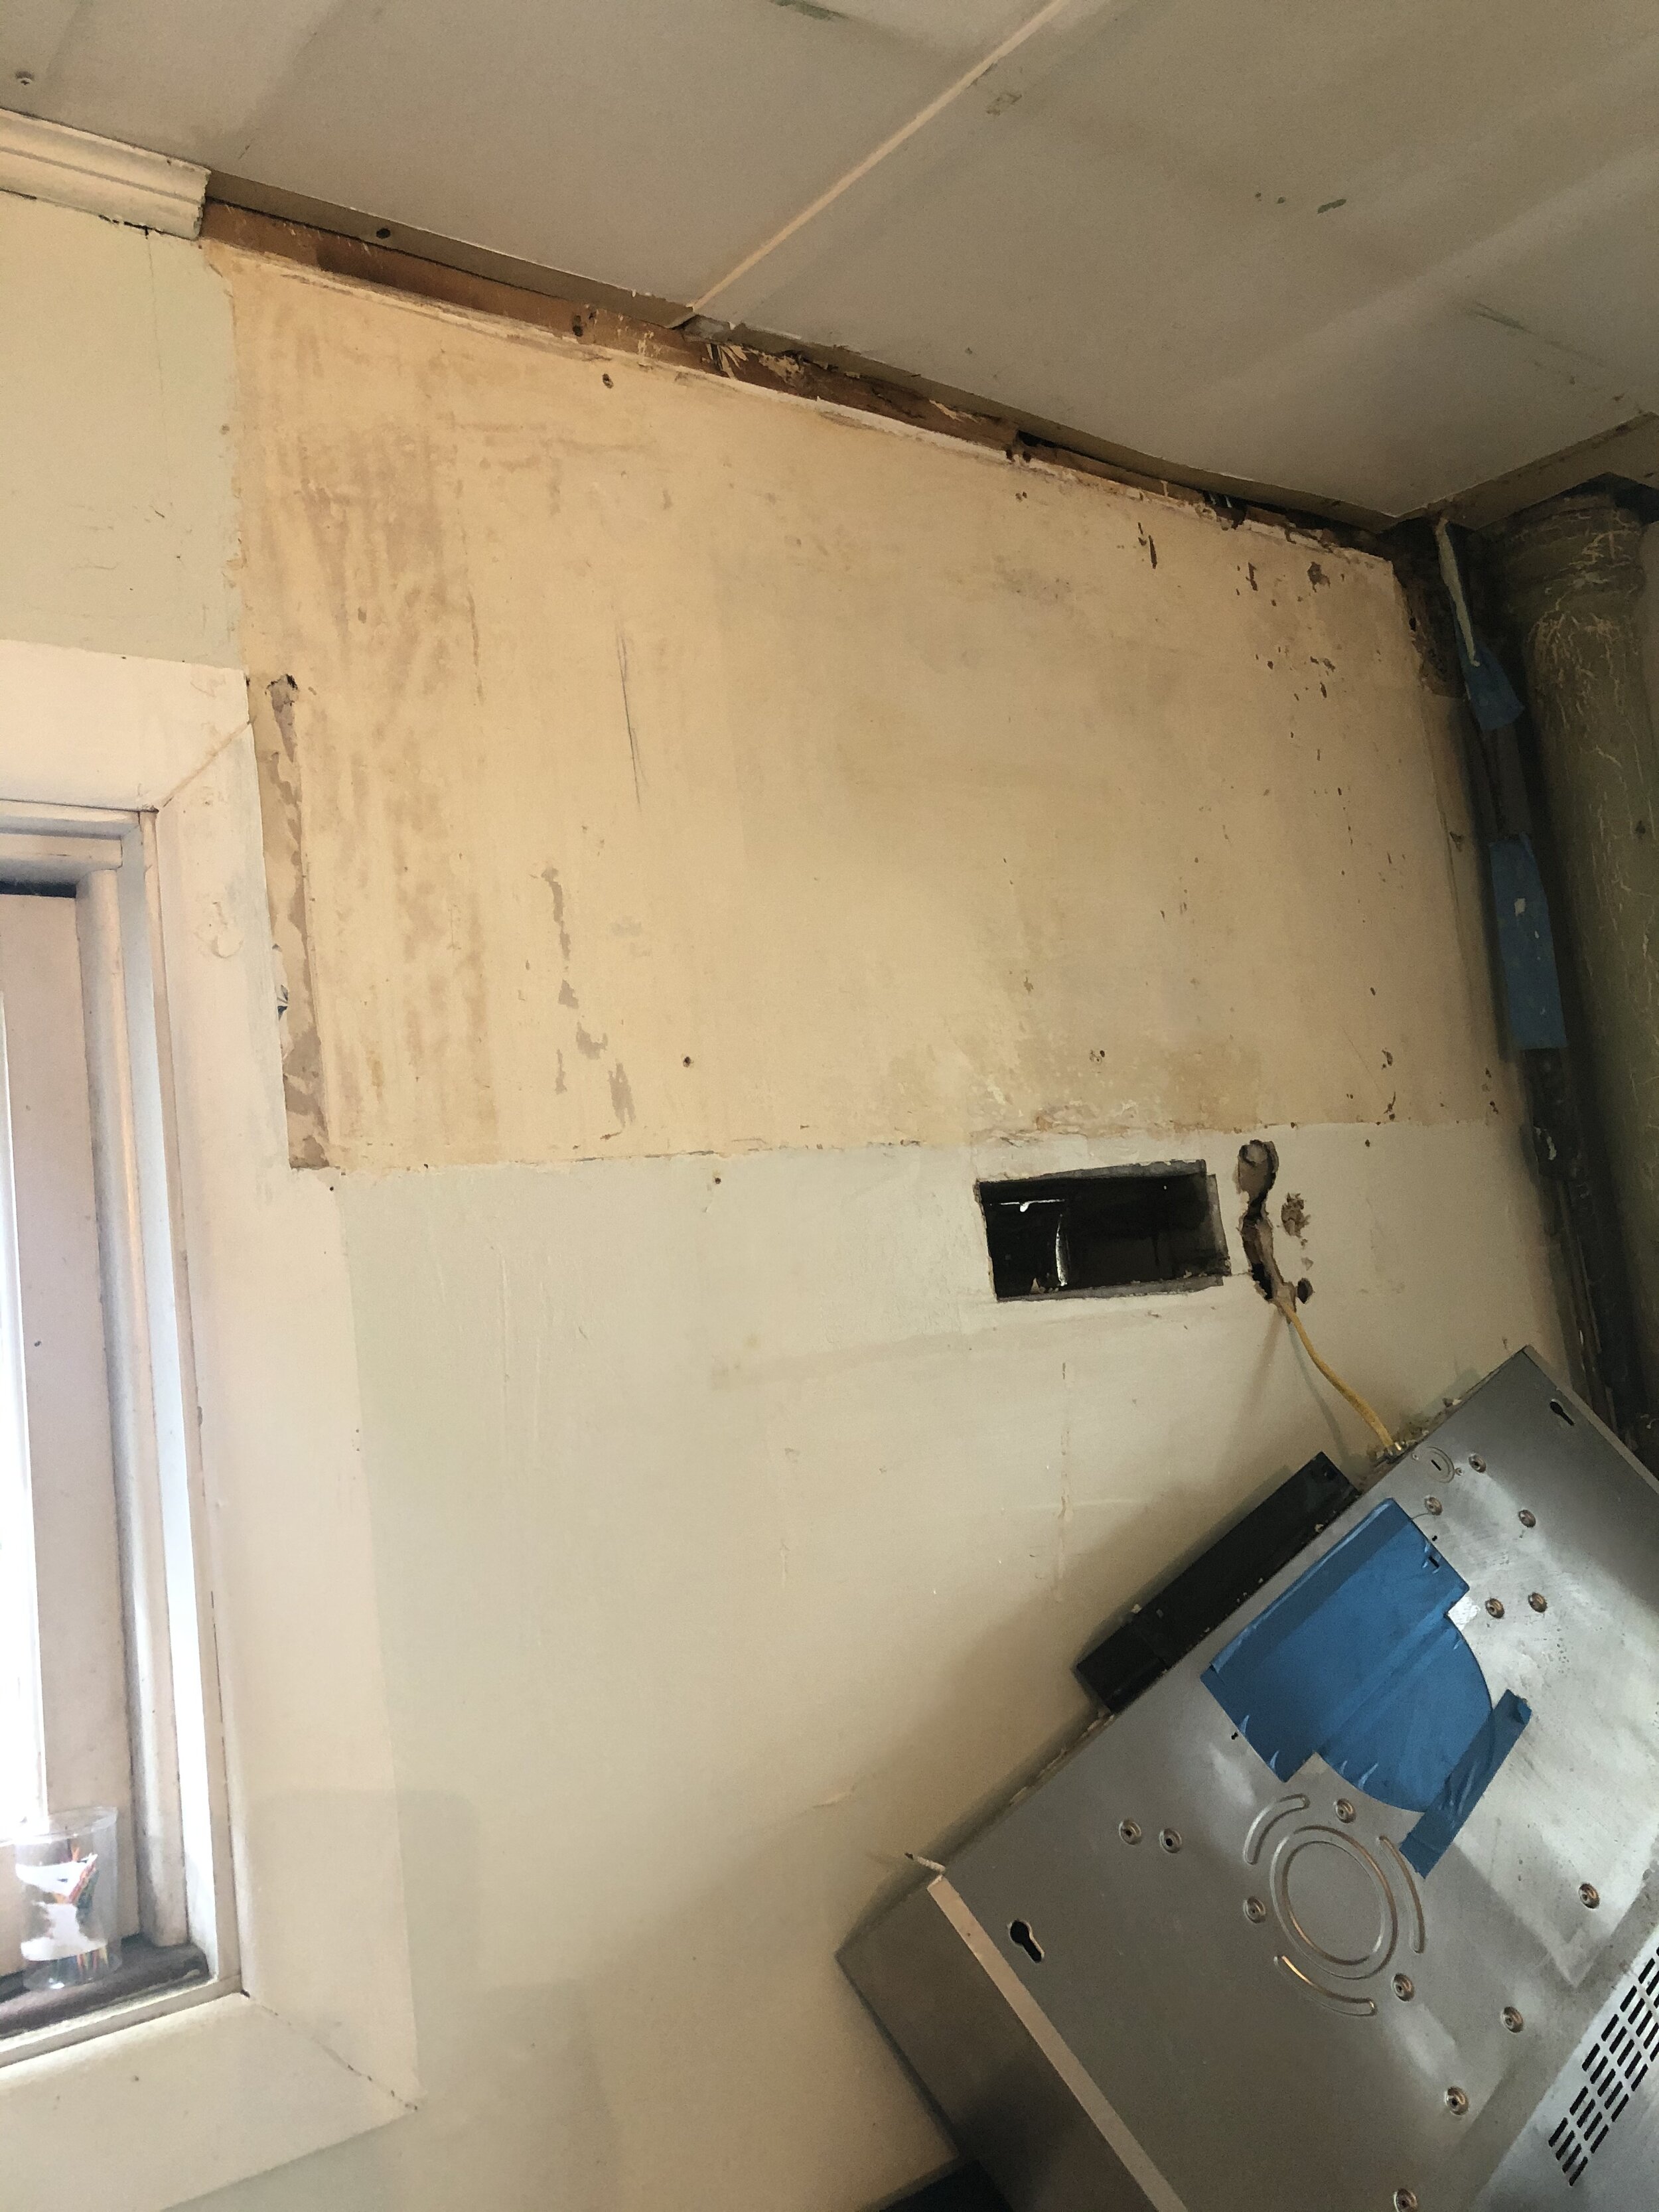
Chris took the cabinet and hood down. I had a feeling that there would be more wallpaper behind the cabinet but I was hoping for the best. I did not get the best.
2. I did a quick peel of the wallpaper and doused the wall with water. Sanding the wall to get it clean.
3. Spackle, sand, spackle.
4. Then 2 quick coats of 2 year old leftover paint that was on it’s last legs in our basement.
5. Chris put the hood up.
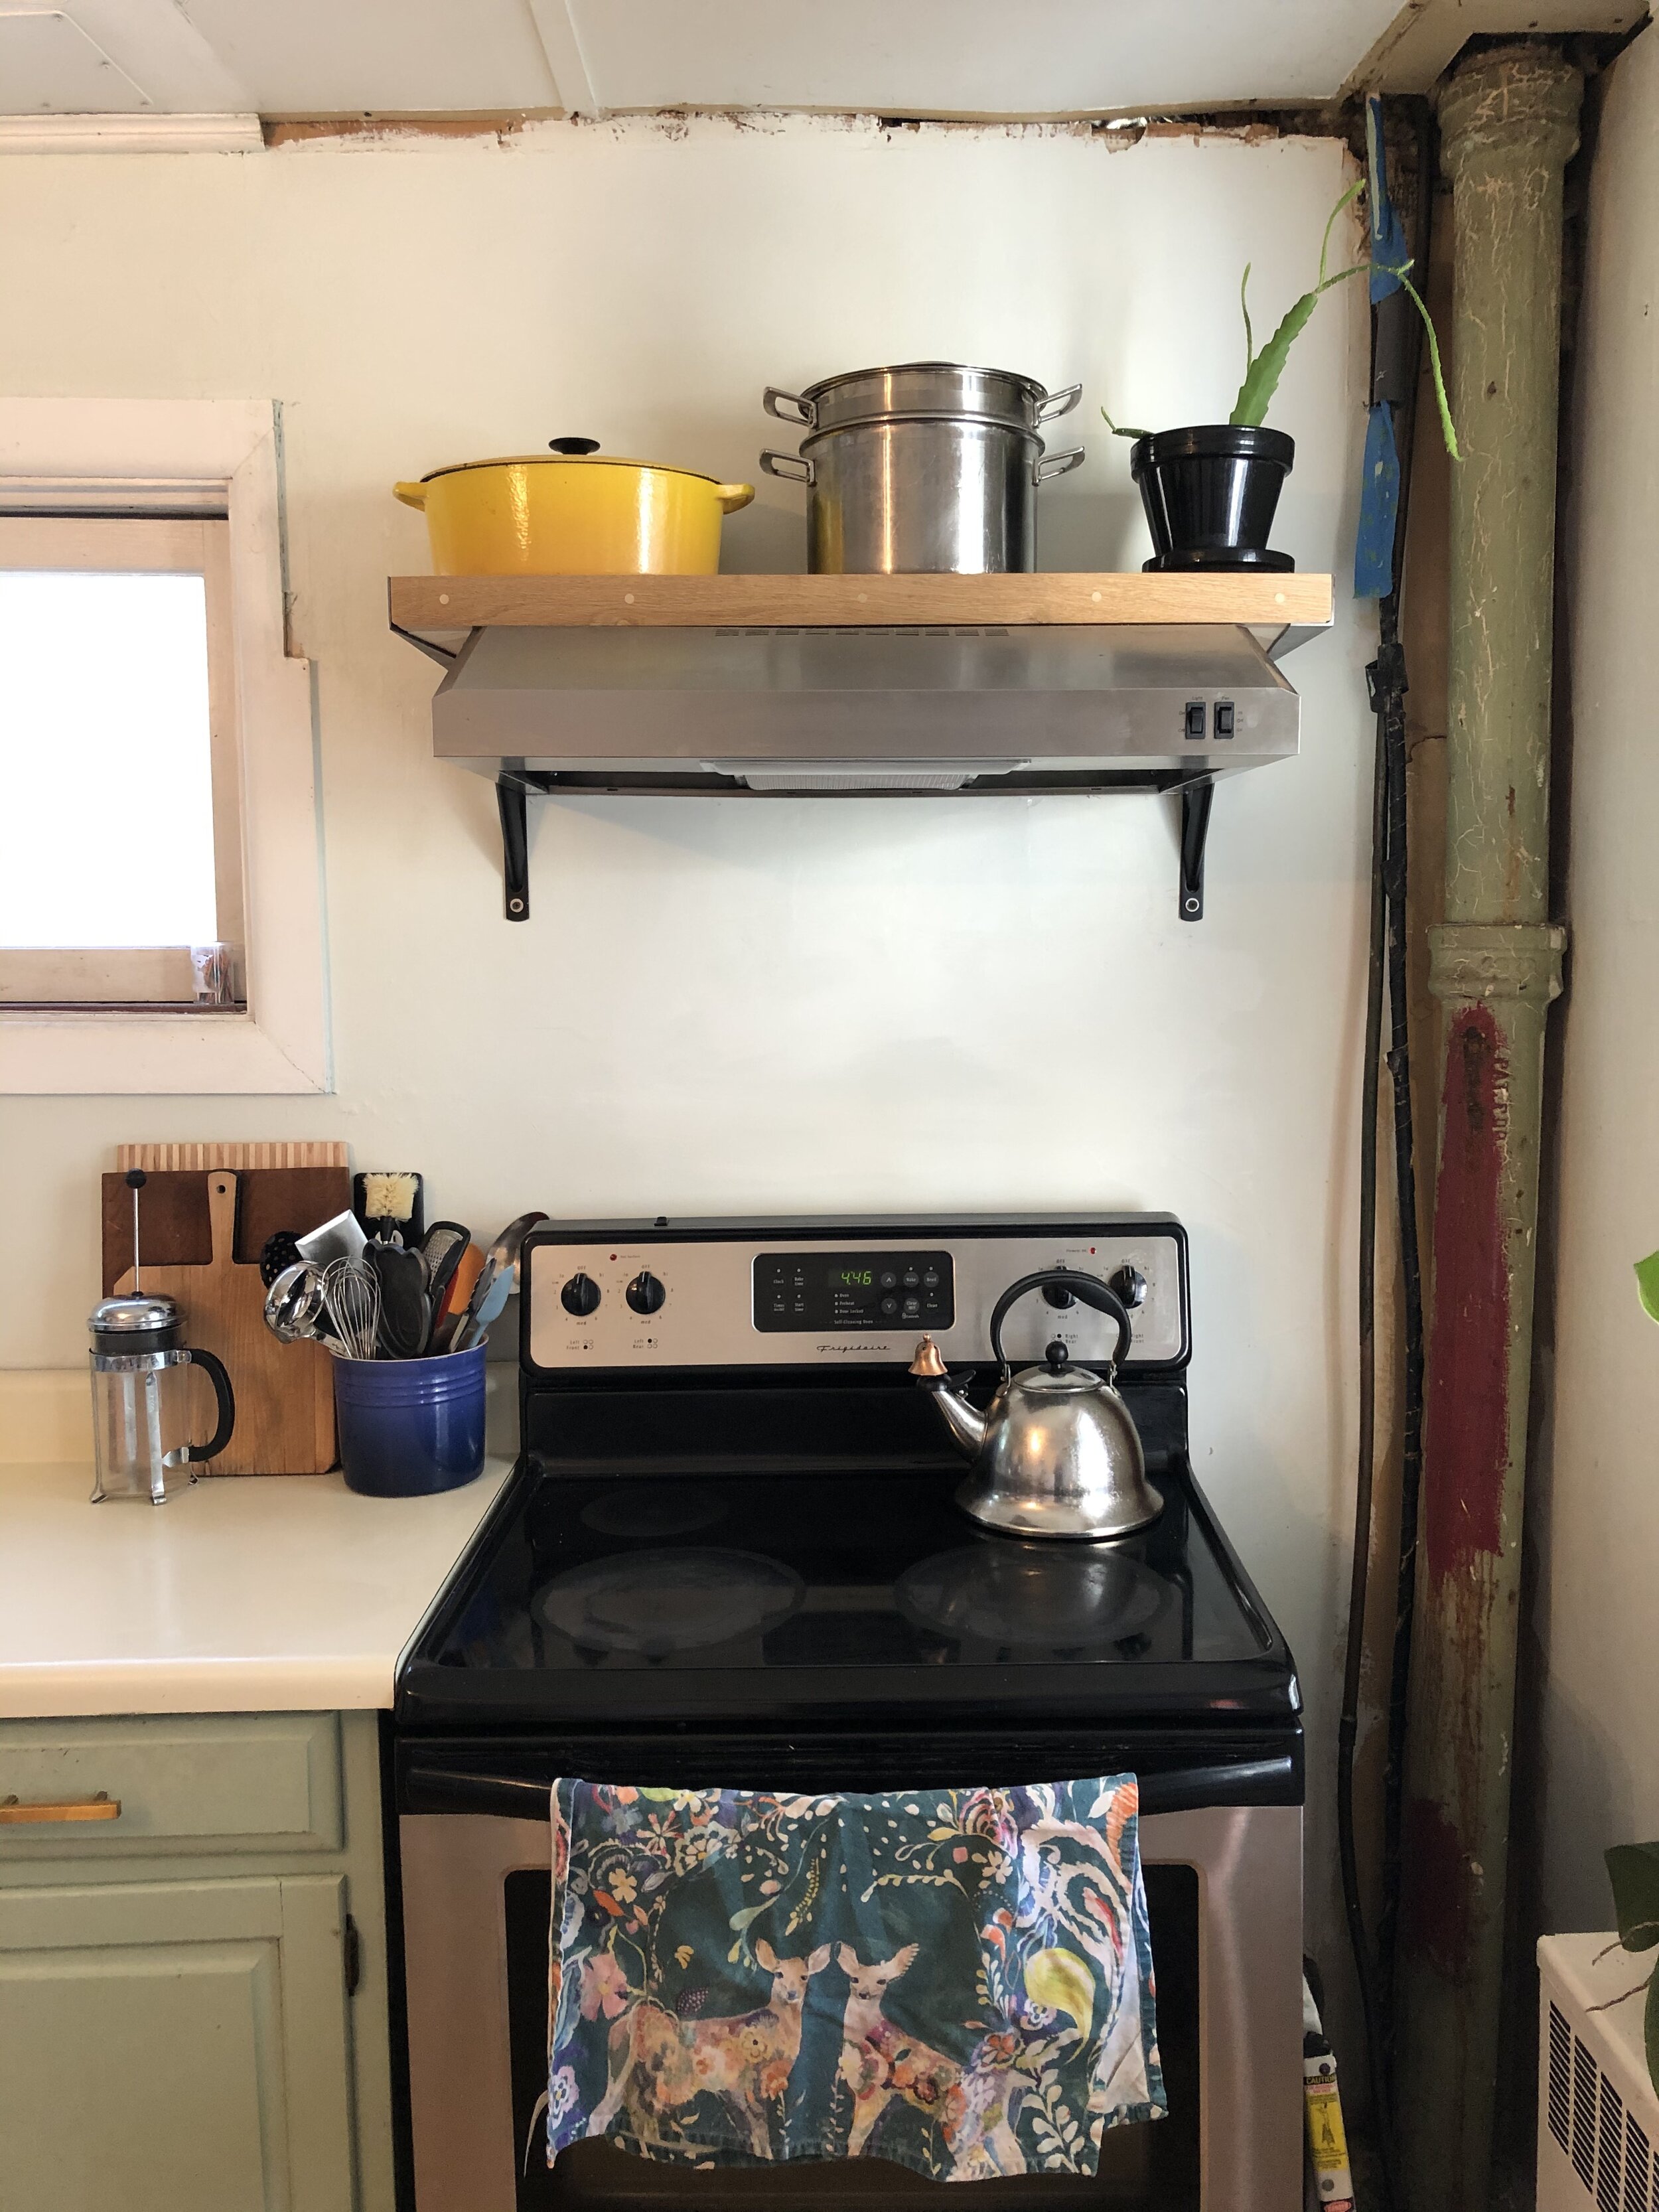
6. Then the shelf brackets.
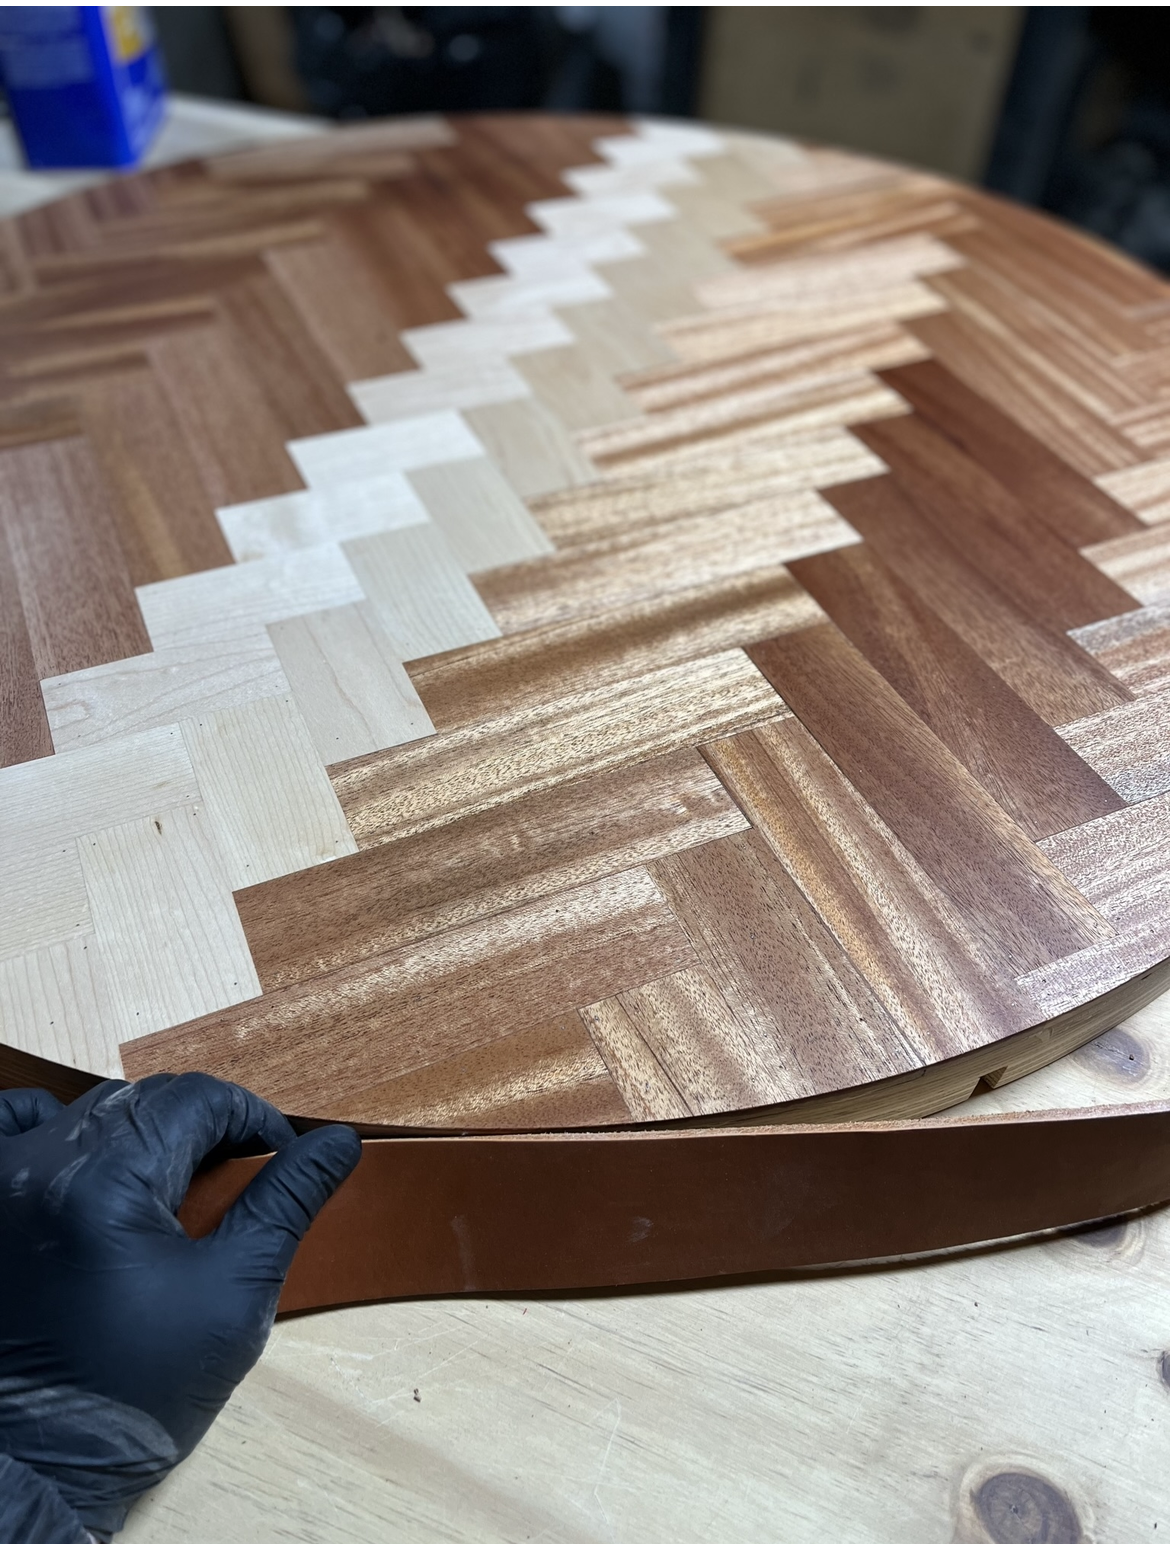
7. He made a pieced wood shelf framed in oak that was slightly larger than the 30” hood. Too bad you can’t see it (haha).
8. Some more spackle, painting and cleaning and we got here.
Next up:
Match the molding at the top.
Build a wood cover for the scary pipe on the right.
Fill in the window trim that was cut out by the previous owners to fit the cabinet.
And then the question is: Backsplash?
