

Mudroom Makeover
BEFORE AND AFTER OF OUR LAUNDRY ROOM/MUDROOM.
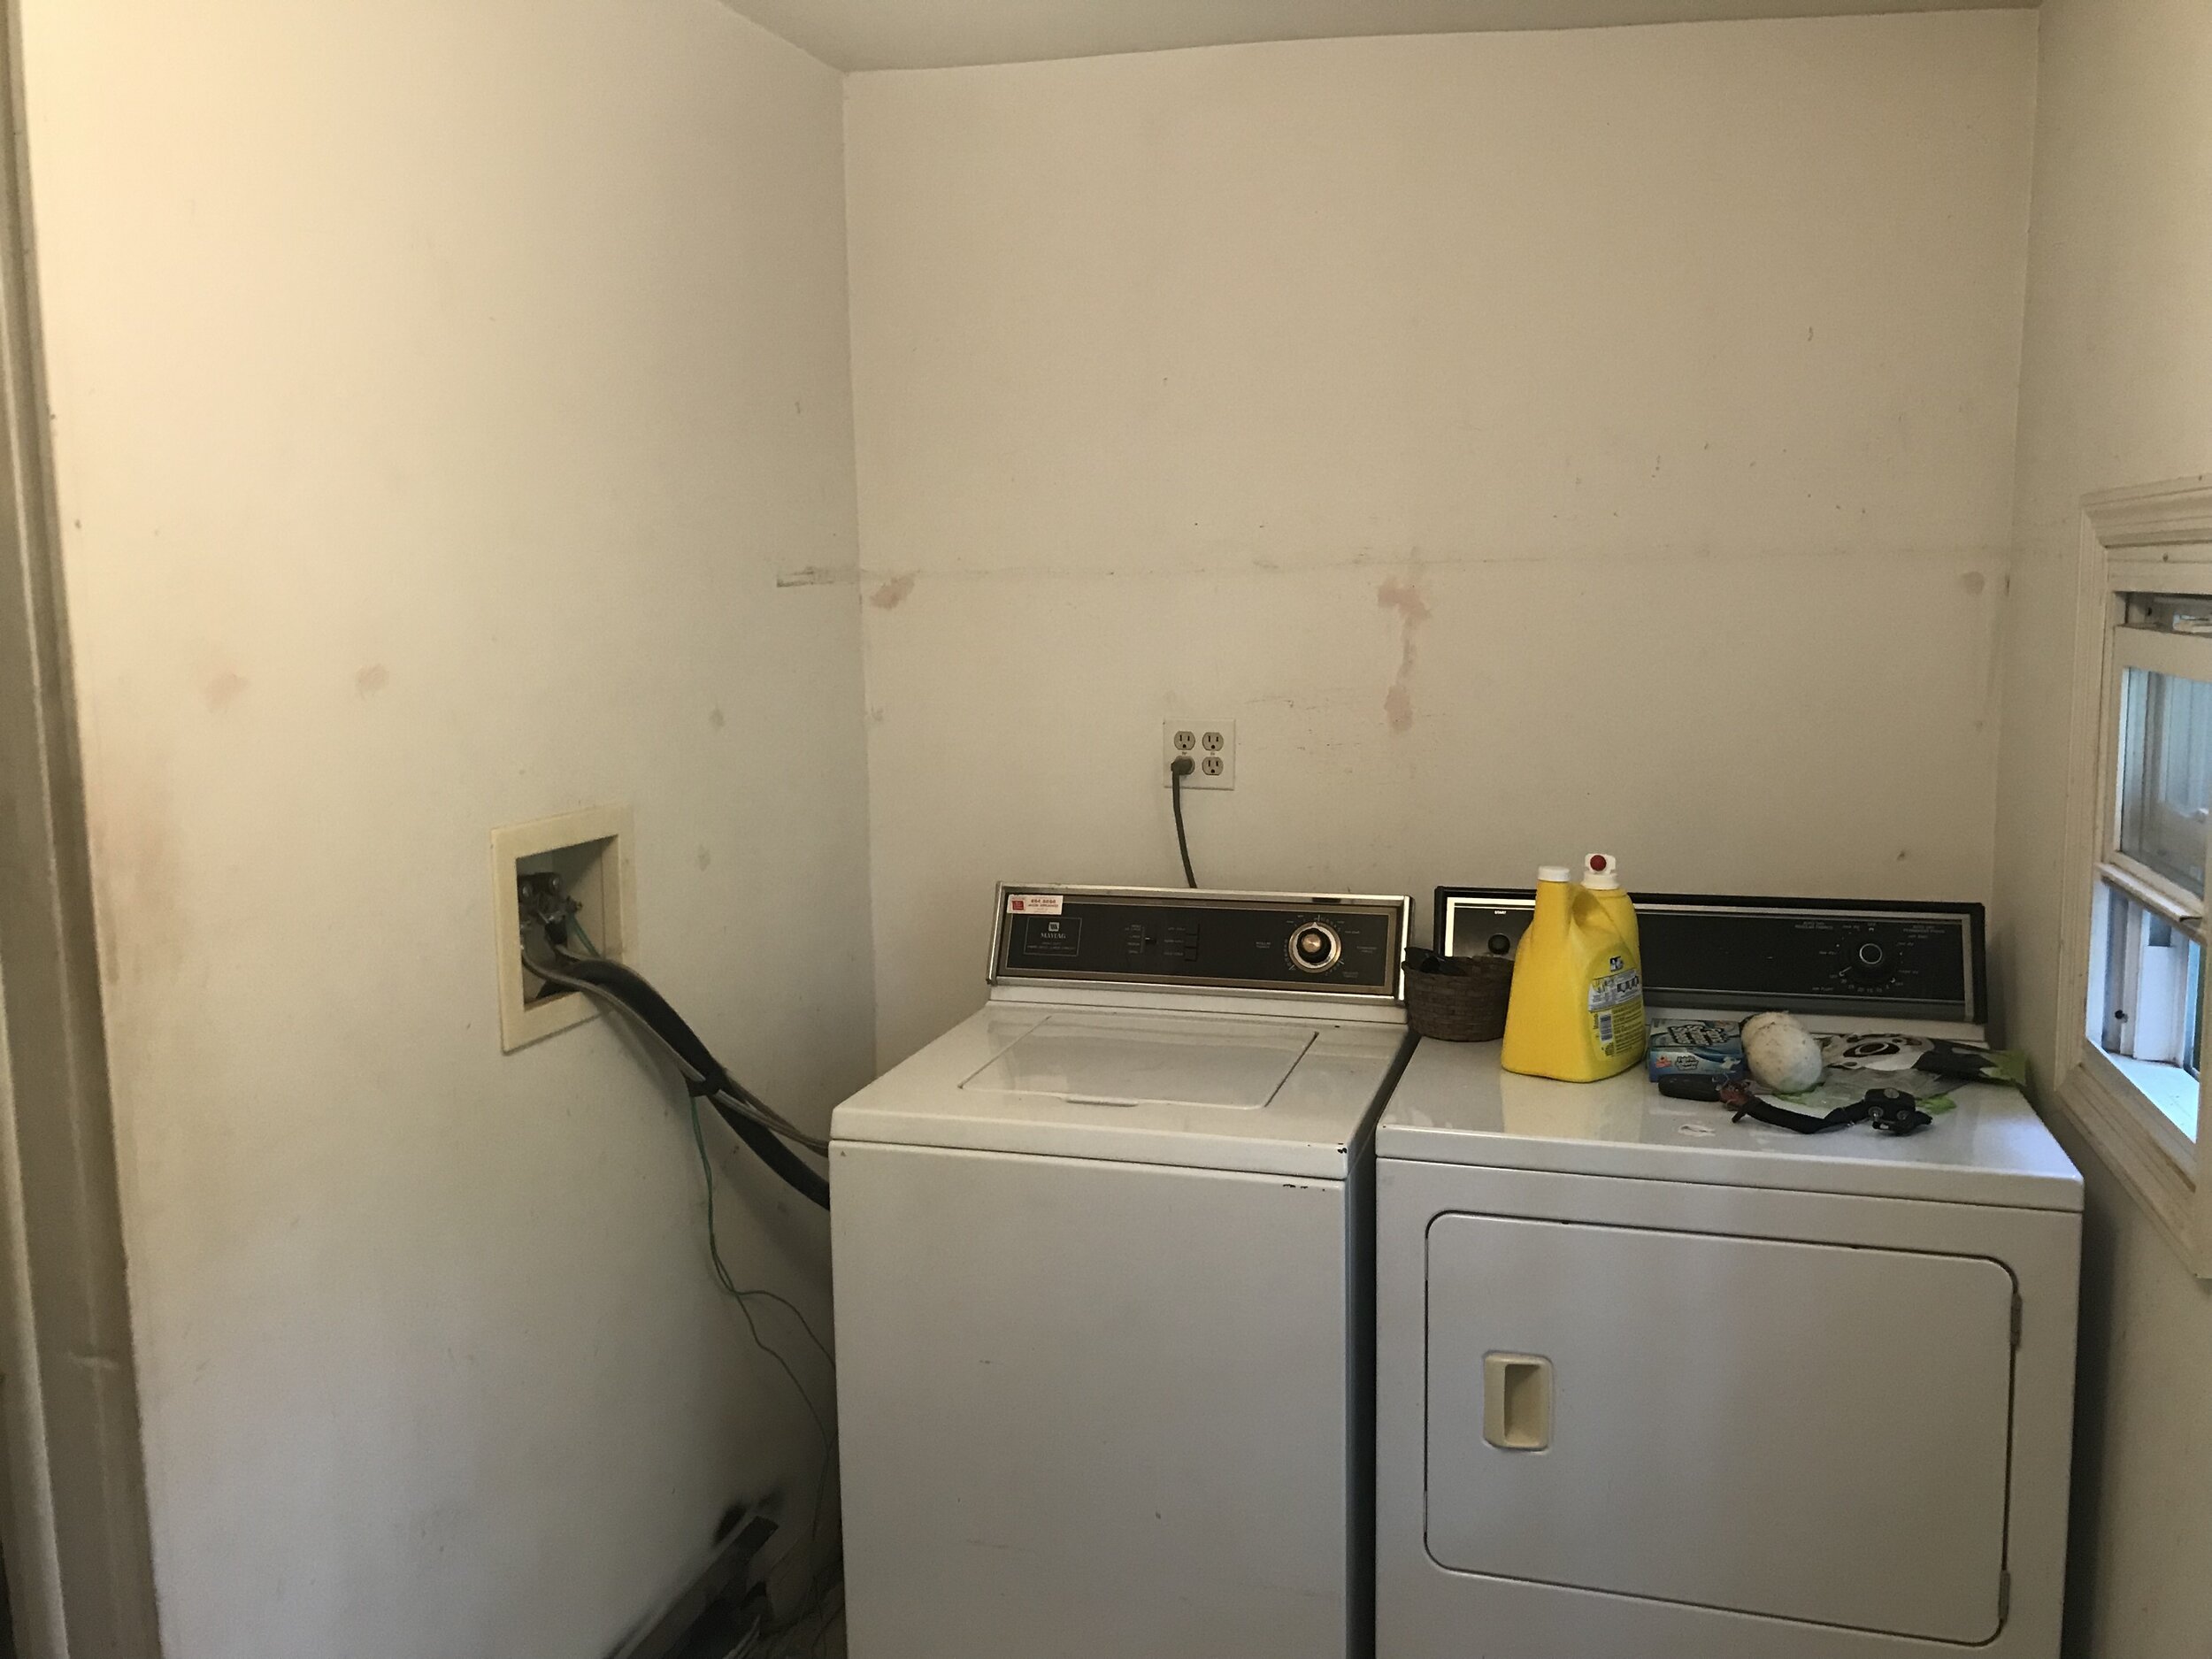
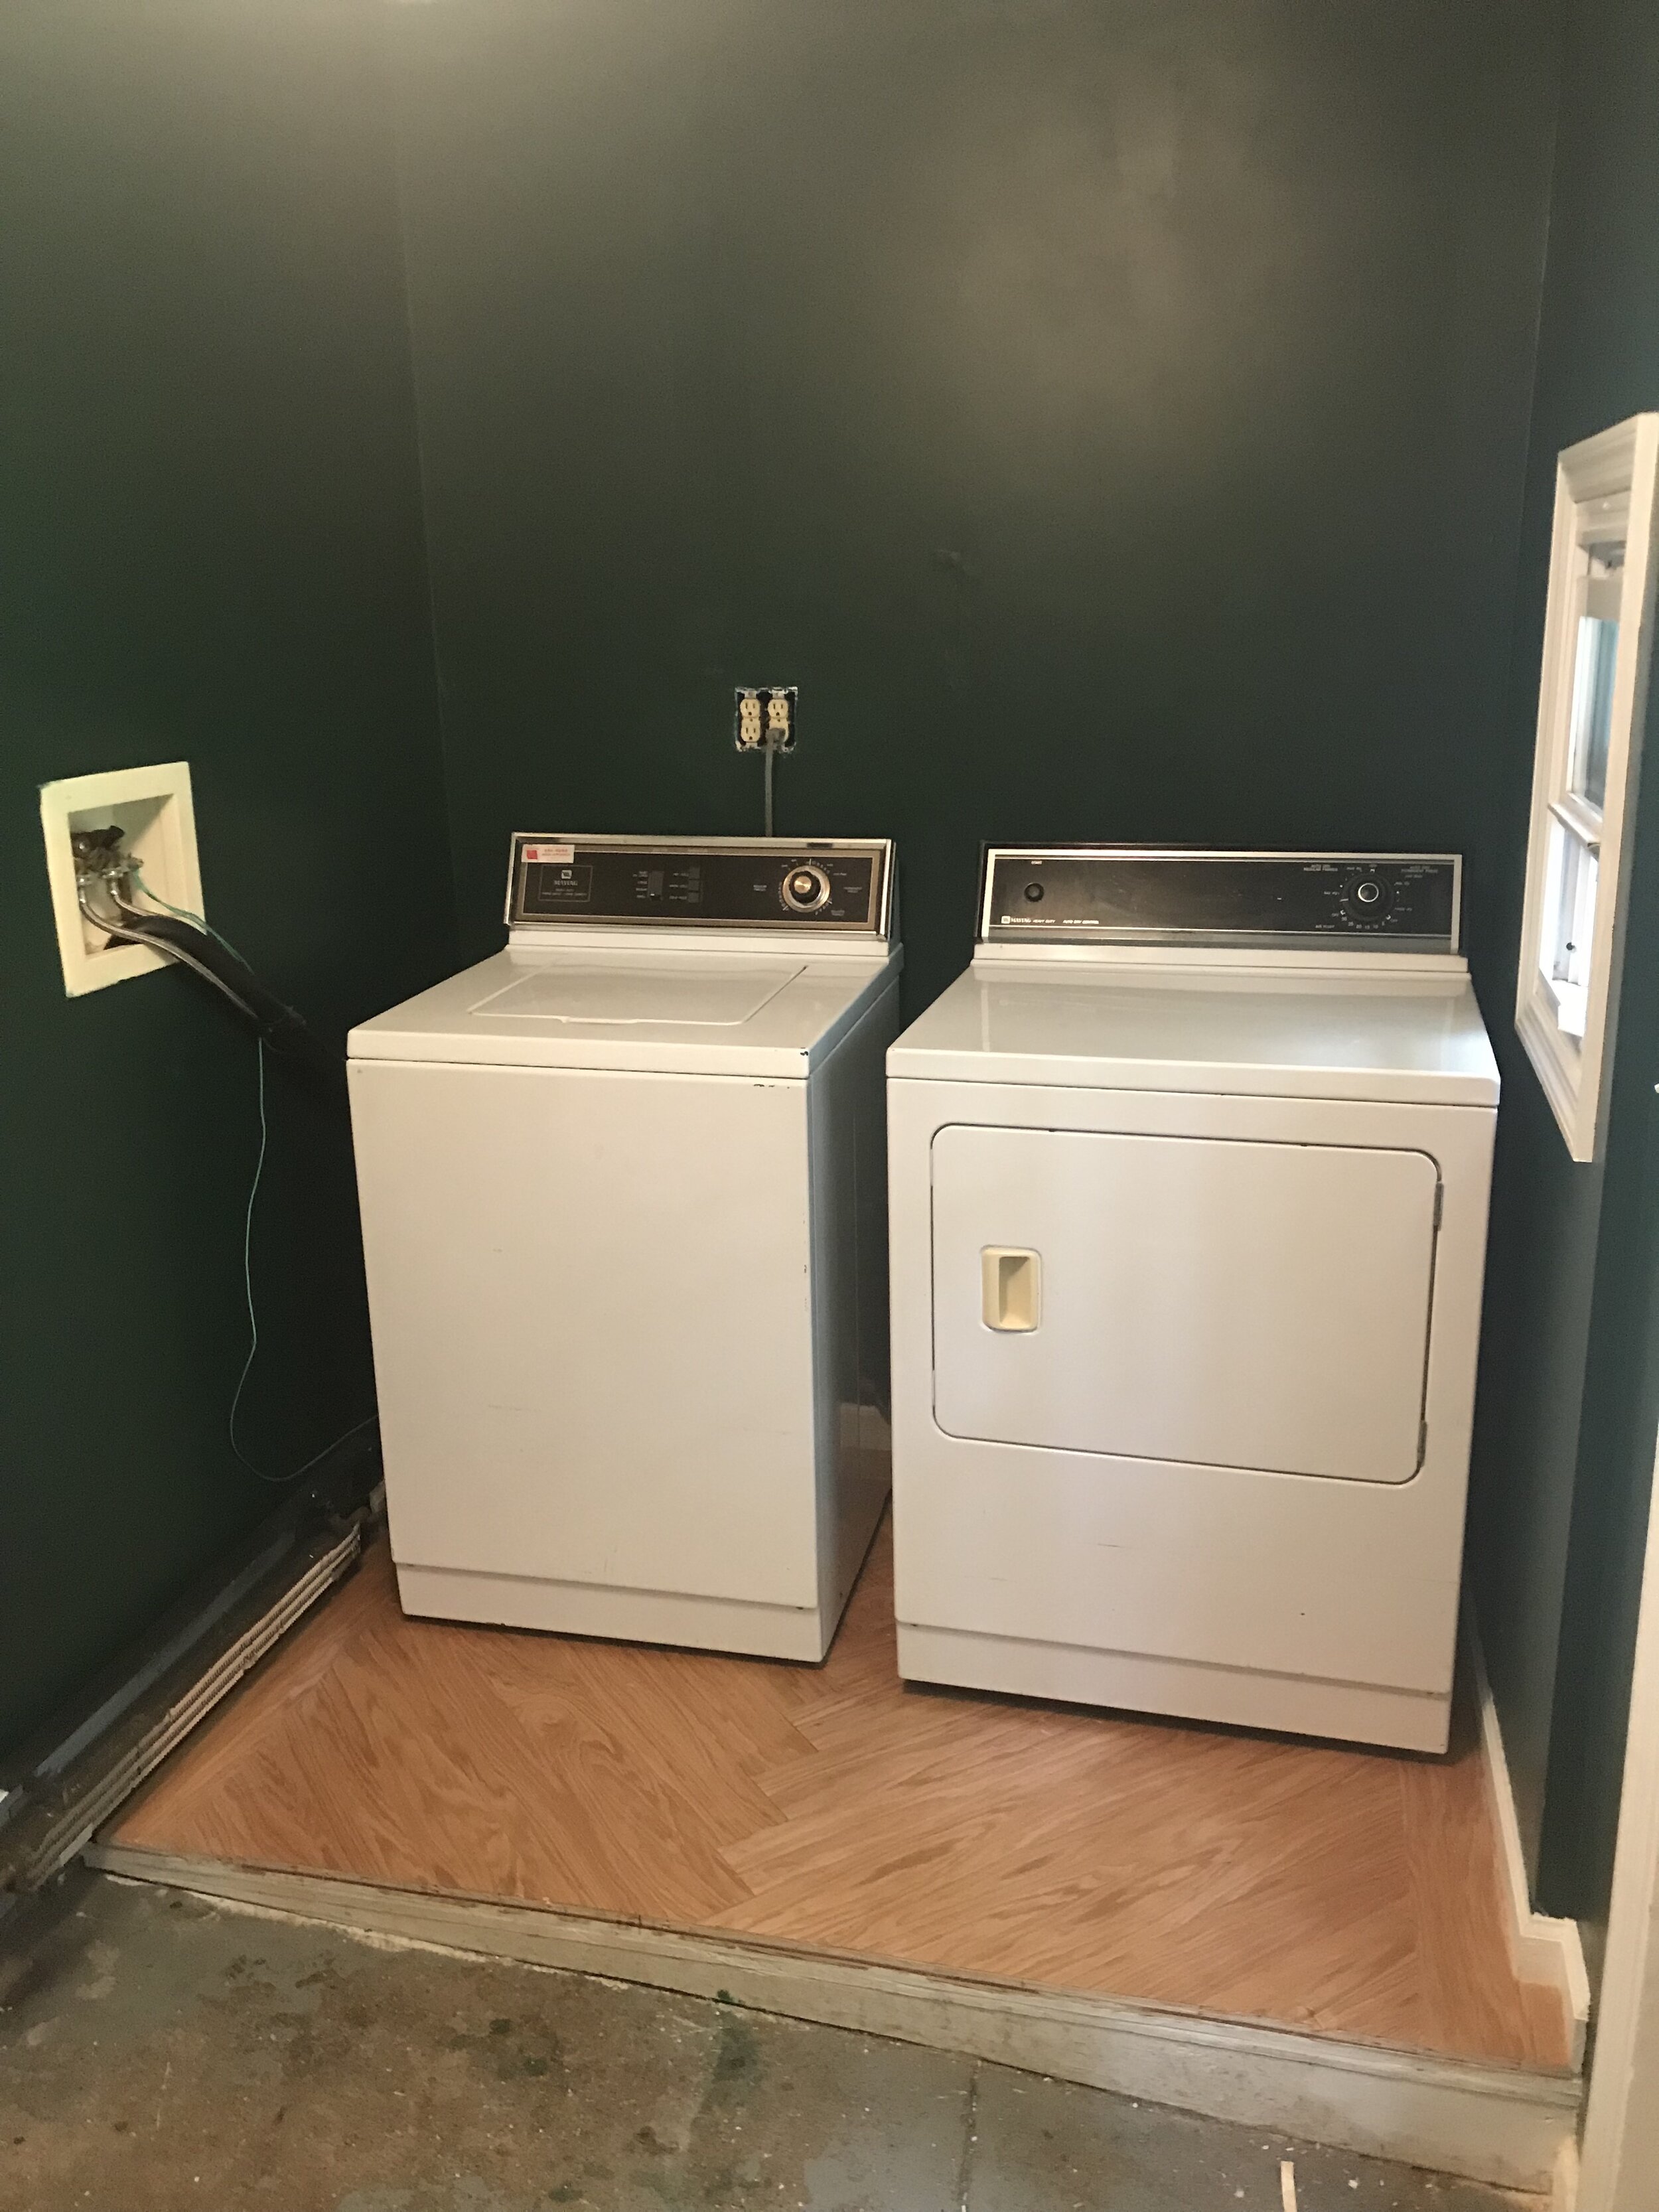
BEFORE
As I have said before, I should be way more ashamed of living with the mudroom like this for over a year. Especially because most people enter the house through here instead of the front door. But projects and kids and life have a way to delay progress.
We prepped and planned for reno-ing this space and then tackled it 4th of July weekend + the weekend after. We had a friend’s wedding on July 4th so we used the time to have our friend watch our daughter so we could tackle it without toddler interruptions. Kids and renovating don’t mix. And also I was 7 months pregnant. So limits there as well.
All I knew was that I really wanted to use a super dark green. I don’t know if its all the trees on our property but I am into greens for this house.
When we paint our house (which it desperately needs) I want the shutters to go from the yellow to this green too.

STEP 1: Clean Out
First we emptied the space and dumped everything into the dining room that we were keeping.
Chris moved the washer and dryer outside onto our back patio. Then we assessed next steps. And by that I mean Chris called his bf Frank to make sure he could figure out how to hook the washer back up when we were done. He isn’t big into plumbing or electric. Or wires…

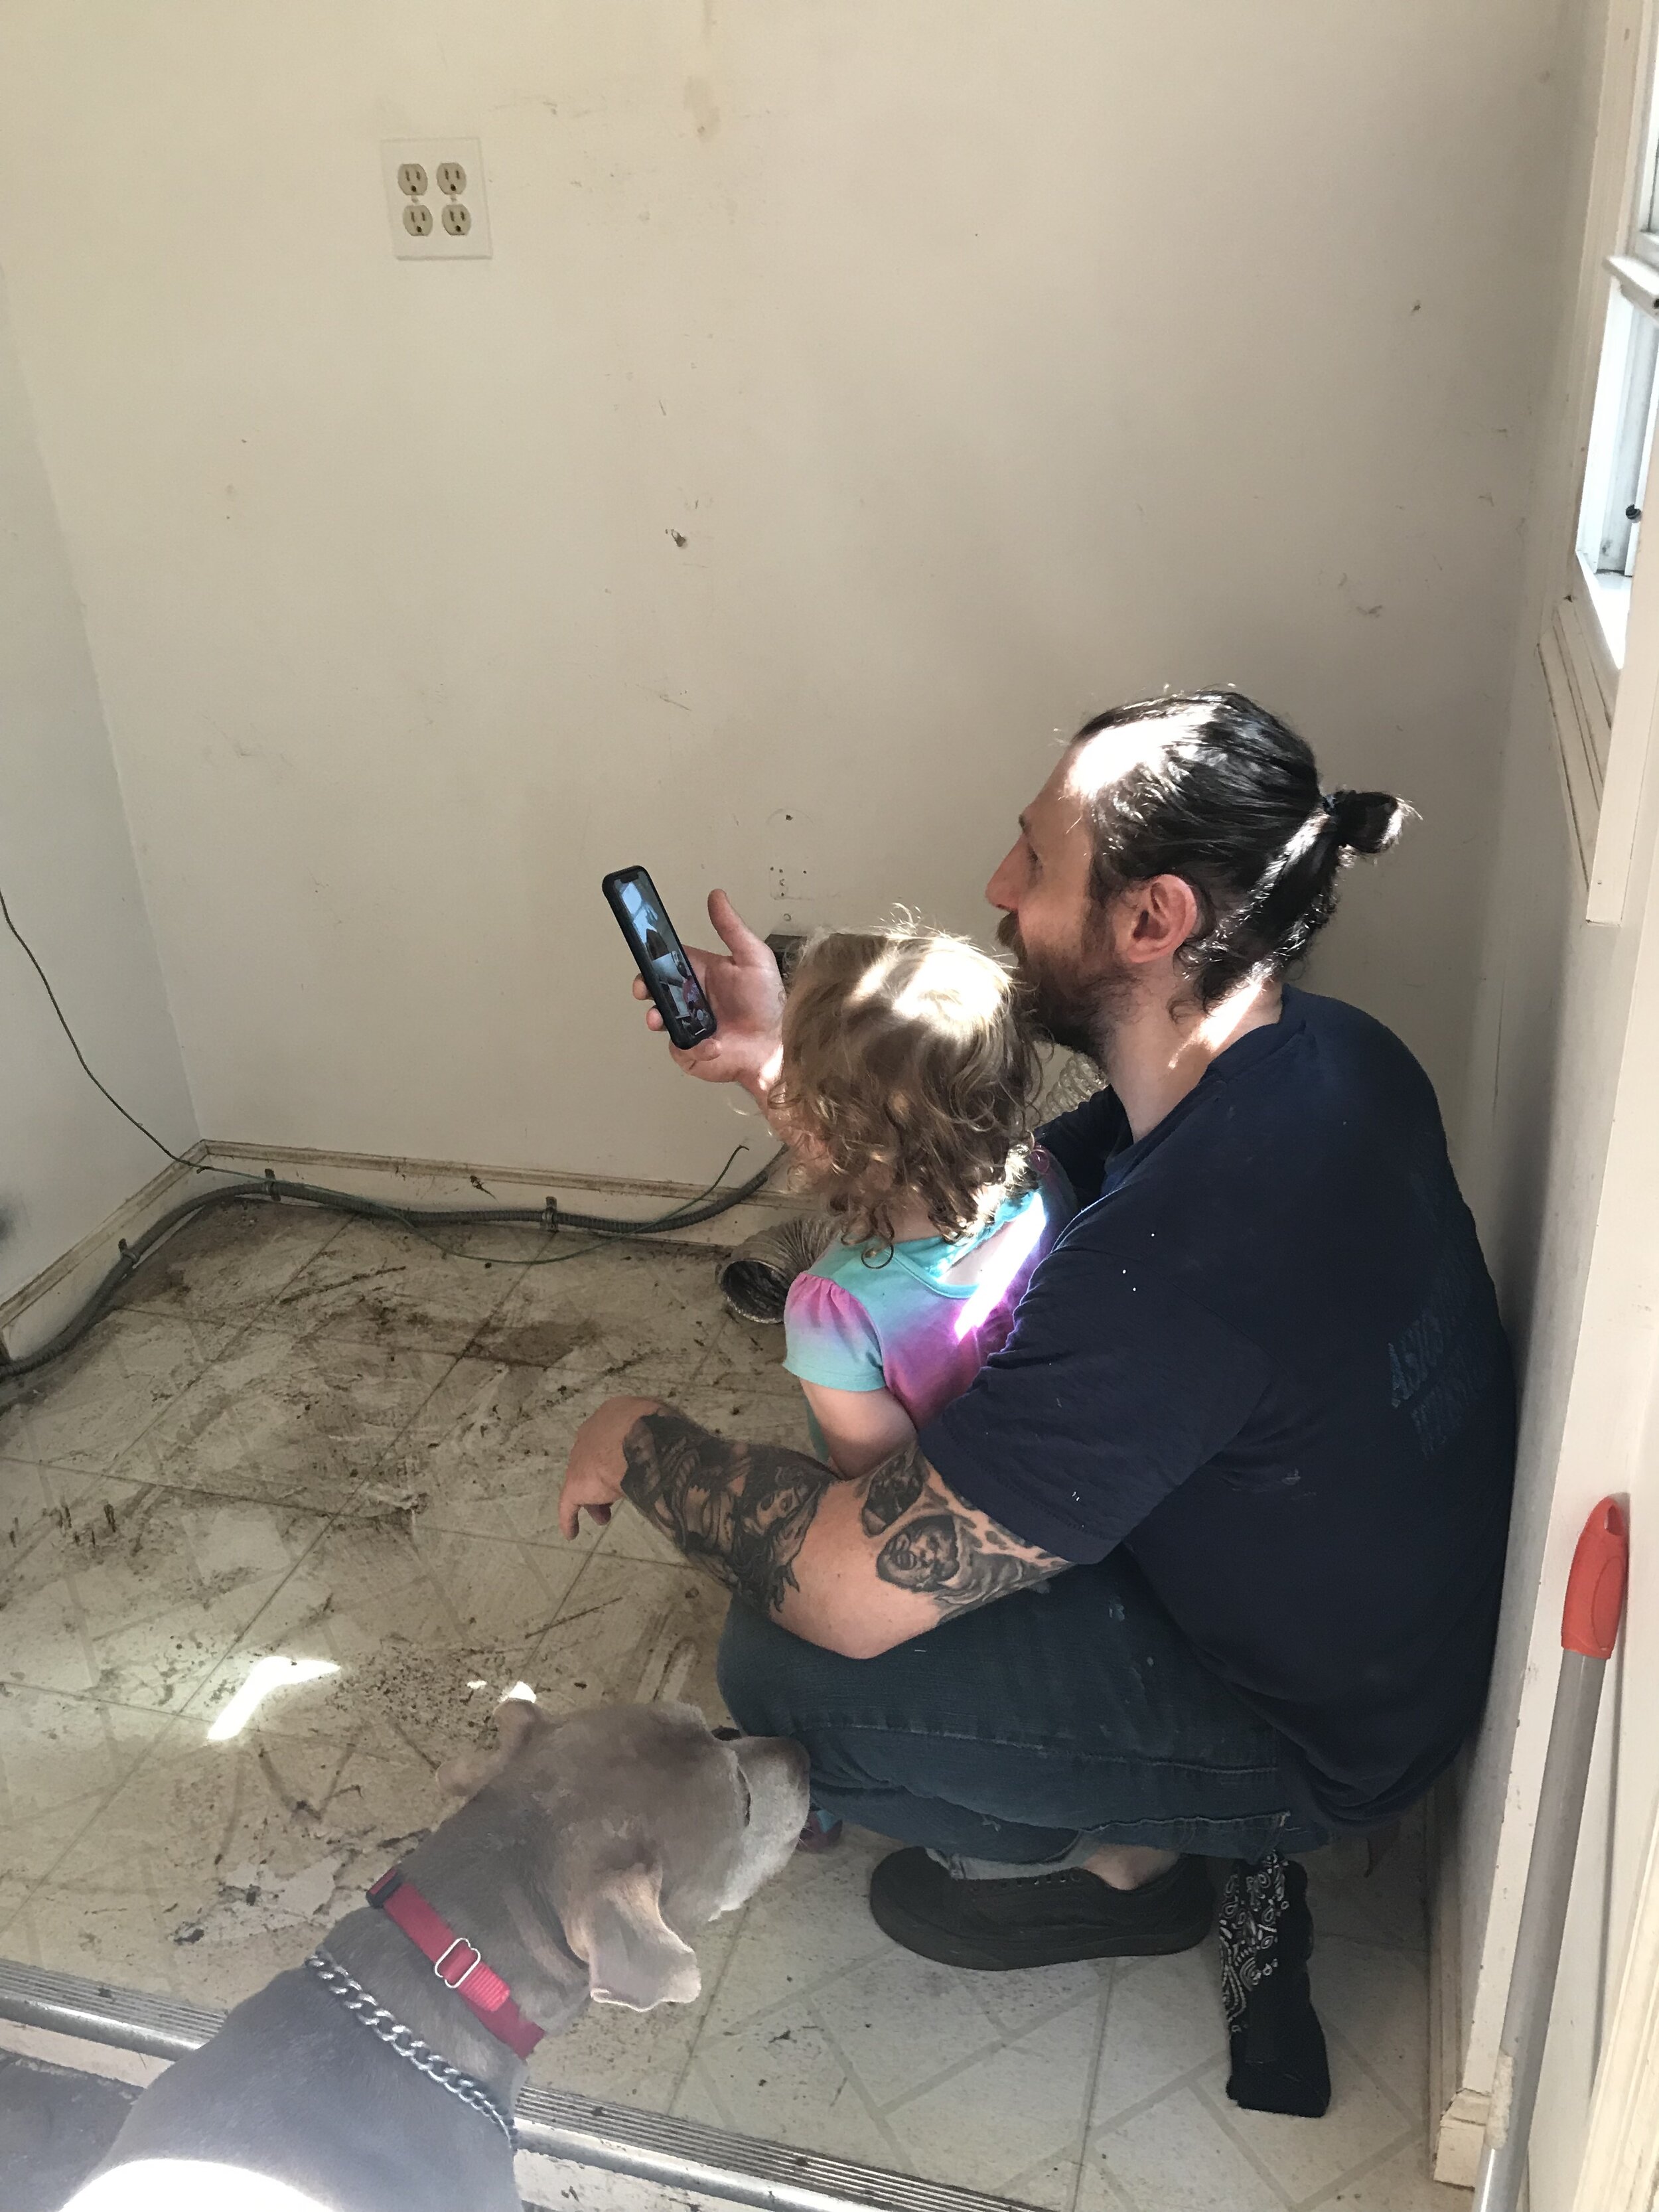
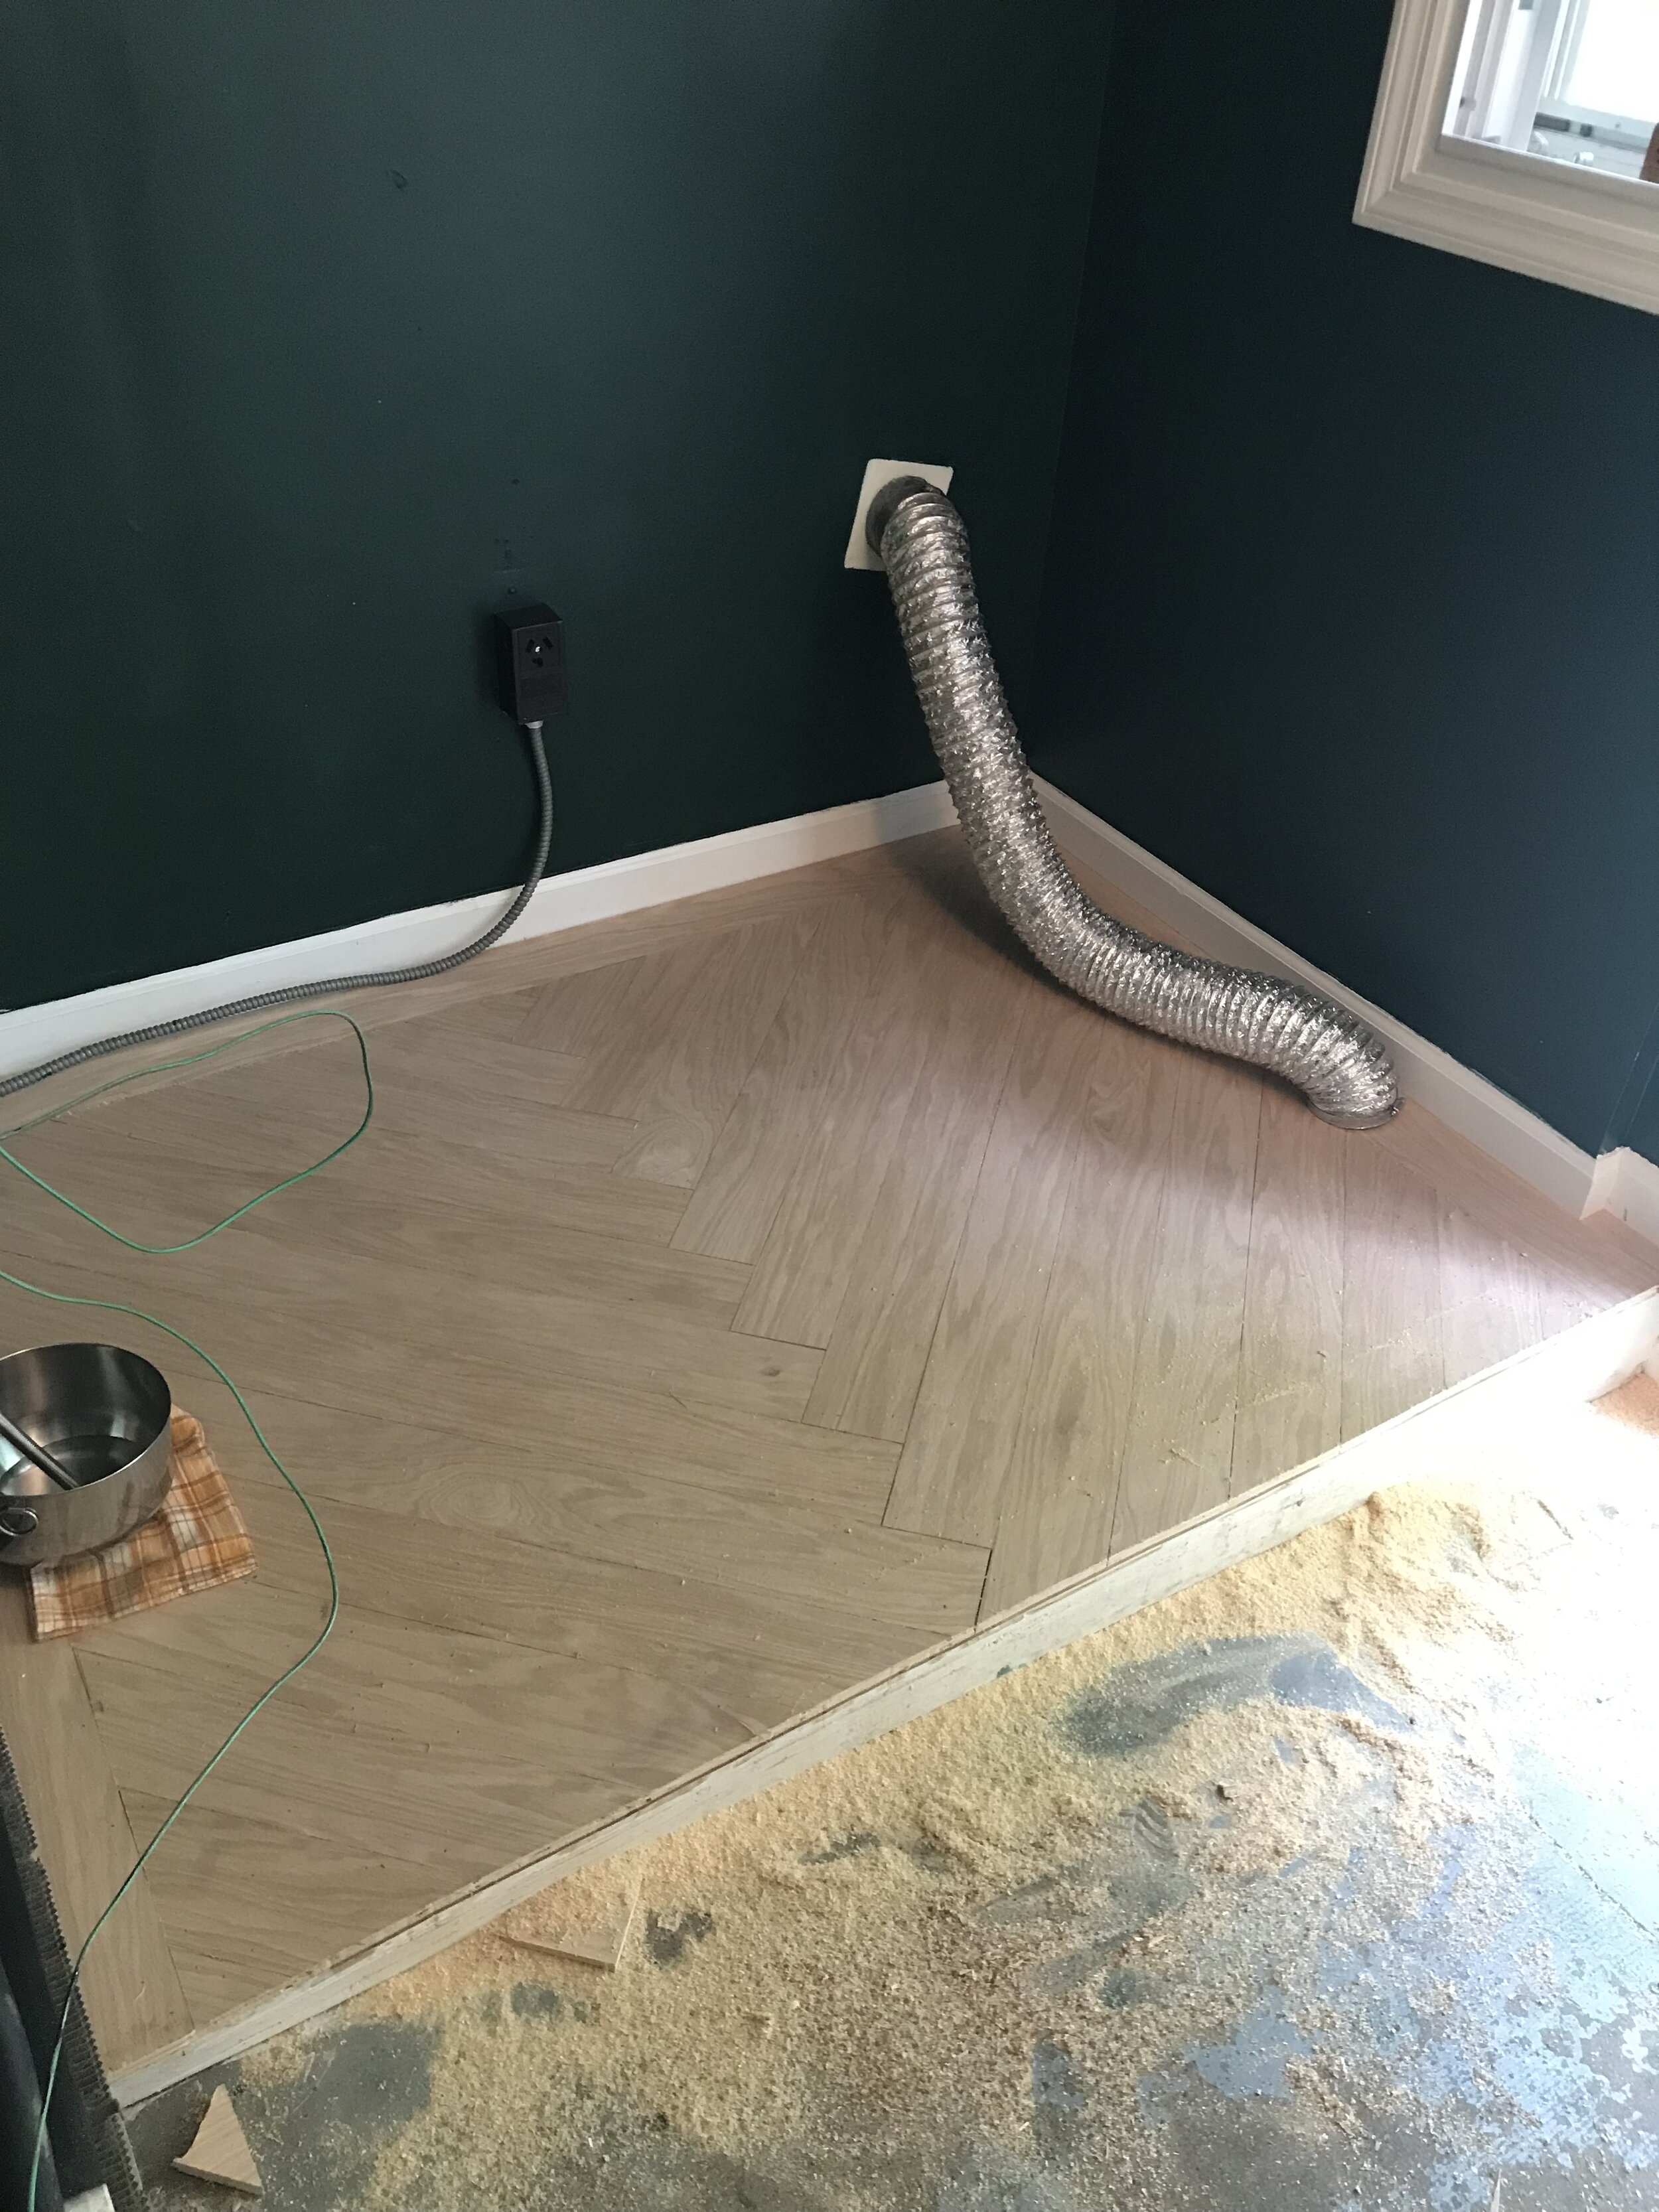
STEP 2: Remove laminate floor

For some reason the water line had a slow drip so I had to get a makeshift bucket to collect the water so the sub floor would dry out for Chris to start piecing.

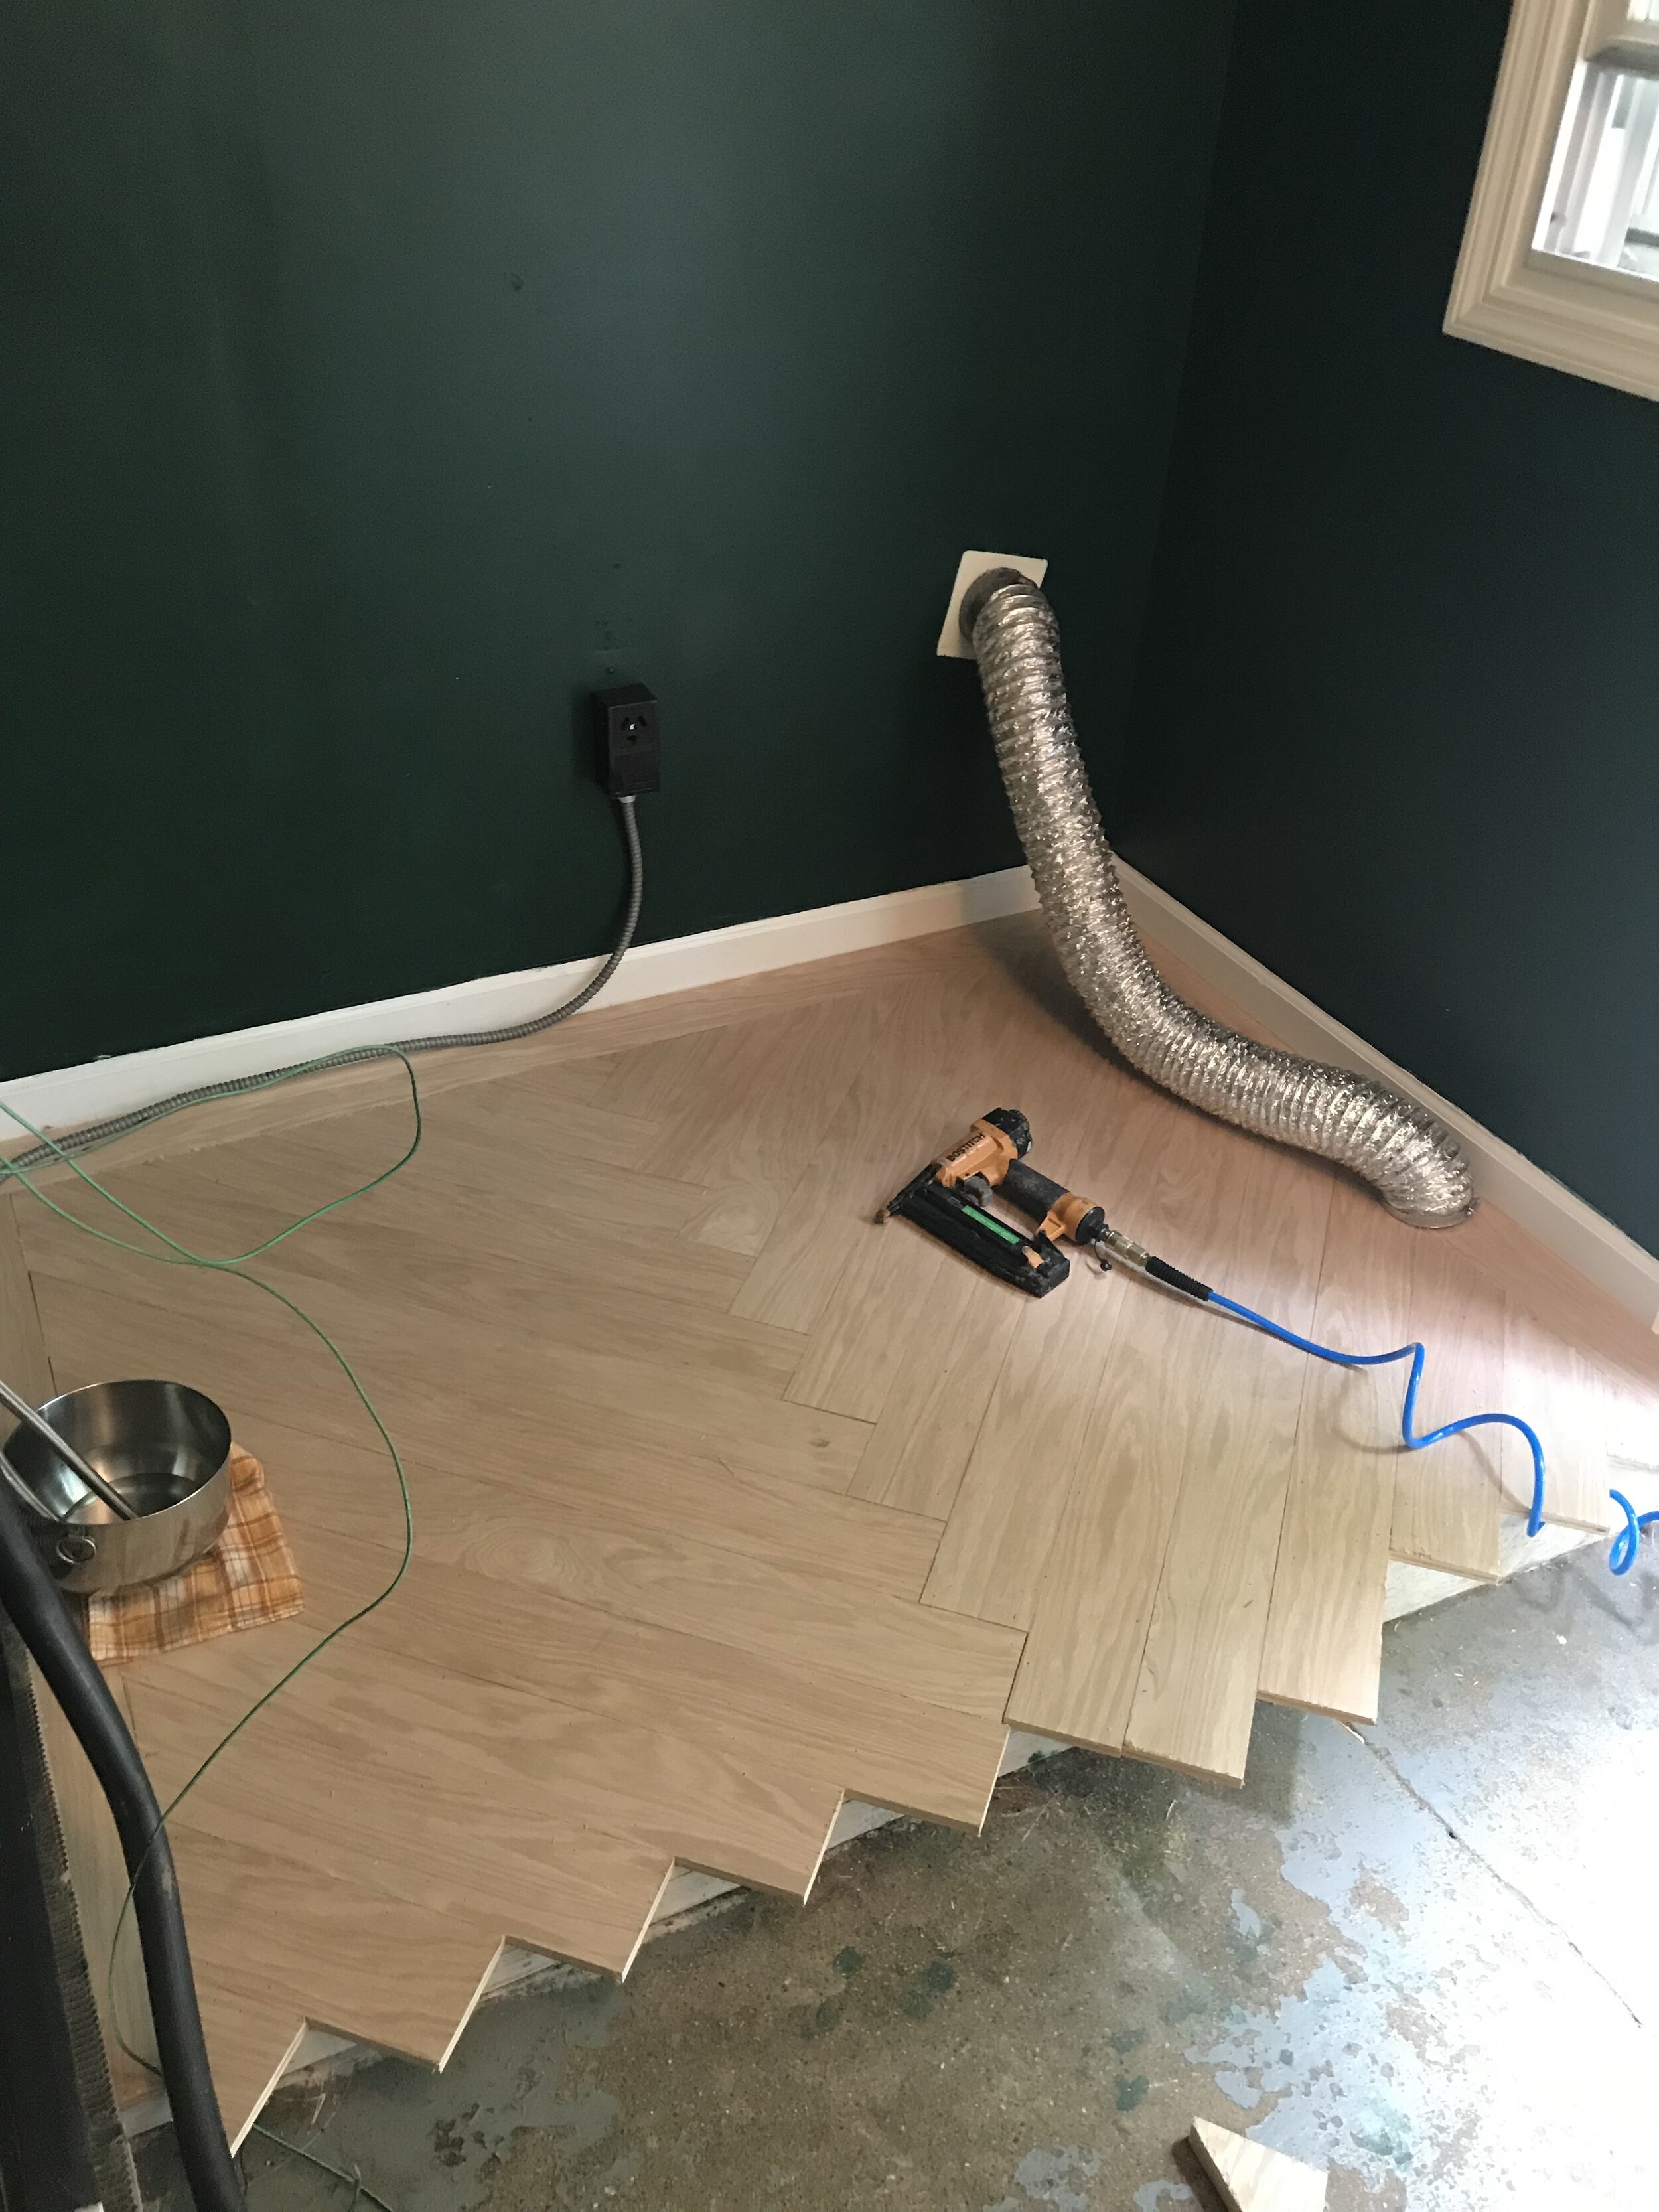
STEP 3: Paint!
I started with the green walls and then came back with white trim and white ceiling paint. It took me about 2 days to finish up for Chris to start the flooring.

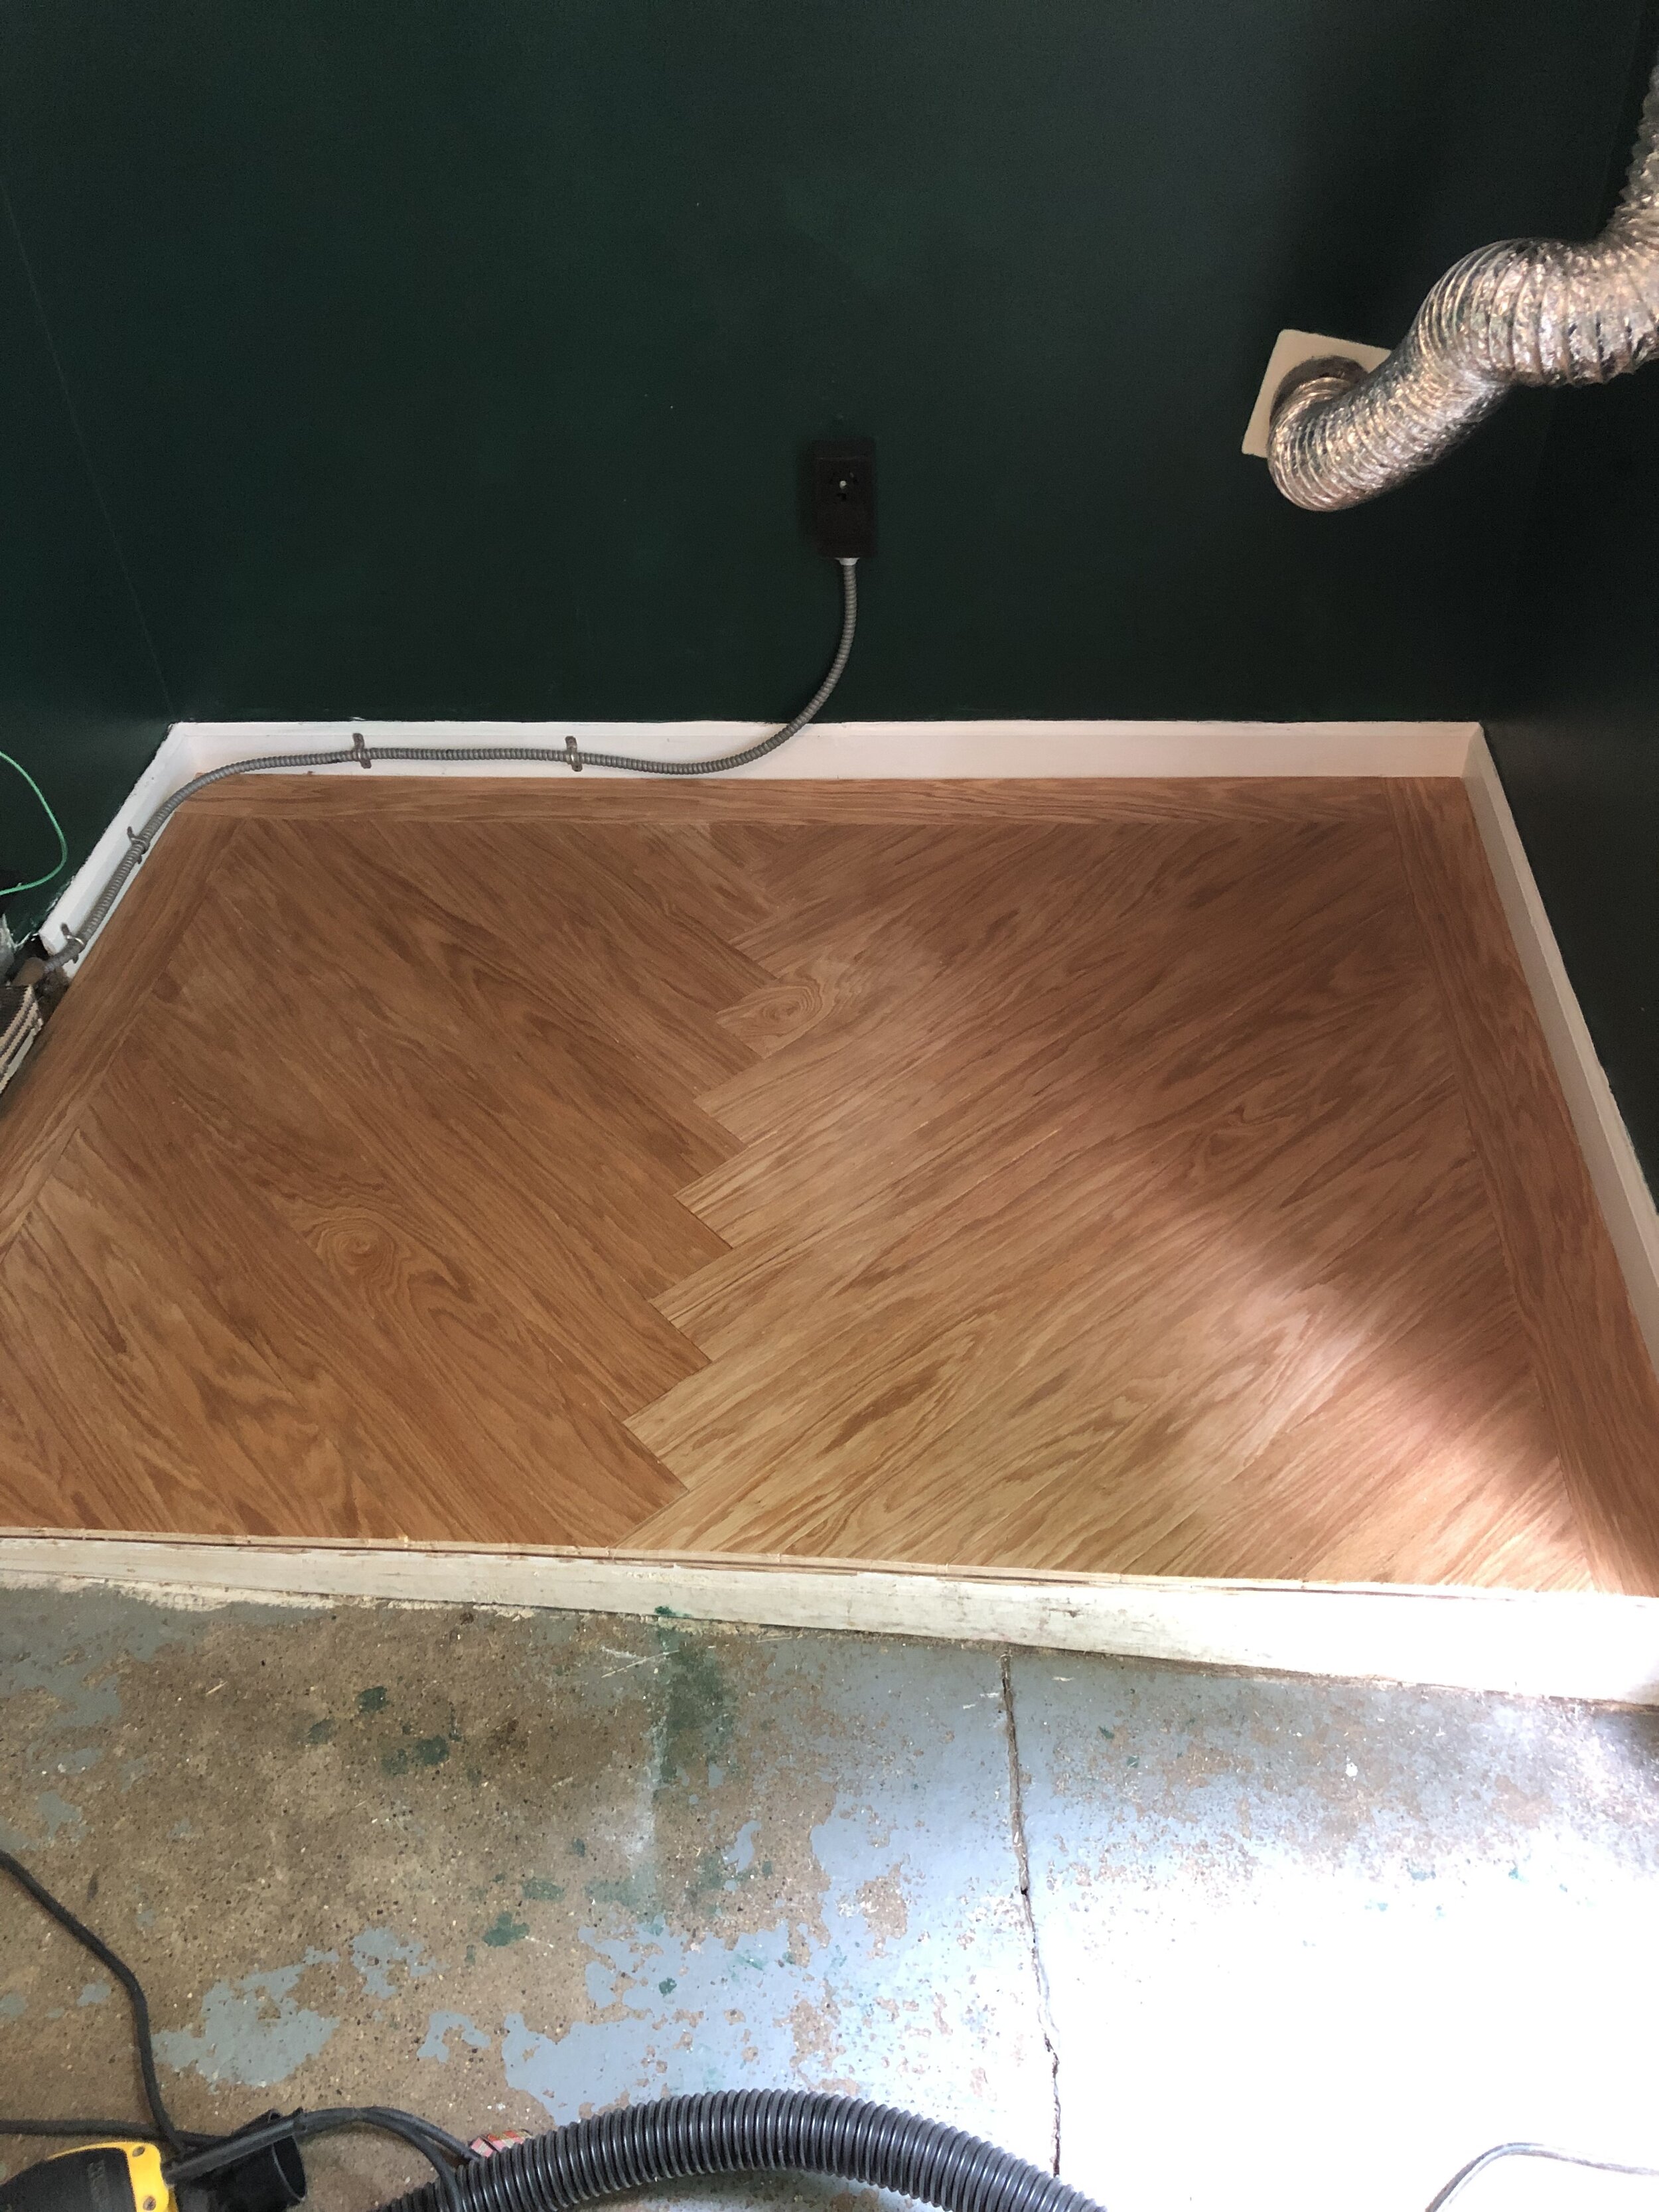
STEP 4: Wood Flooring
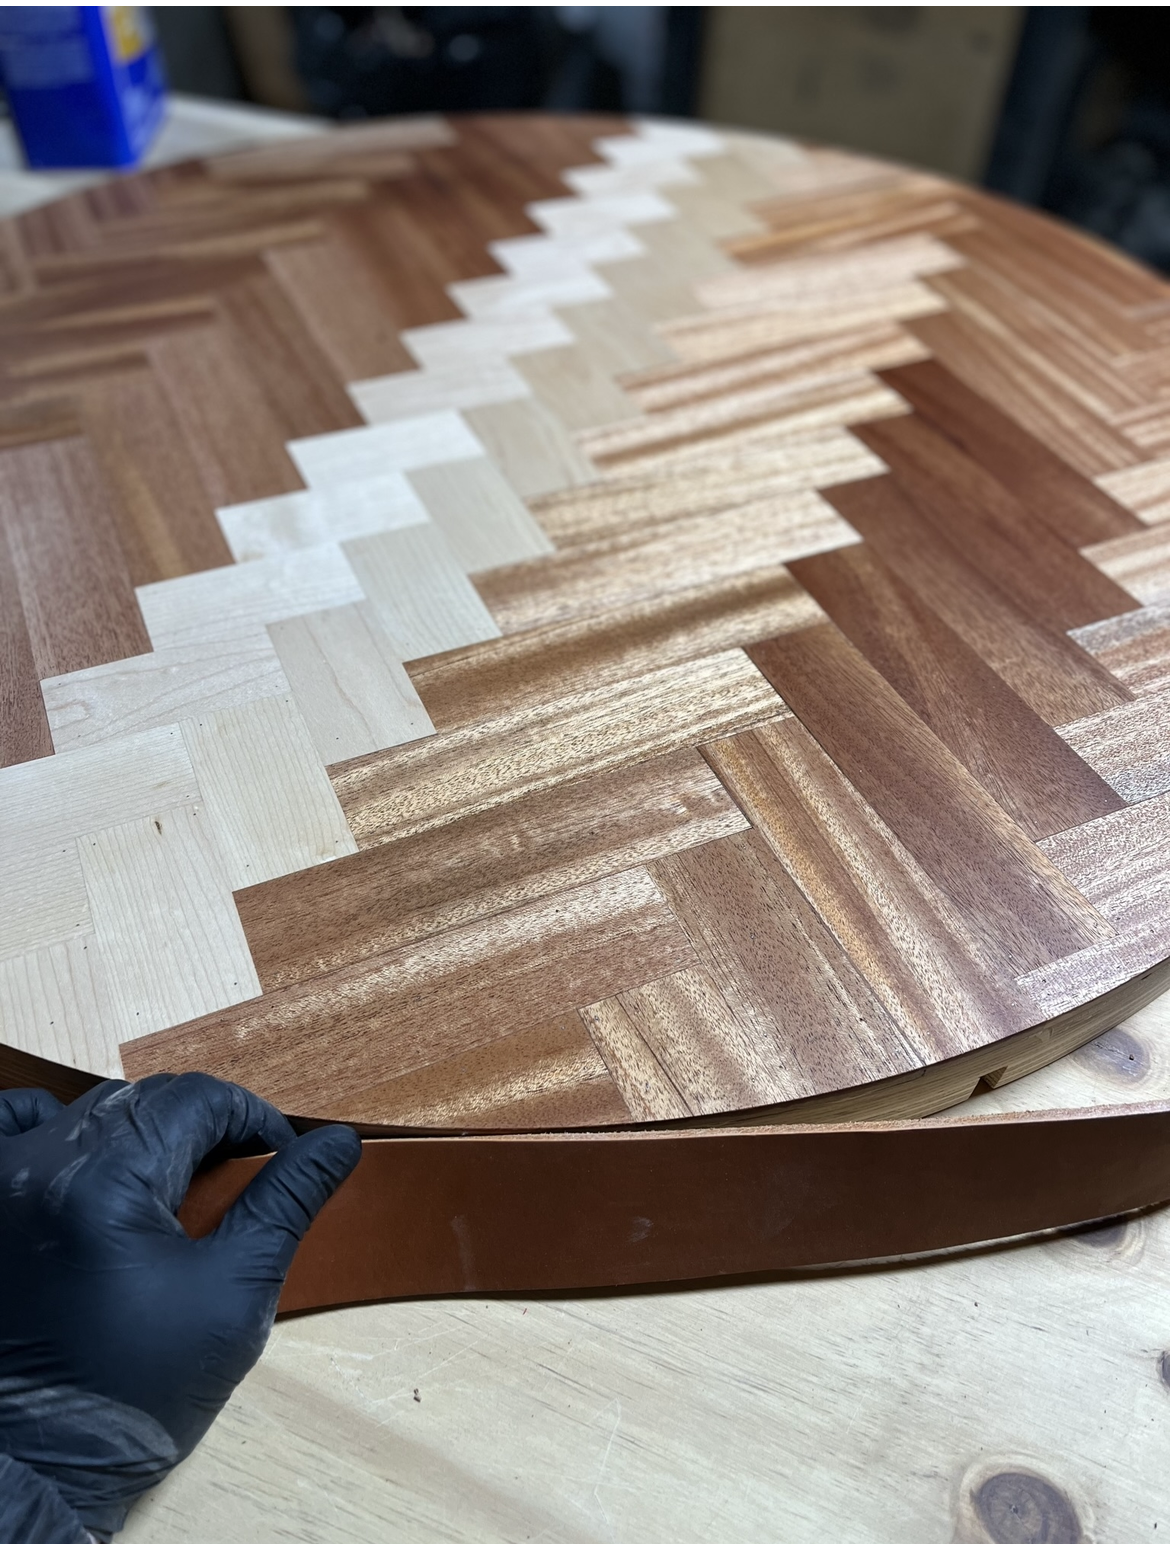
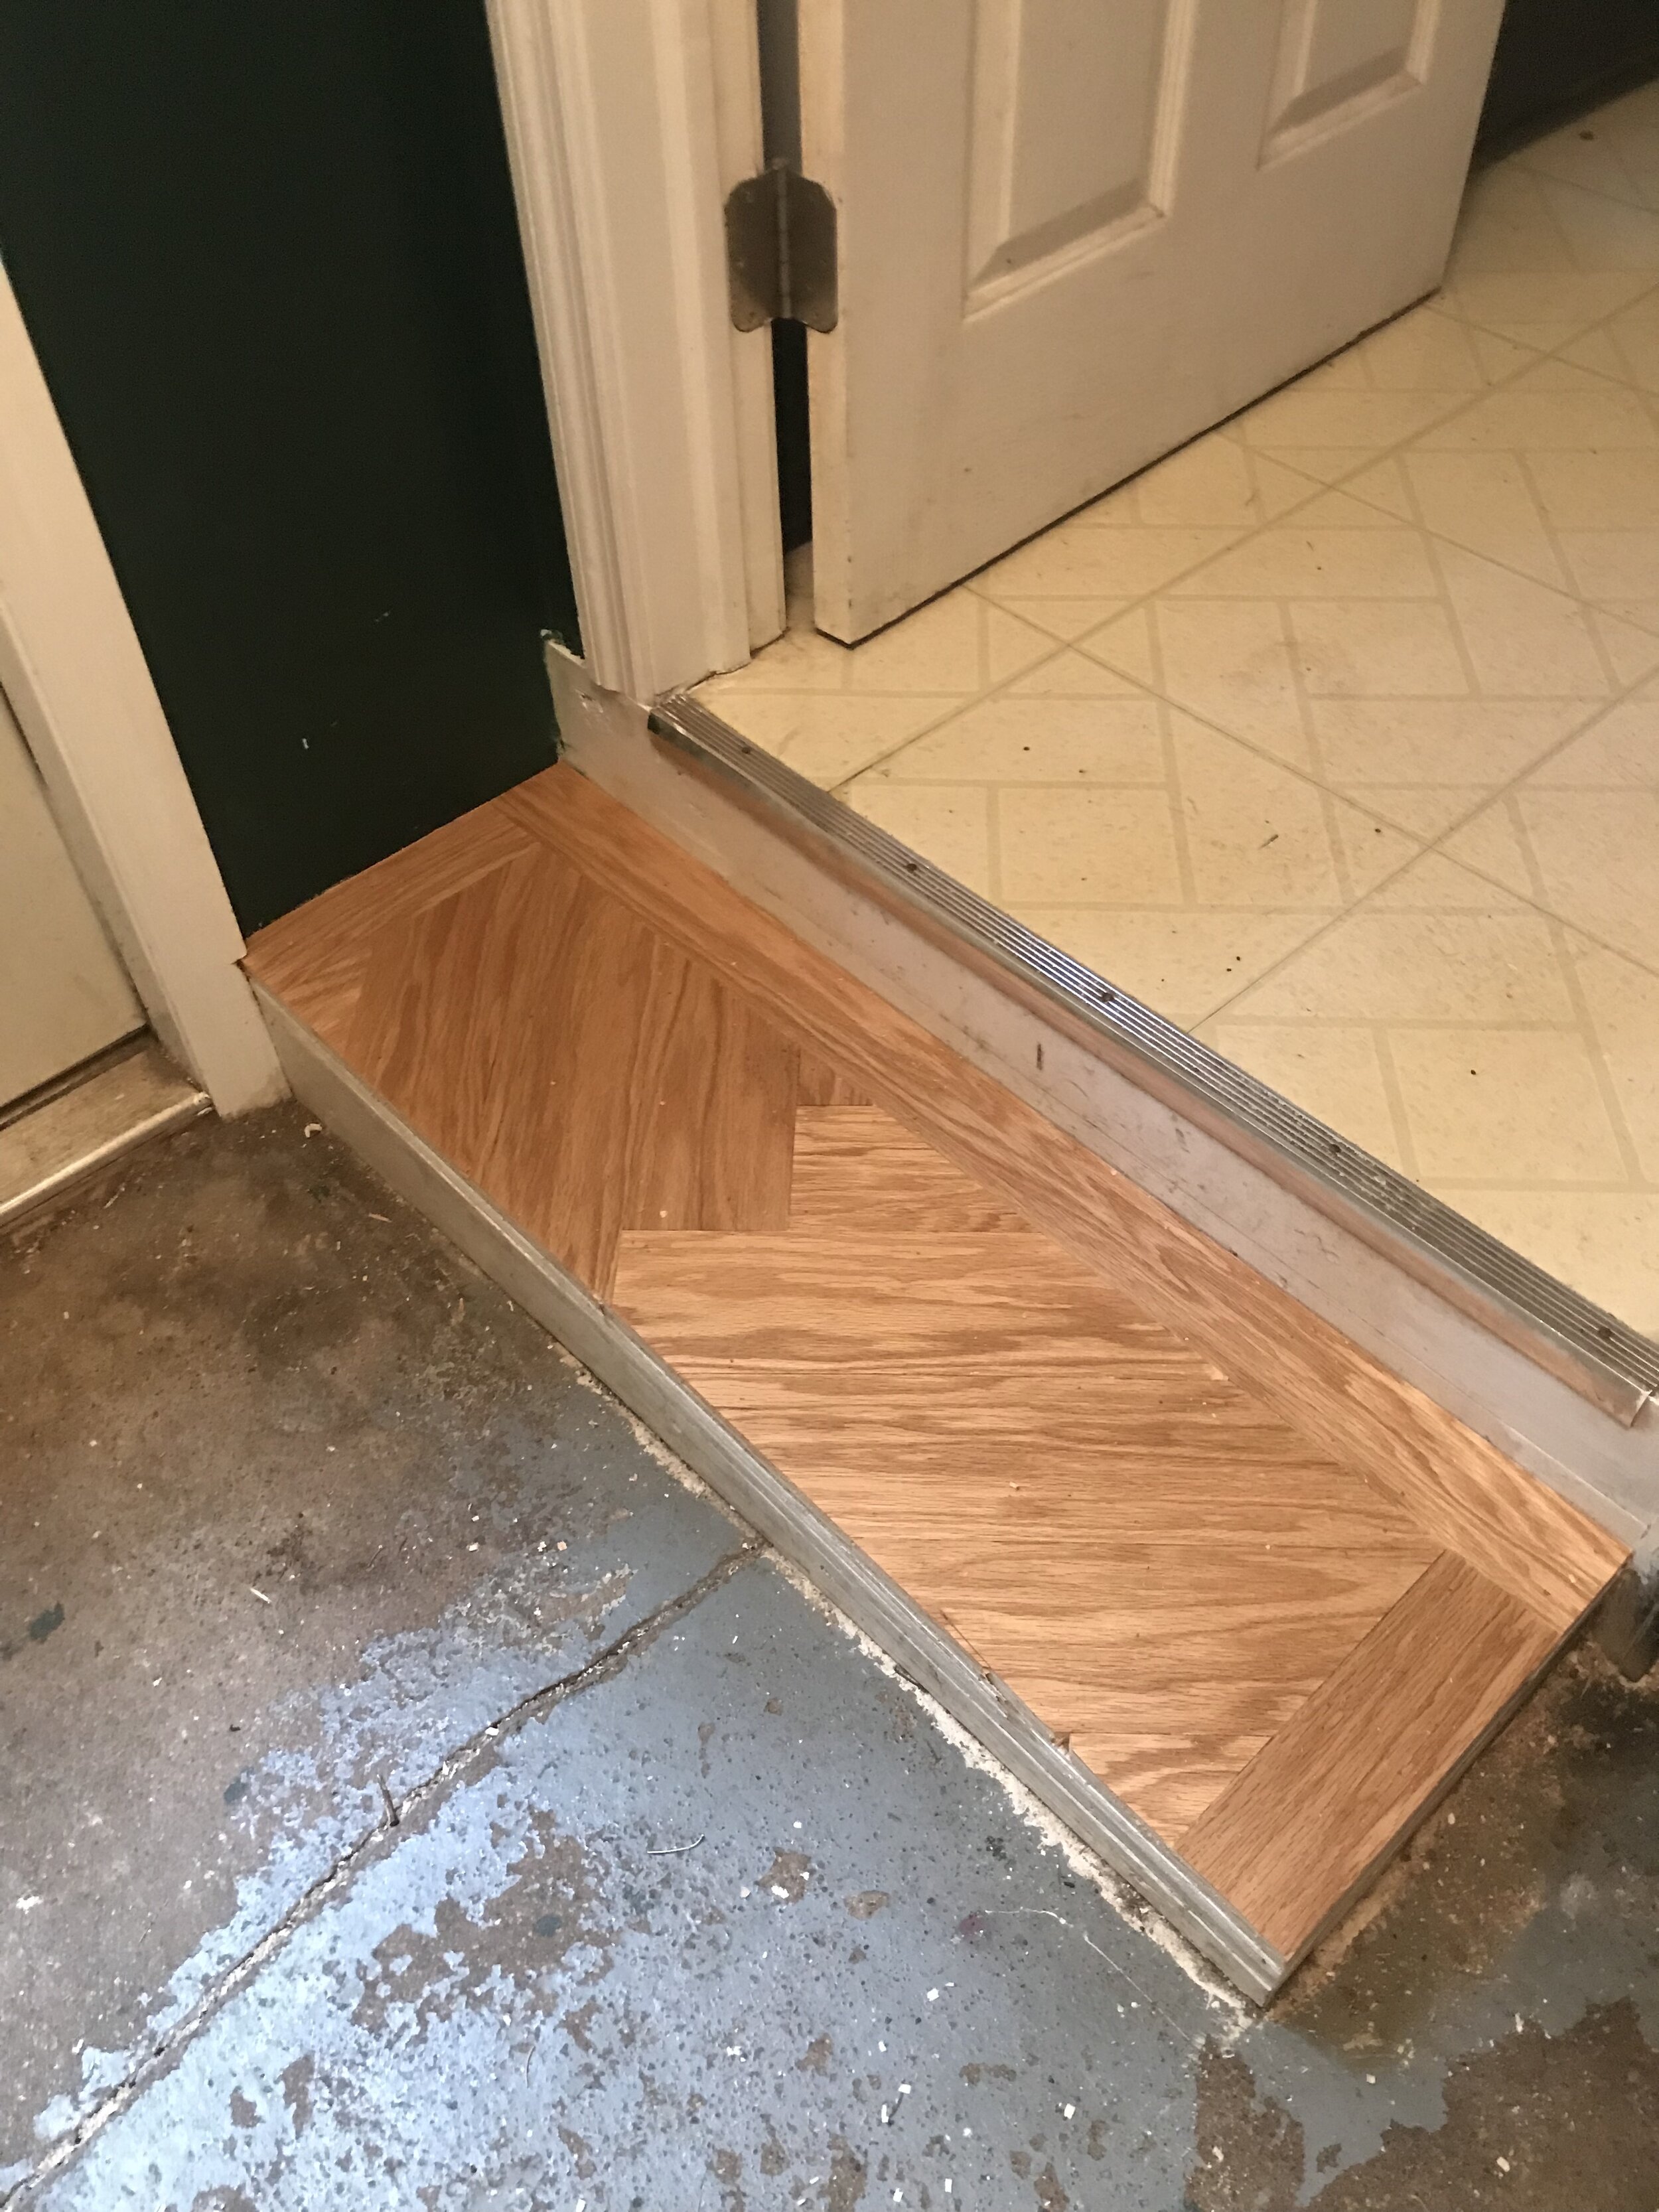
With the paint basically done, (pending touch ups) Chris started the piecing. He pieced the floor under the washer and dryer as well as the step up to the bathroom. Since Chris pieces table tops all day every day, we thought that it made sense to use that technique here. But laying out the floor so that some of the design would show in the front of the machines presented some challenges. He figured it out.
Chris brought the chop saw into the back patio so he could lay down each board, measure, mark and cut. Then he nailed in the wood pieces, cut the edges and sealed with a protective poly coating. He wanted to epoxy finish for super water protection but due to timing we went with a quicker dry time finish.

STEP 5: Machines Back in
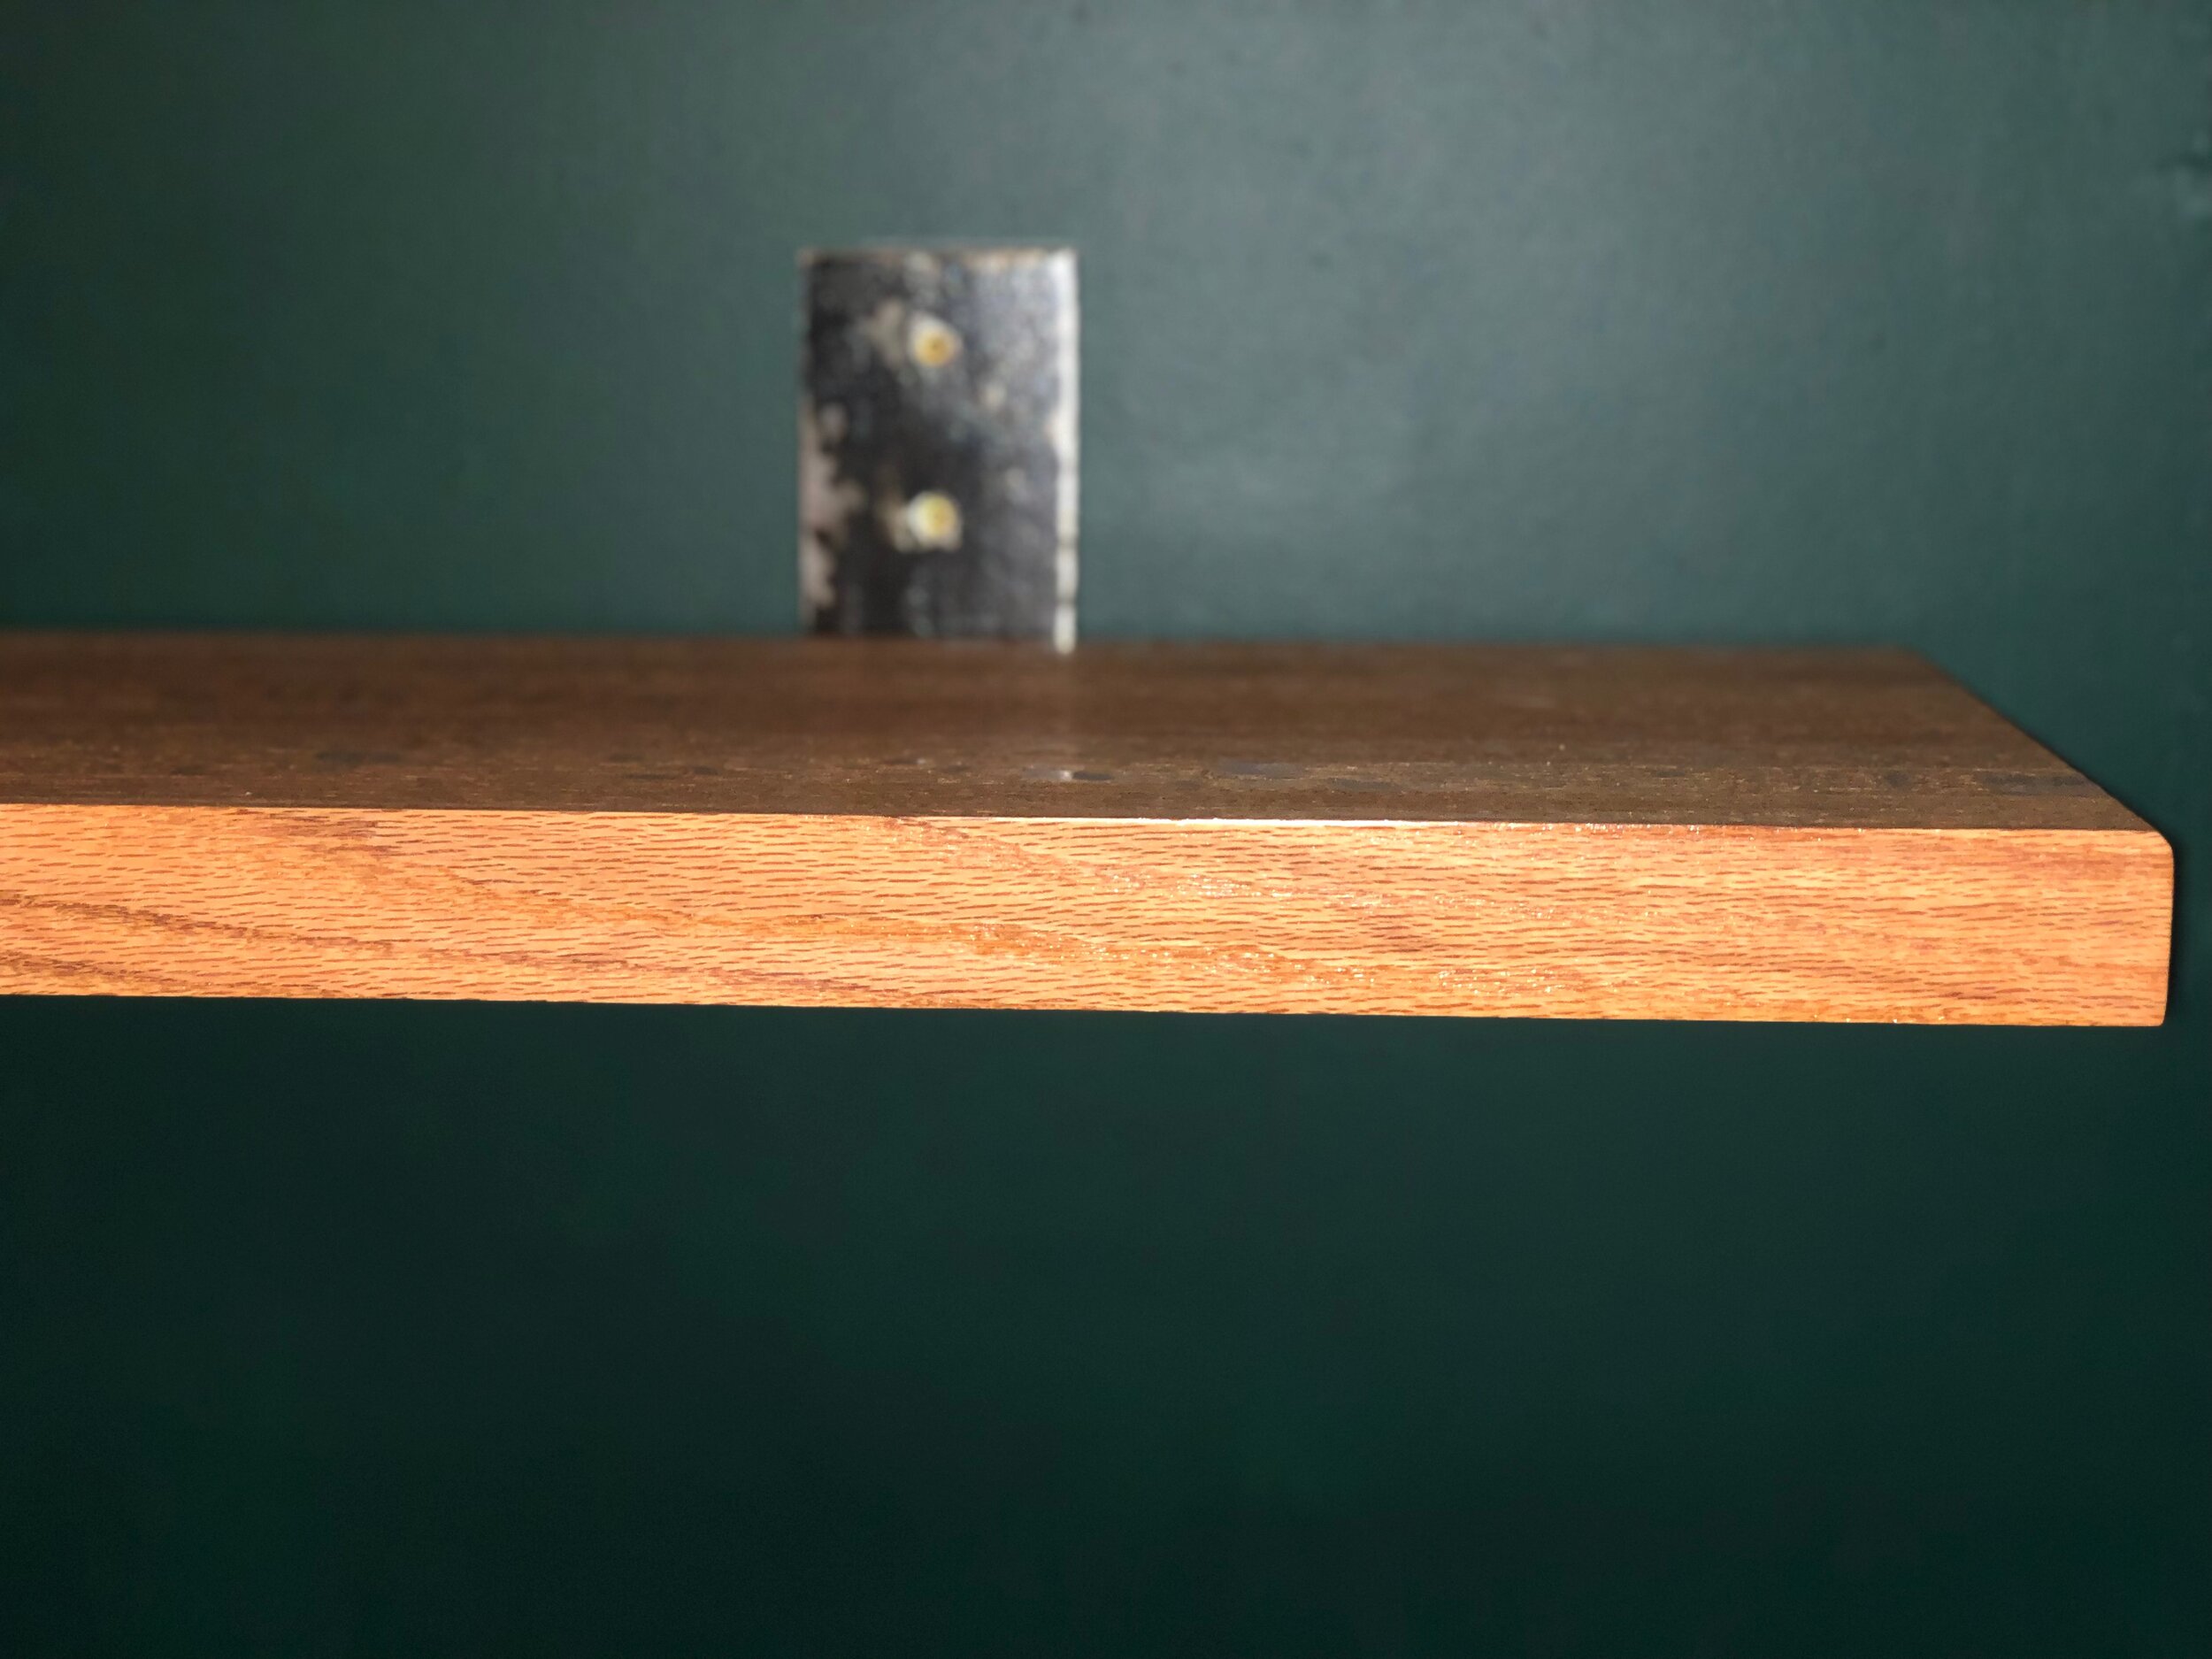
Chris moved the machines back in with the help of our best friend Lex. He miraculously was able to hook up the washer correctly. Then he added blackened steel angle to the stair edges to finish.
Because it’s not Basemeant WRX if there isn’t some kind of wood and metal involved.

Side Note: The concrete floor needs to be sanded, the giant crack filled in and a coat of grey concrete paint. Then I will paint the kickboards white. I went back and forth on using the heavy duty patterned laminates similar to this picture but I think there is a lot going on in this room right now. Will see.

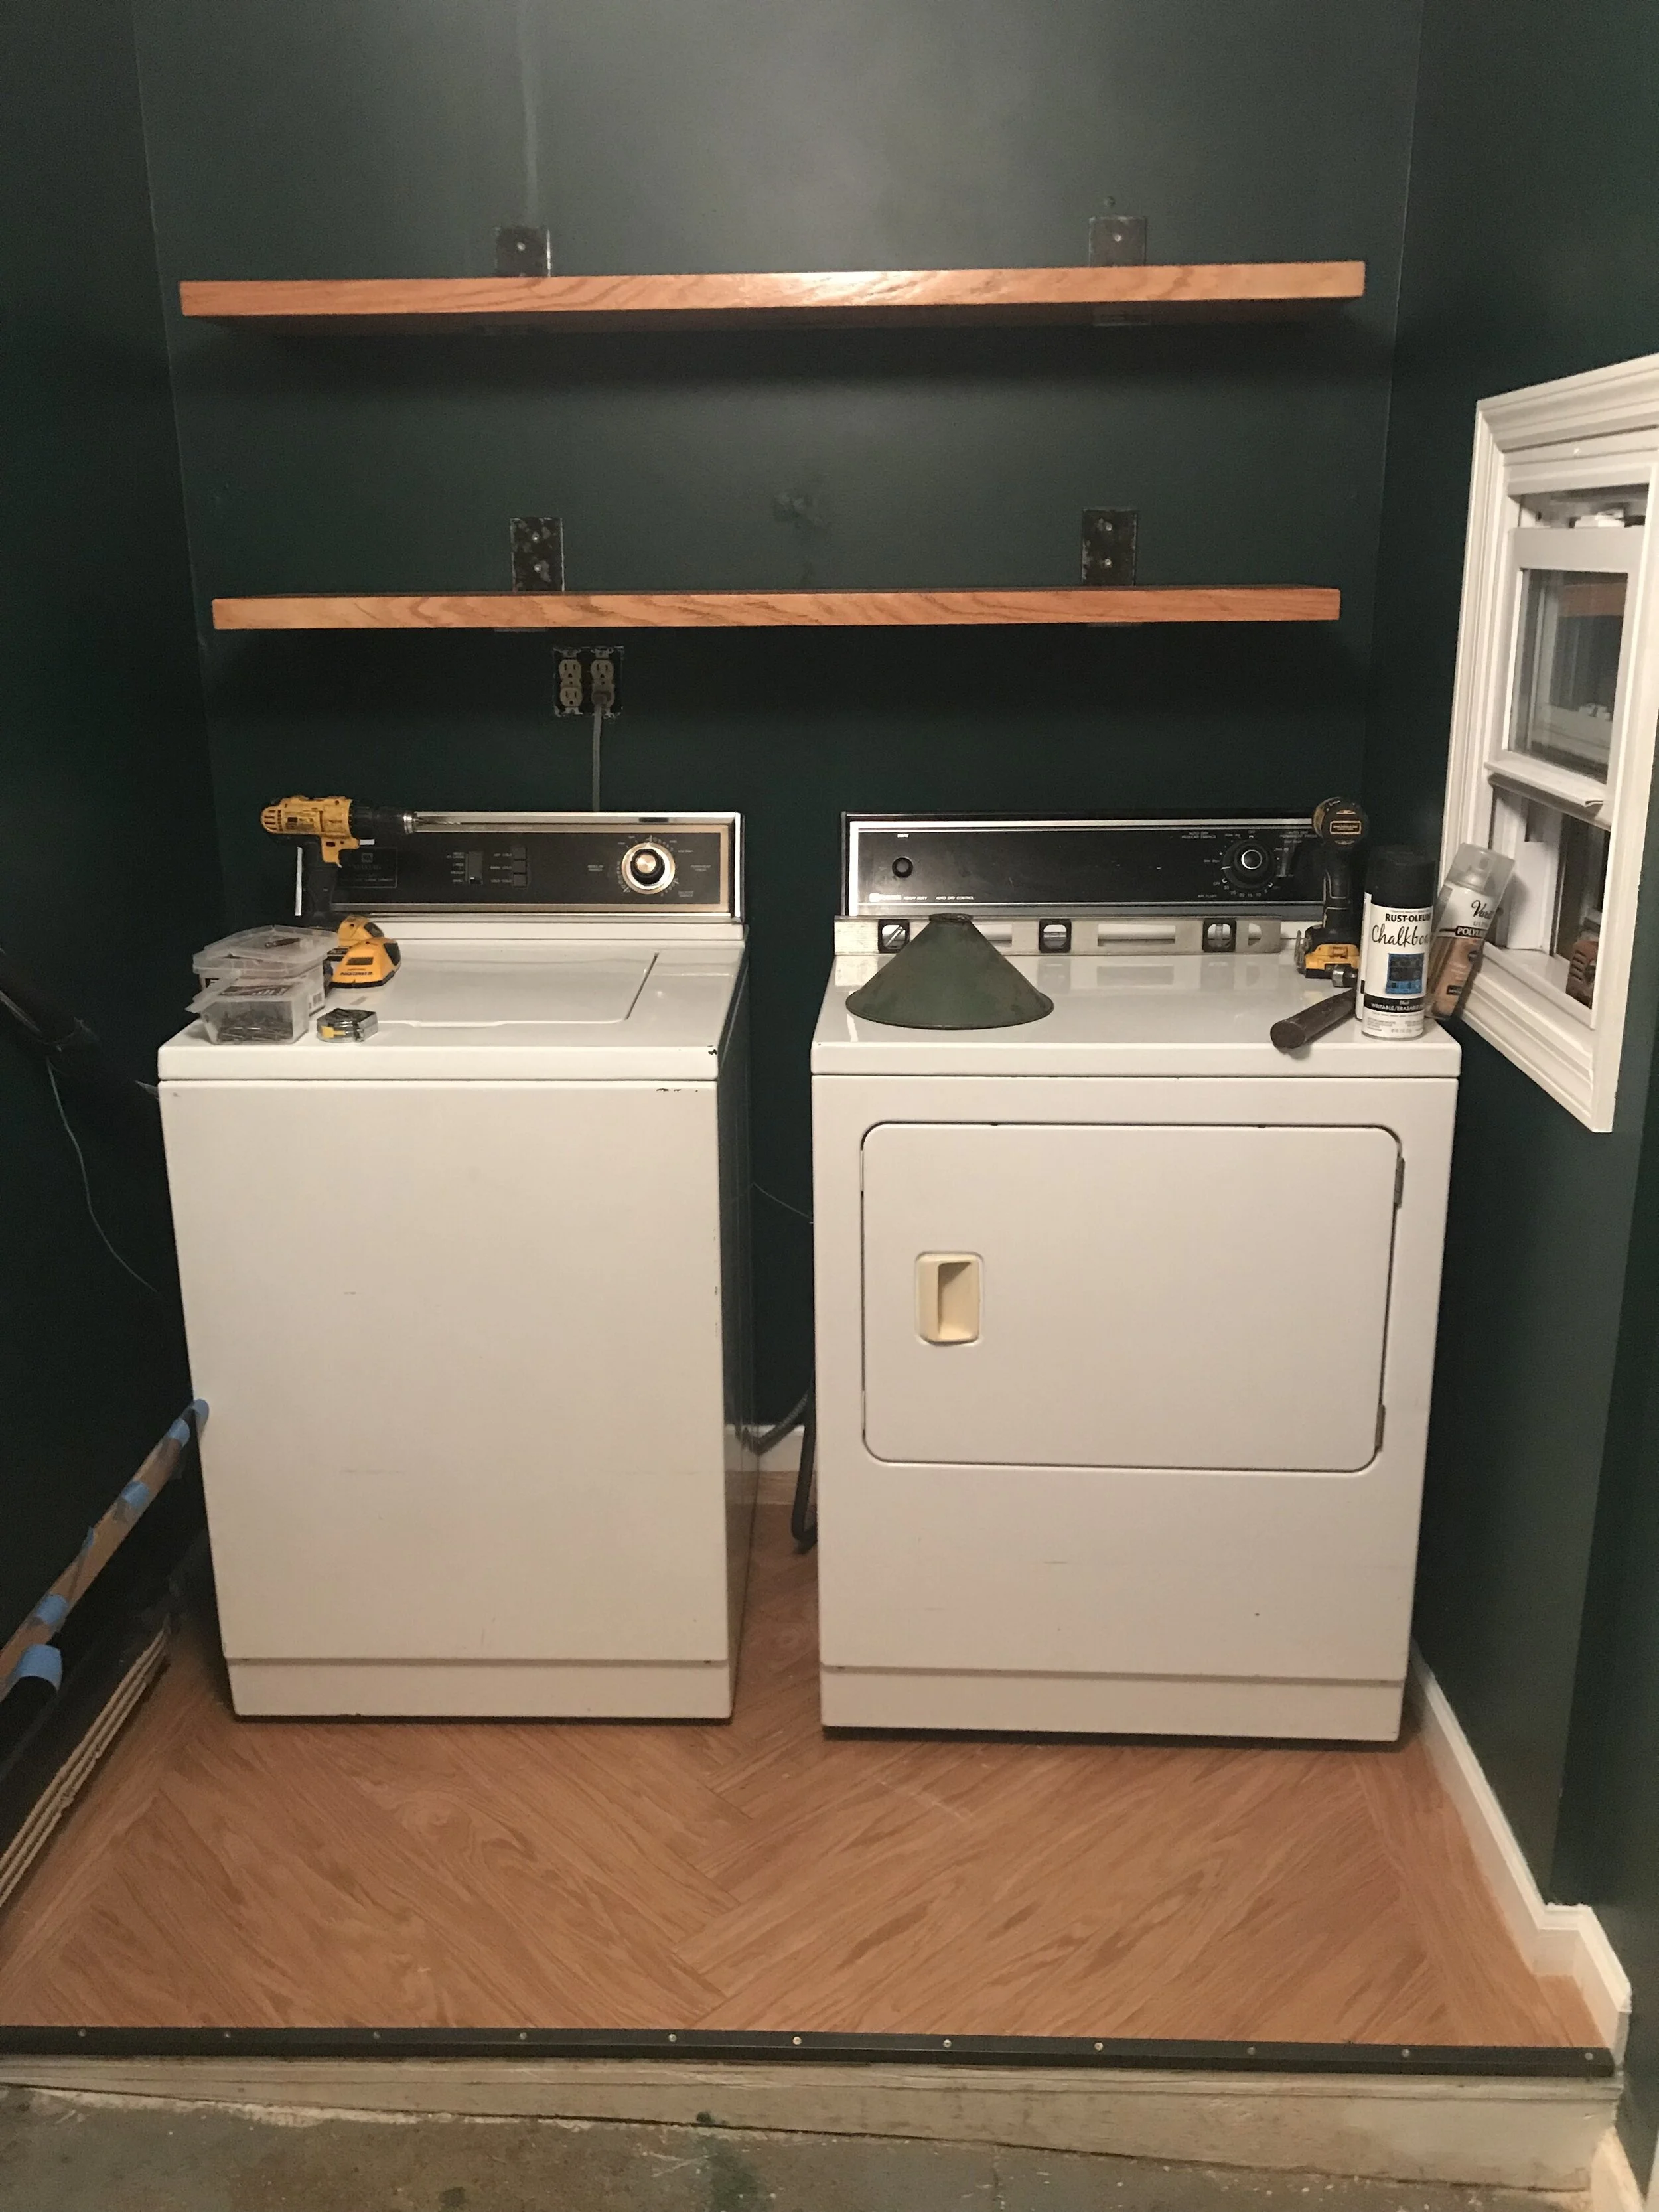
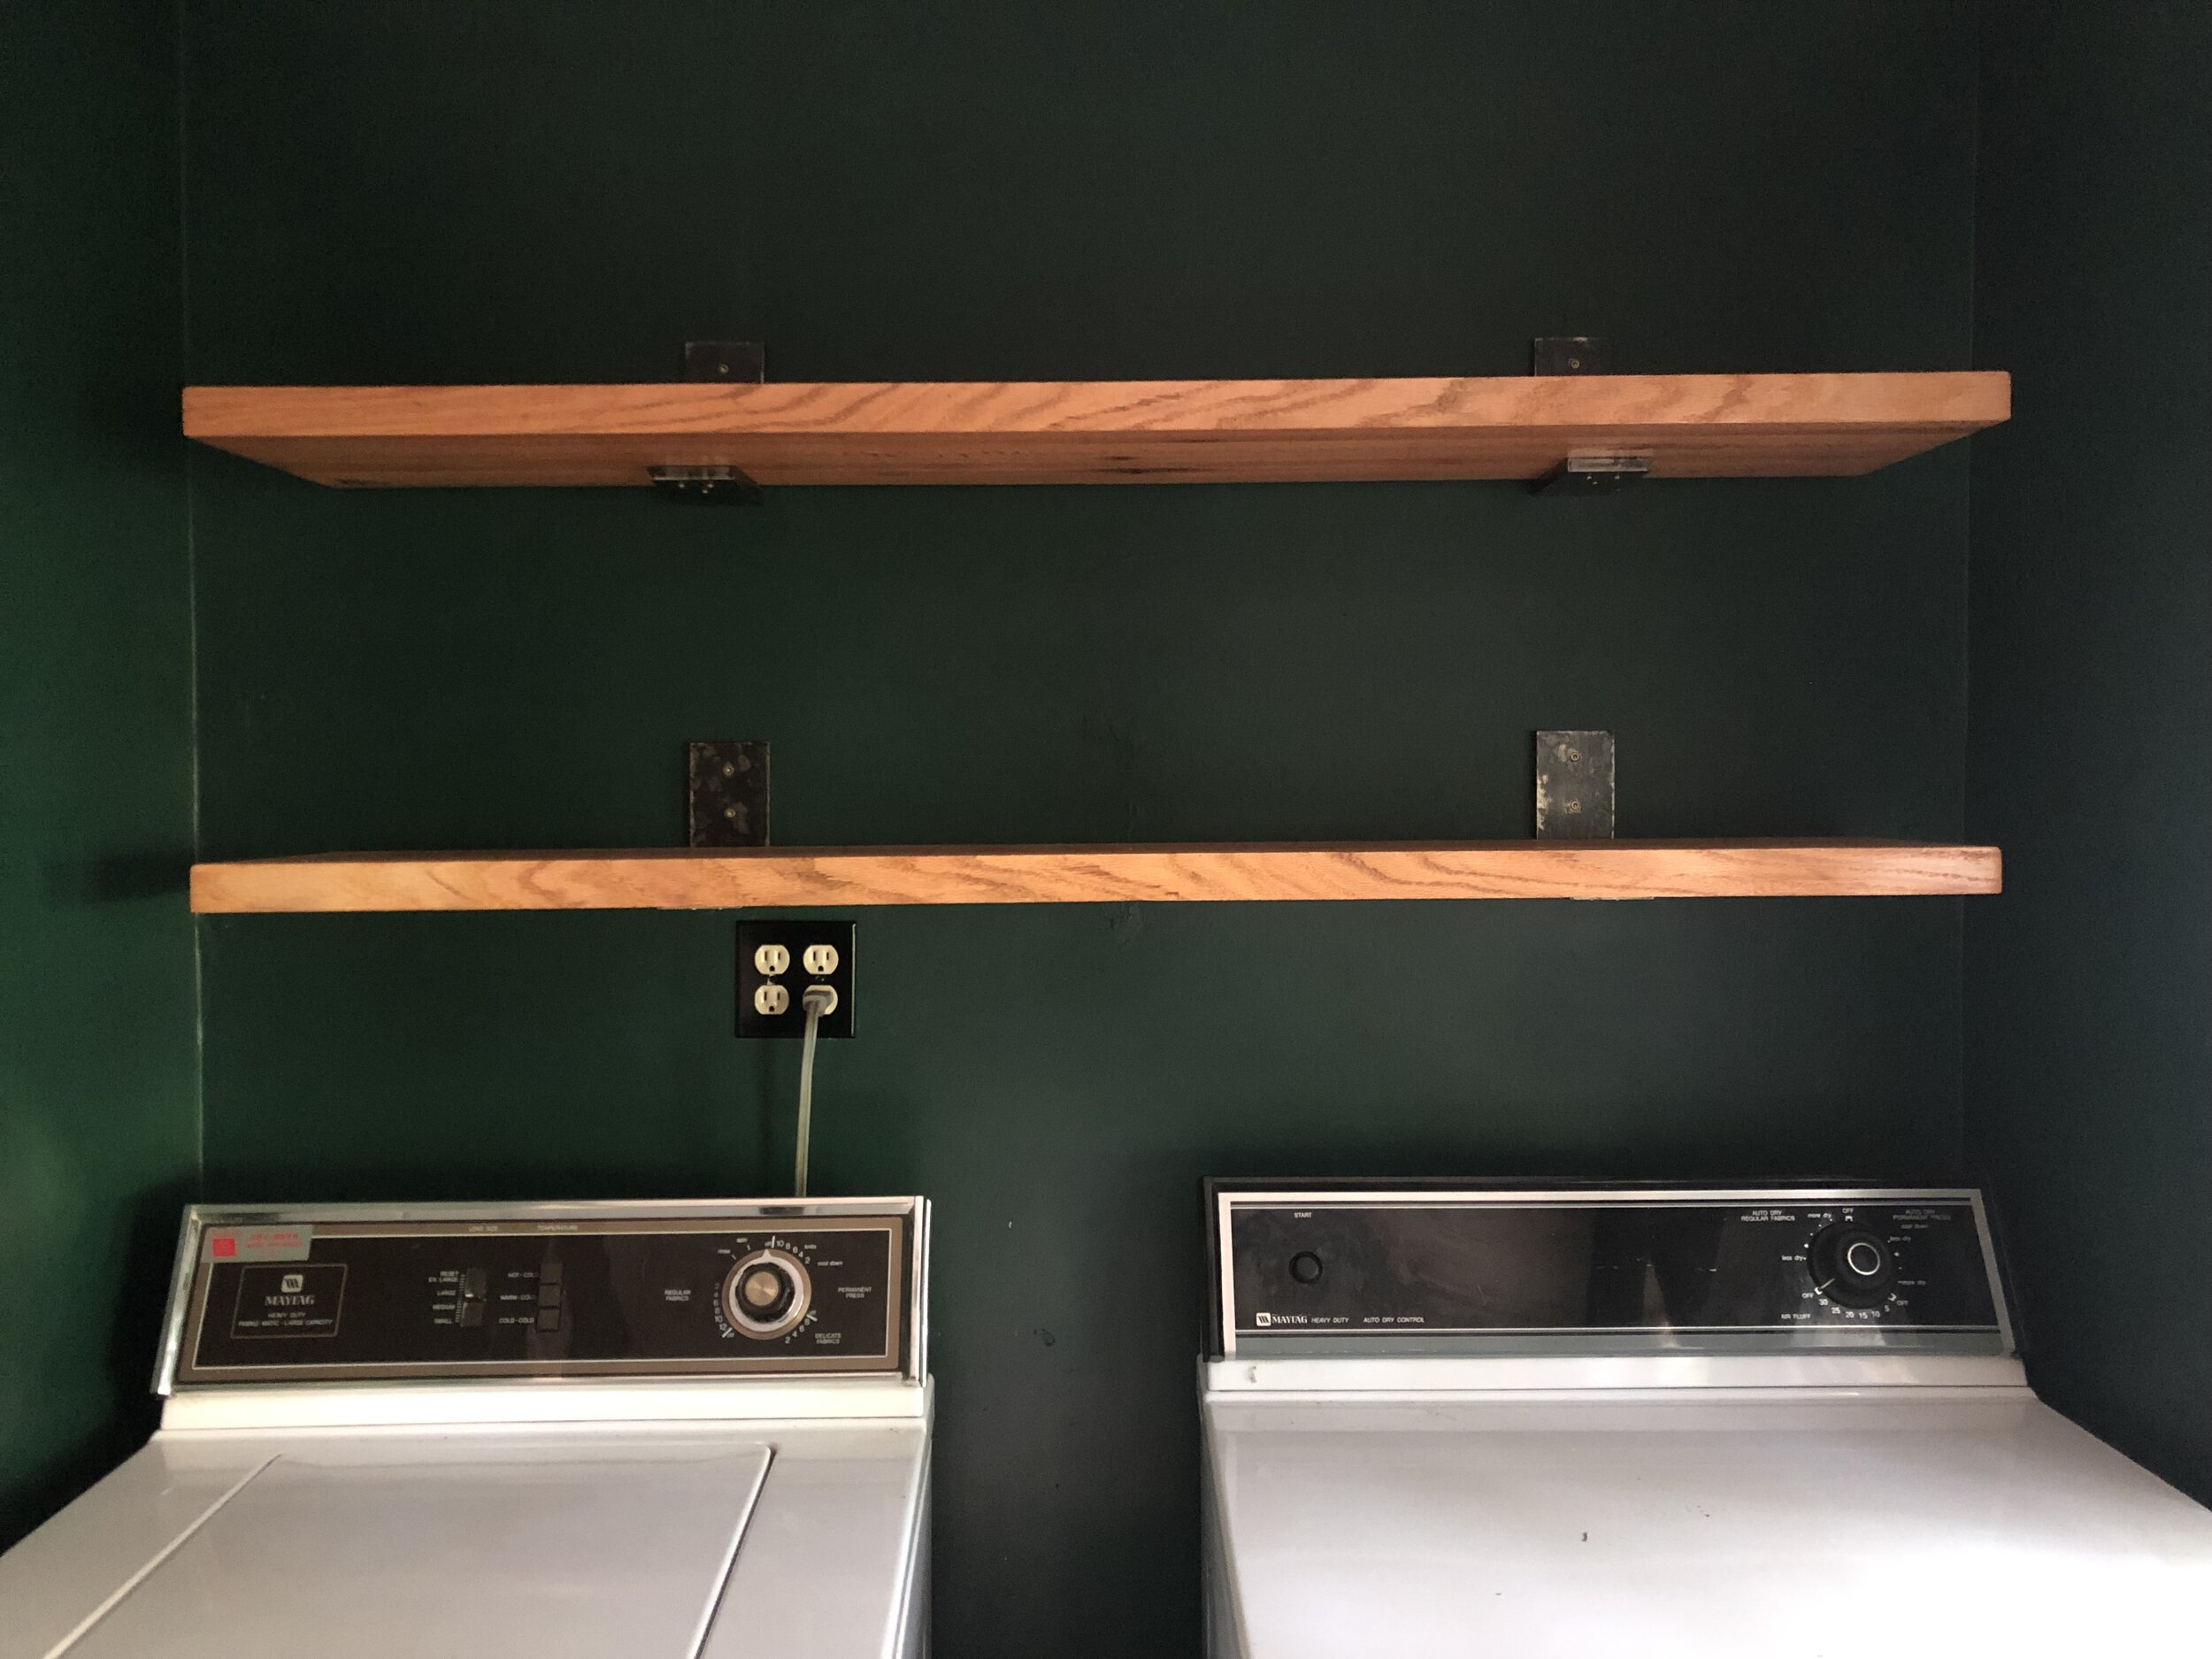
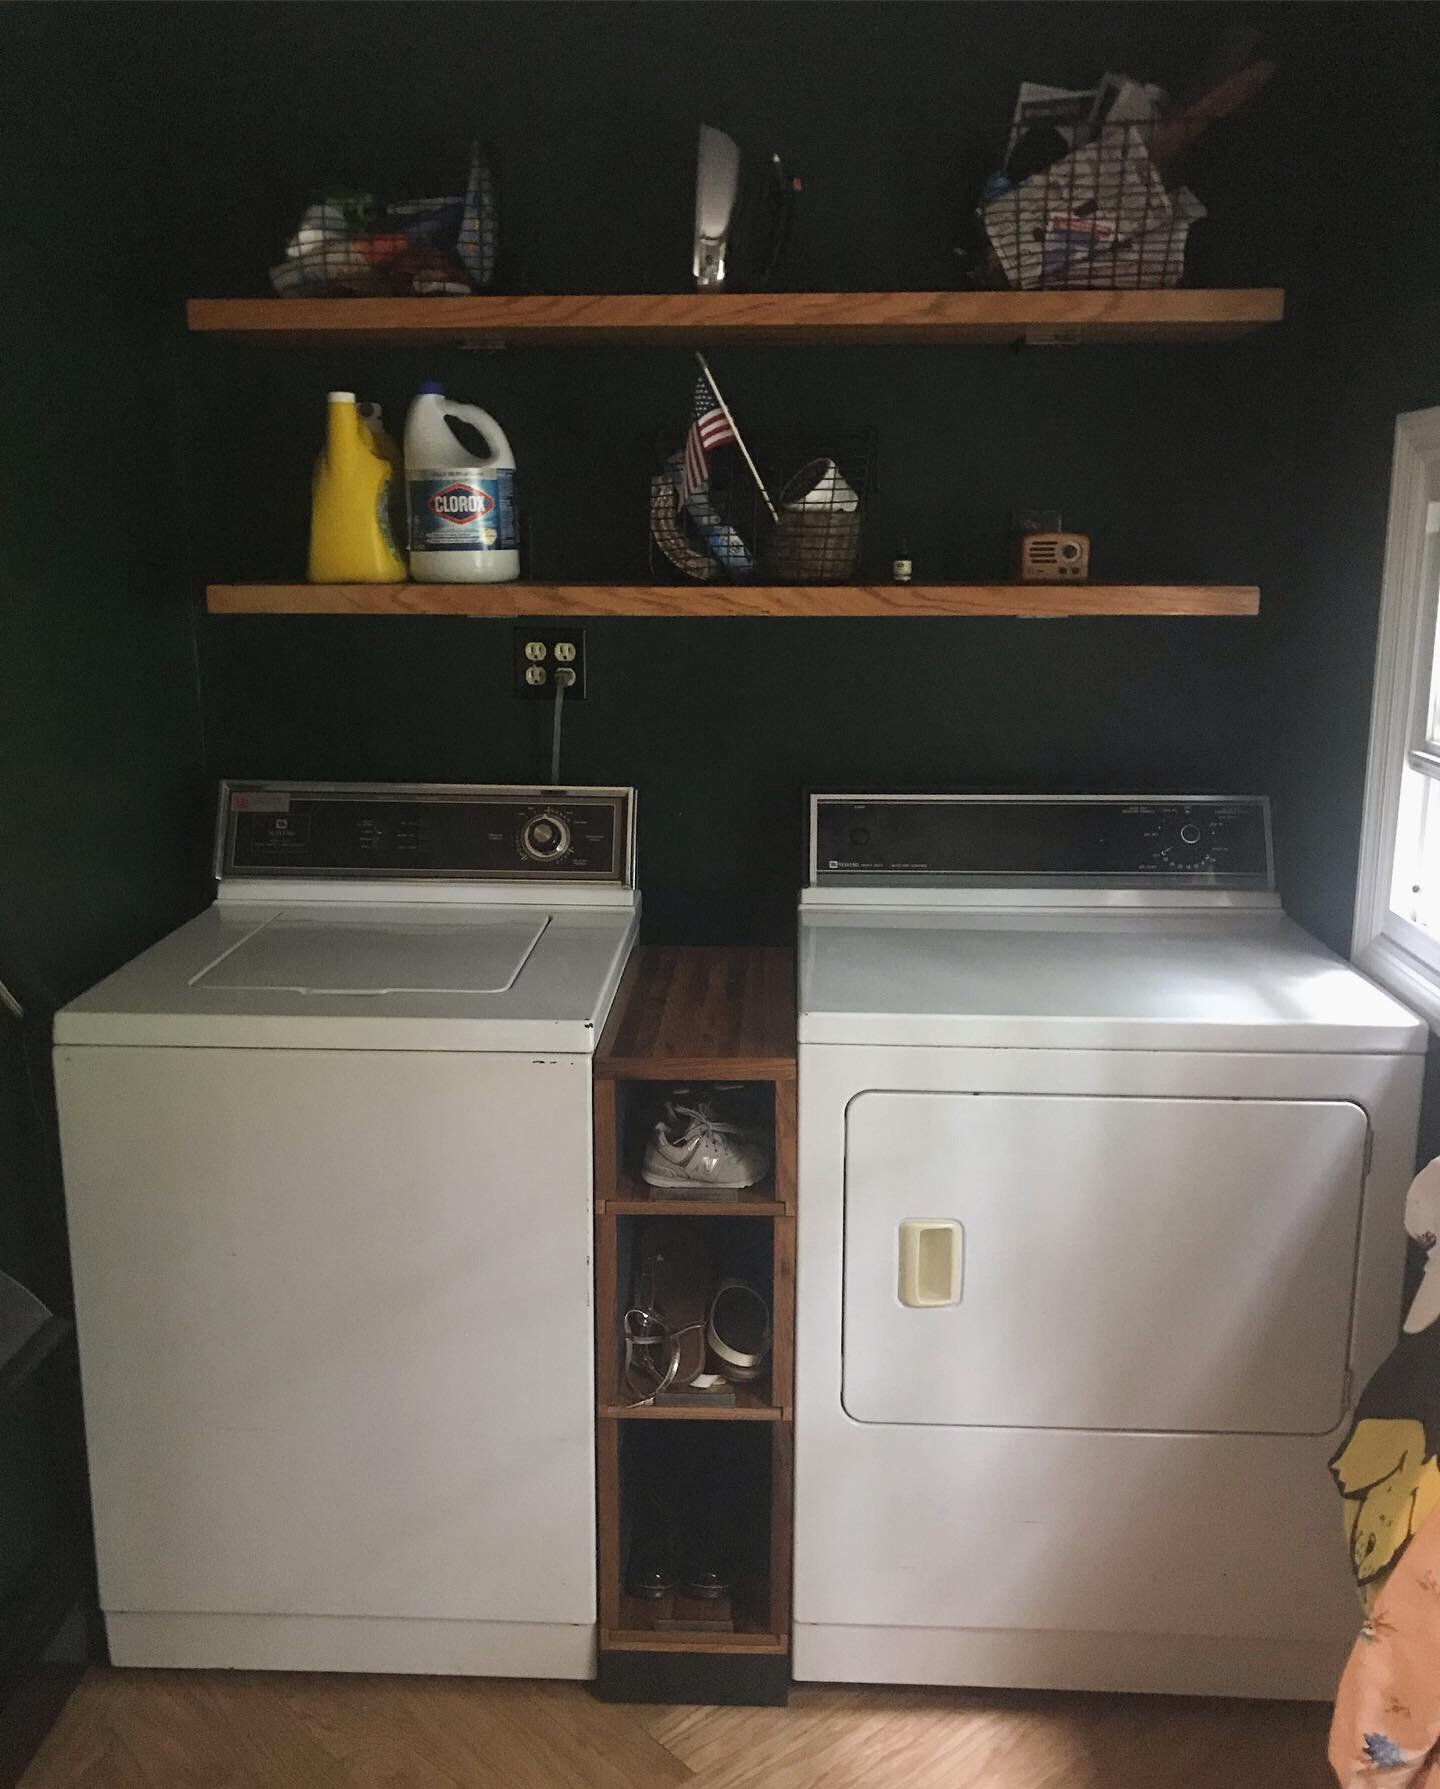
STEP 6: Hang Shelves
Now onto the hanging. Chris used an old solid oak desk top for the 2 shelves and the shoe rack.
He has a build video up on youtube for a how to if interested. See right for link.
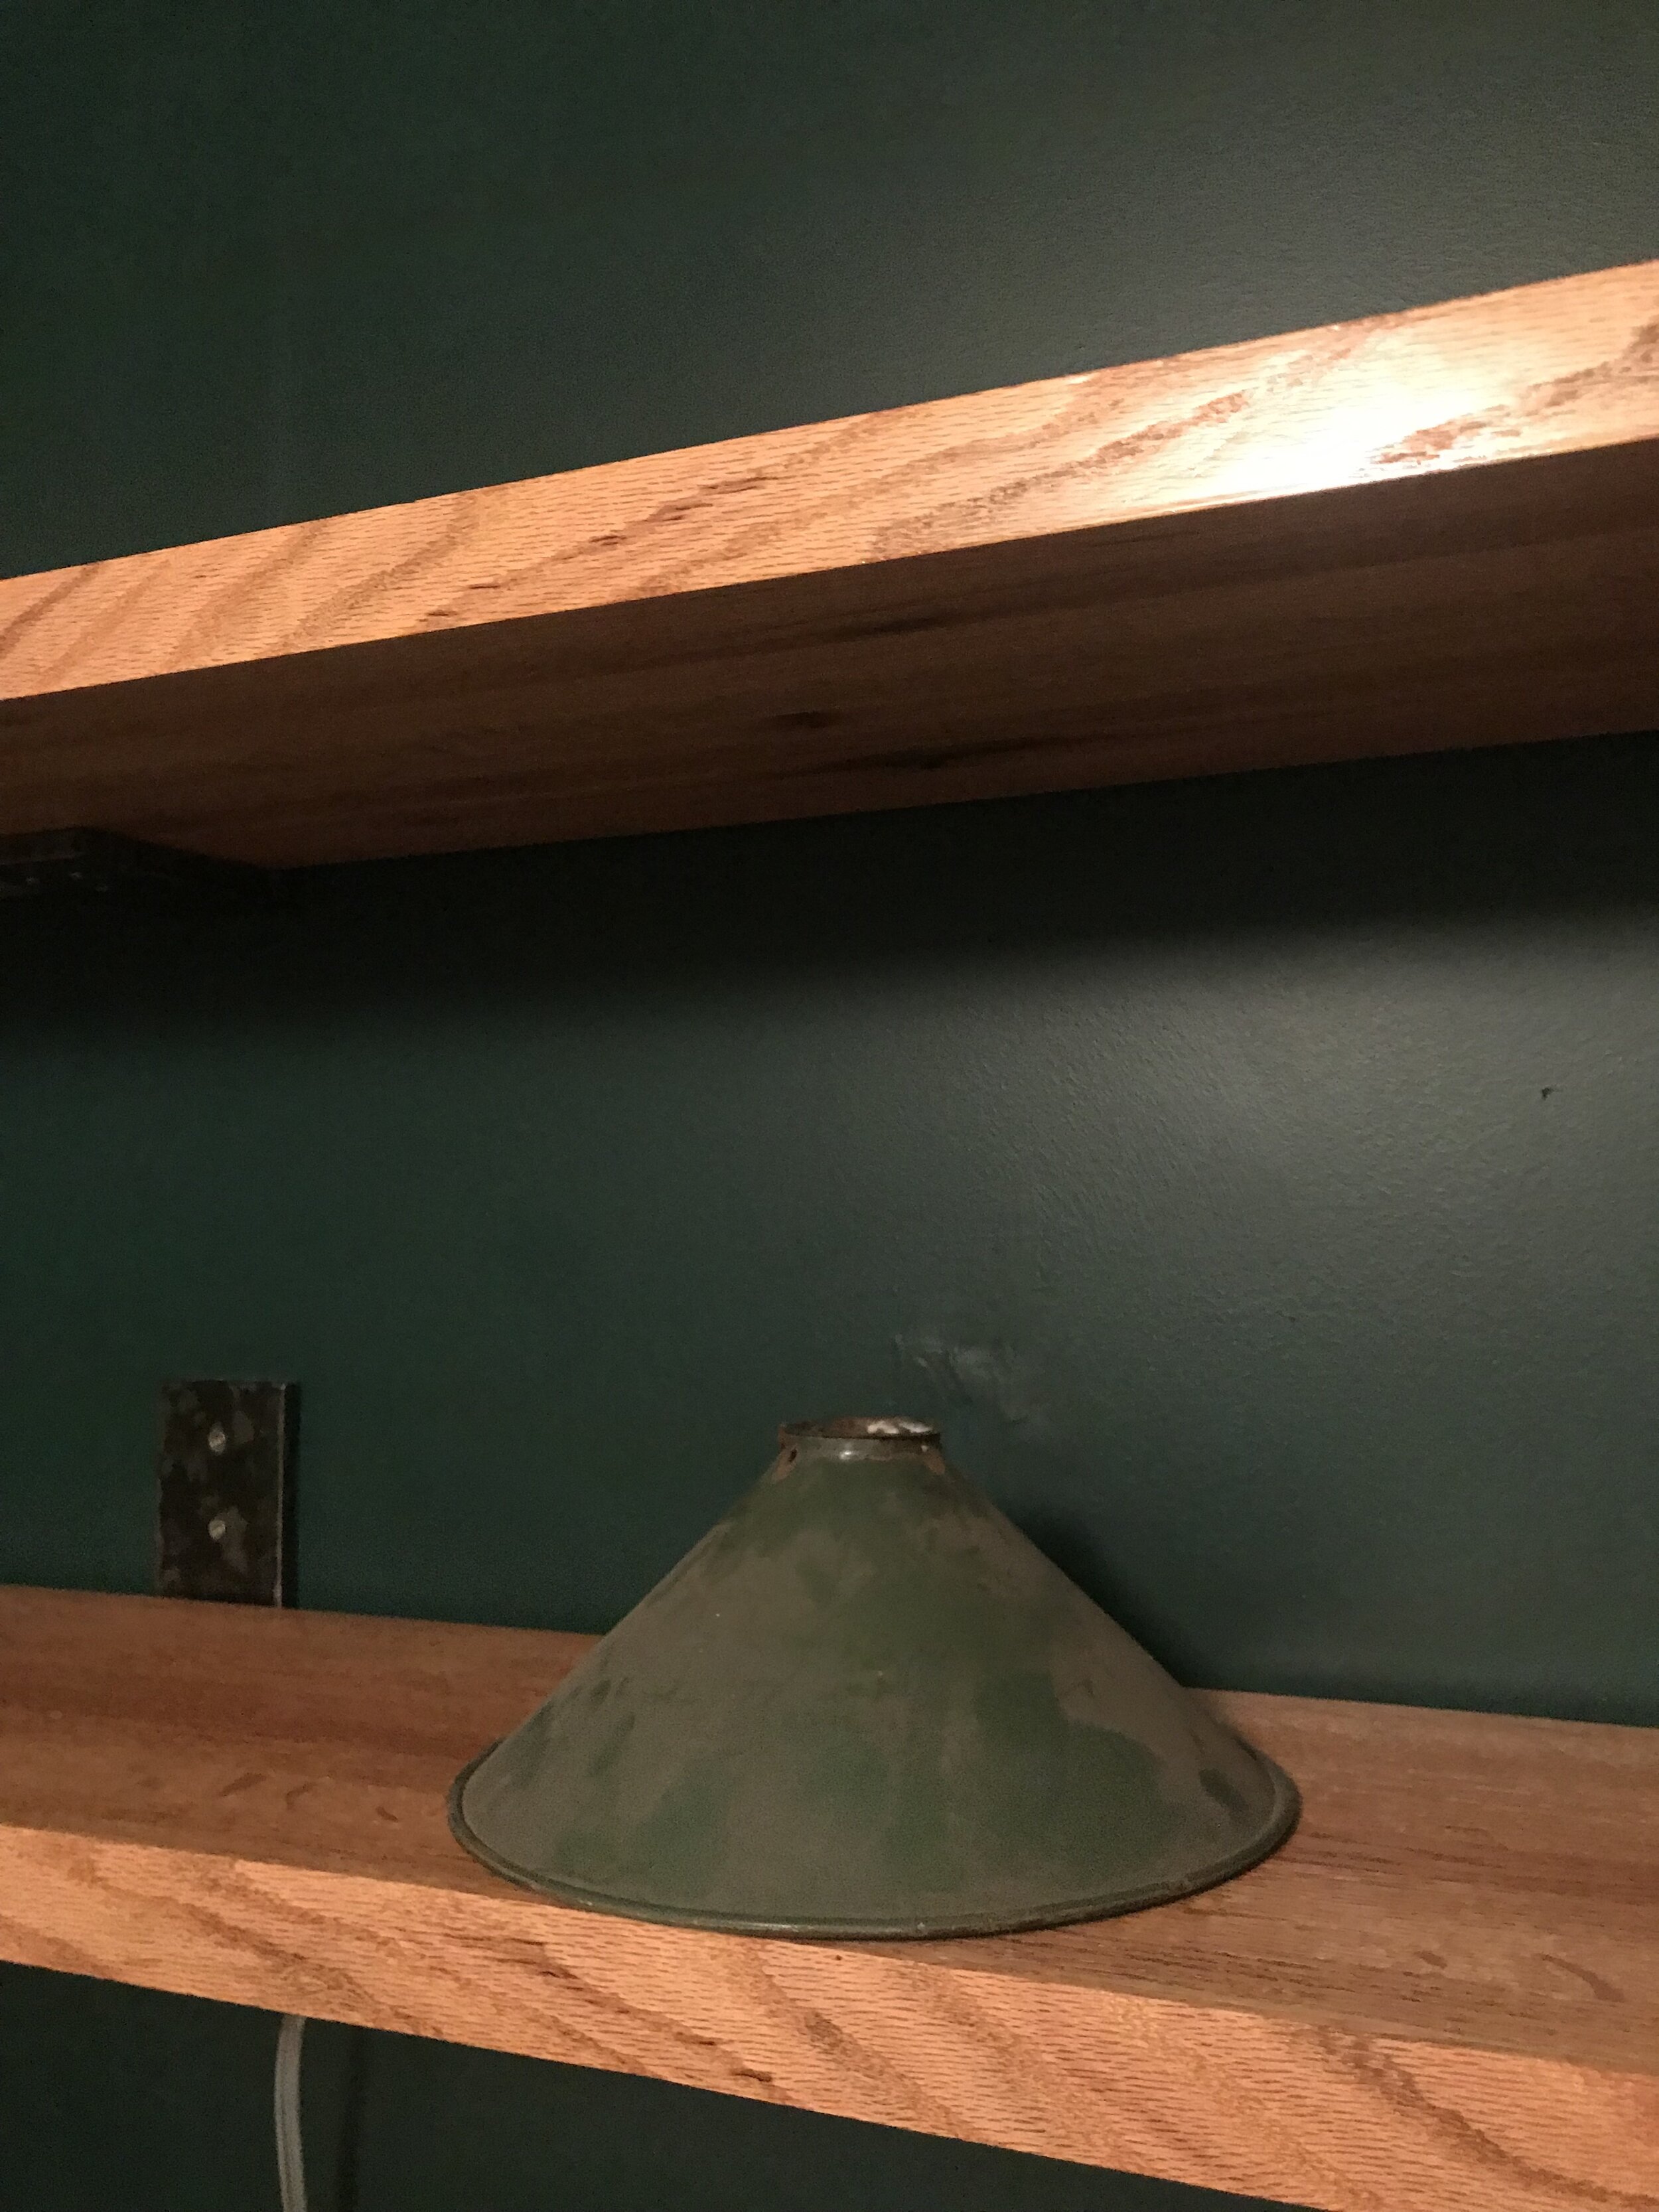
The green light shade was found during our Barn demo and I love it so it’s also going in this space.
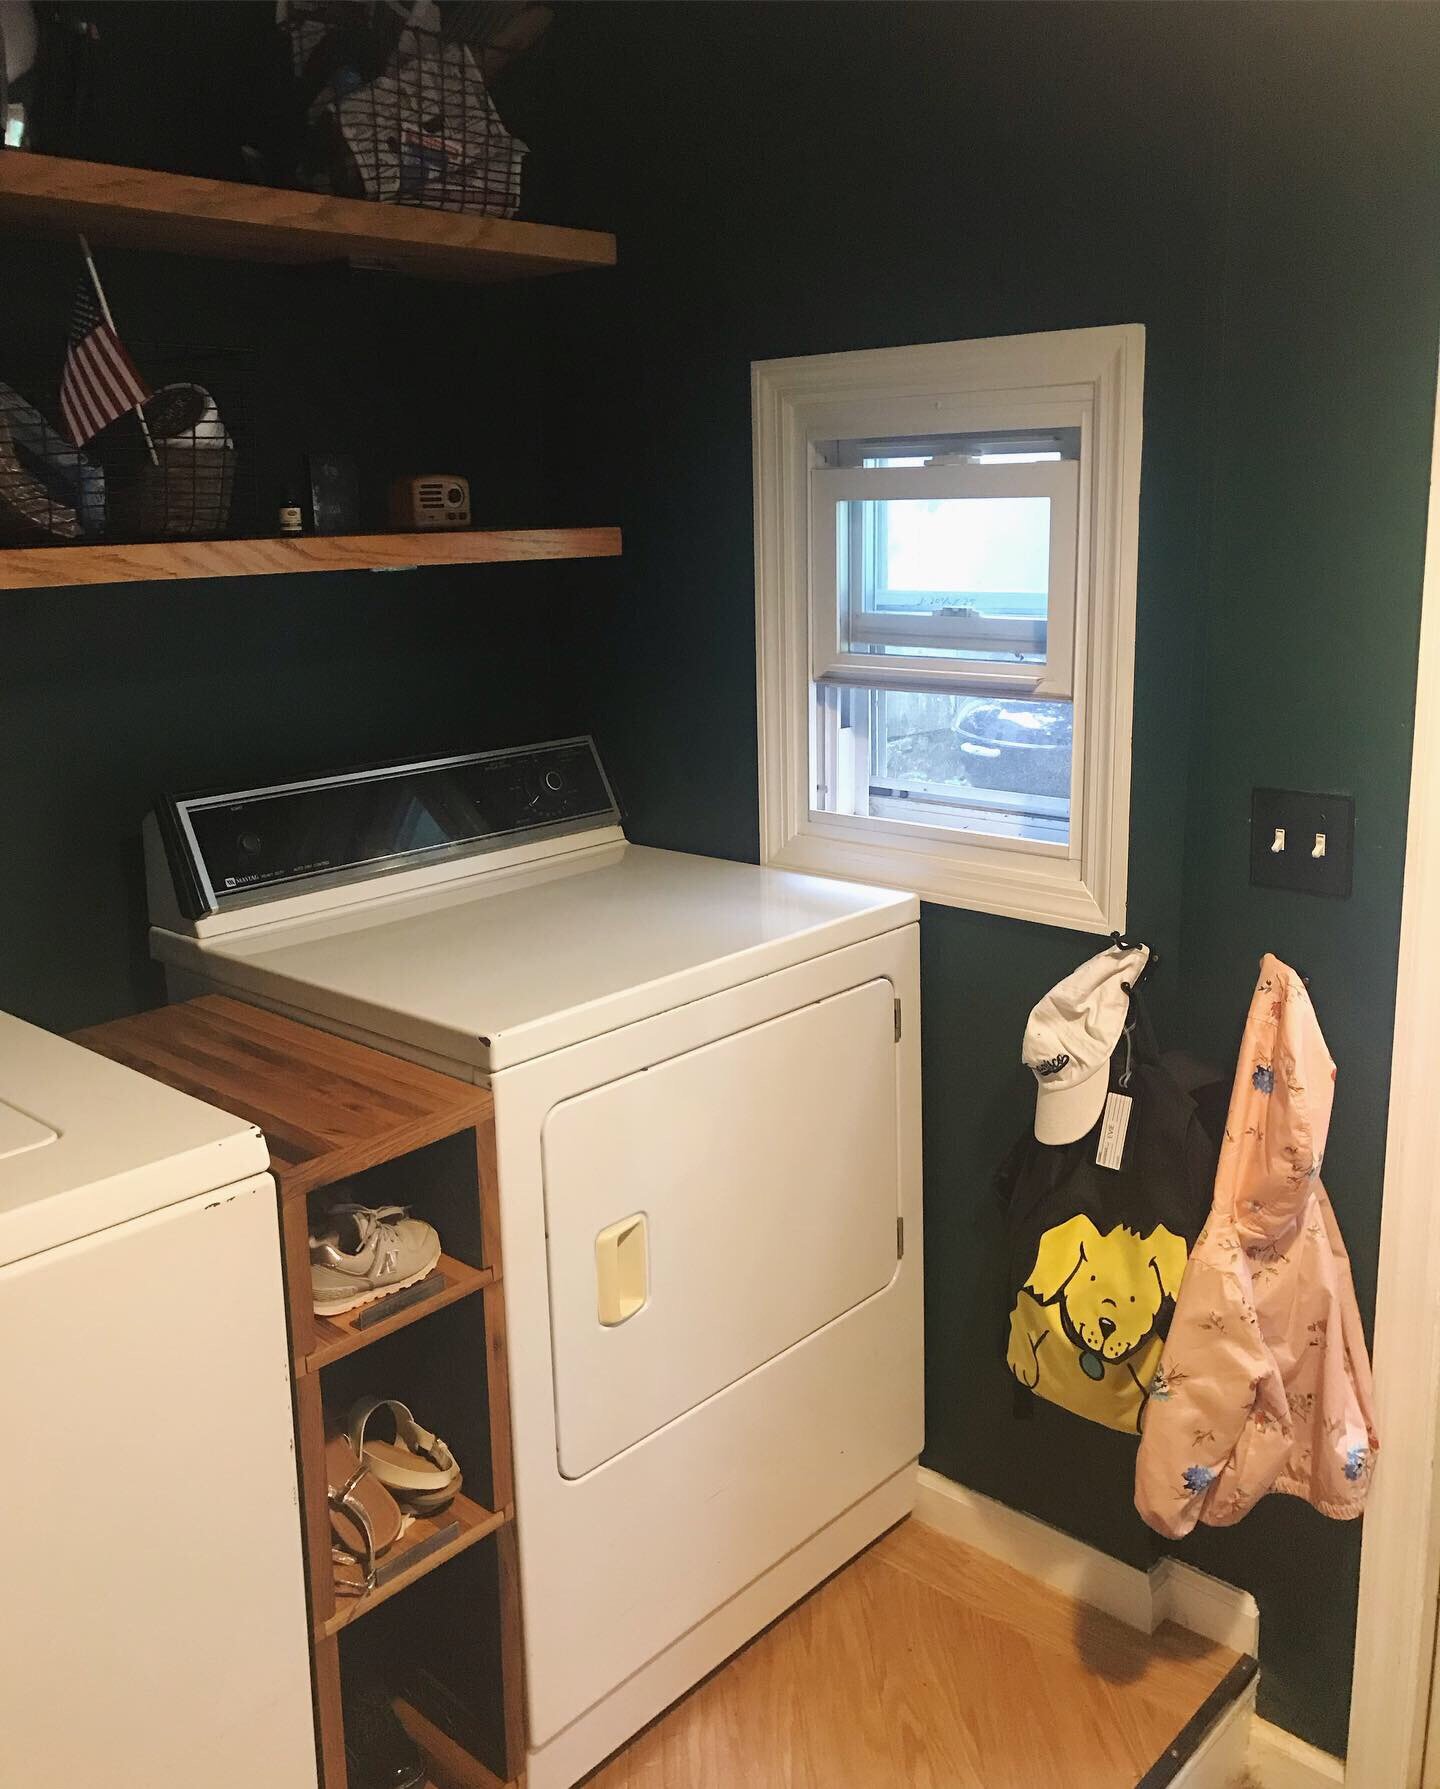
AFTER
Finally, this is us real life living with the mudroom.

I bought the broom rack on Amazon and the linen plastic bag holder off Etsy. Chris plans on building a matching wood cover for the water hookups down the road.
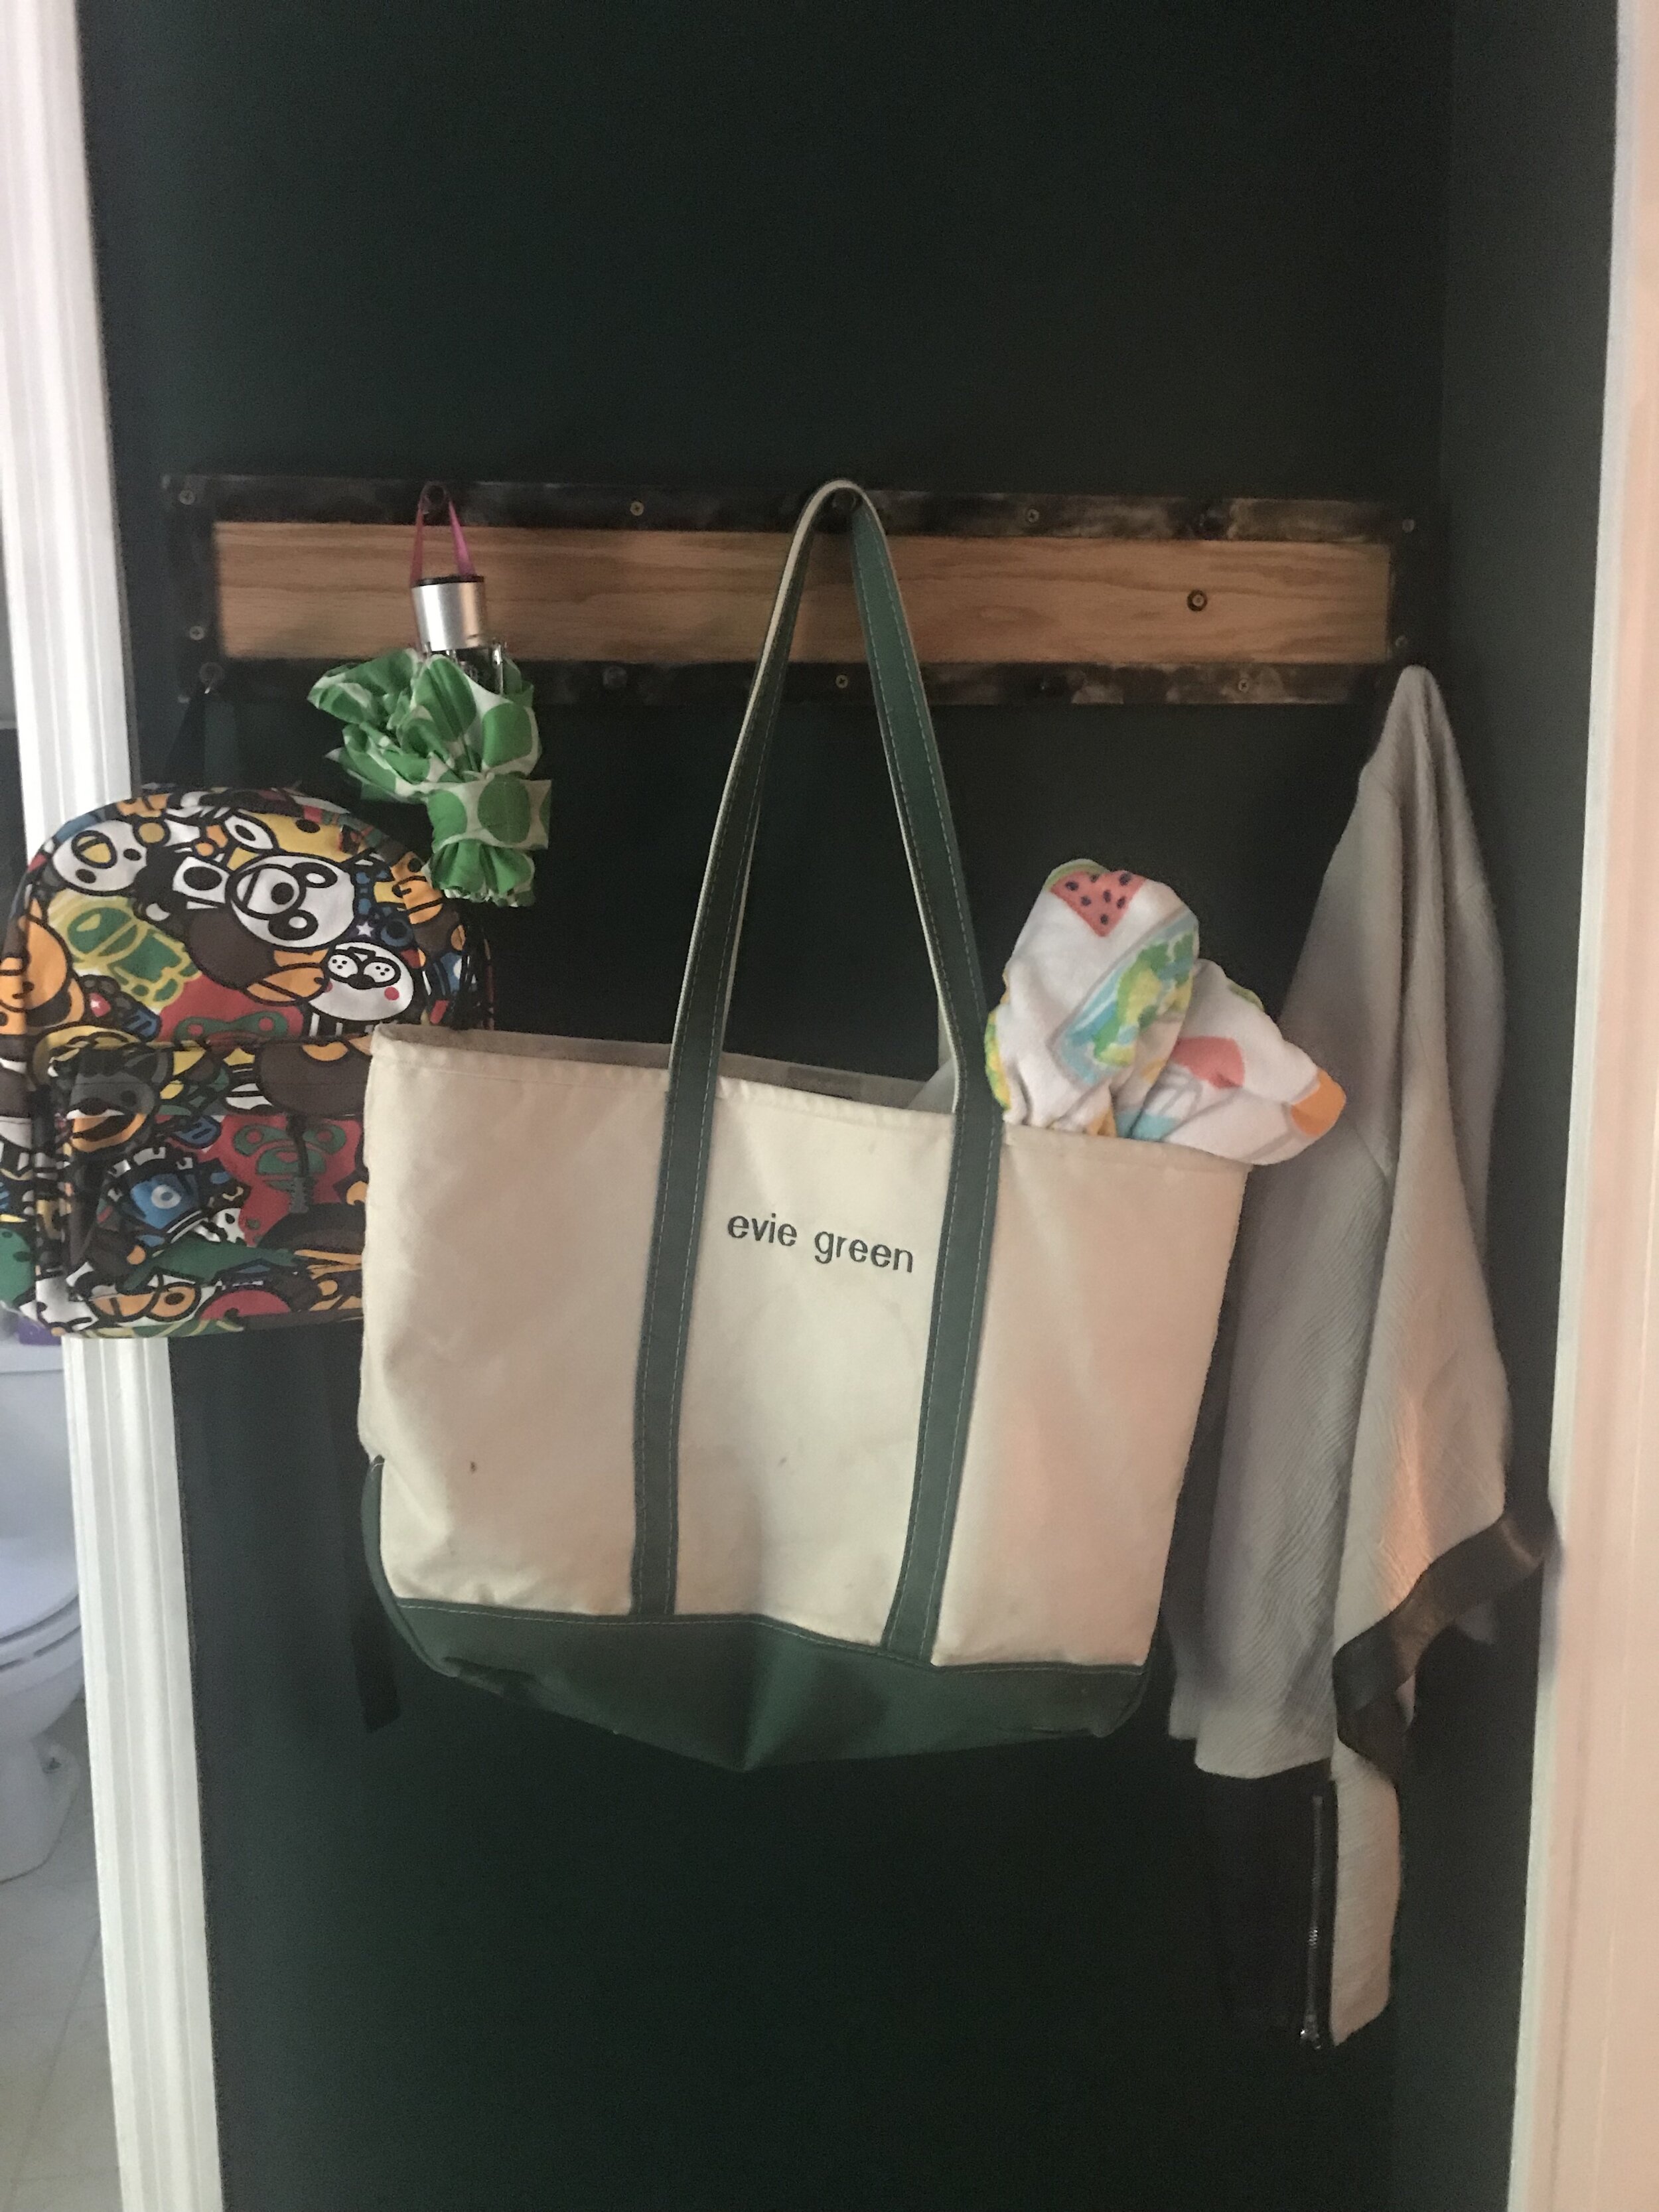
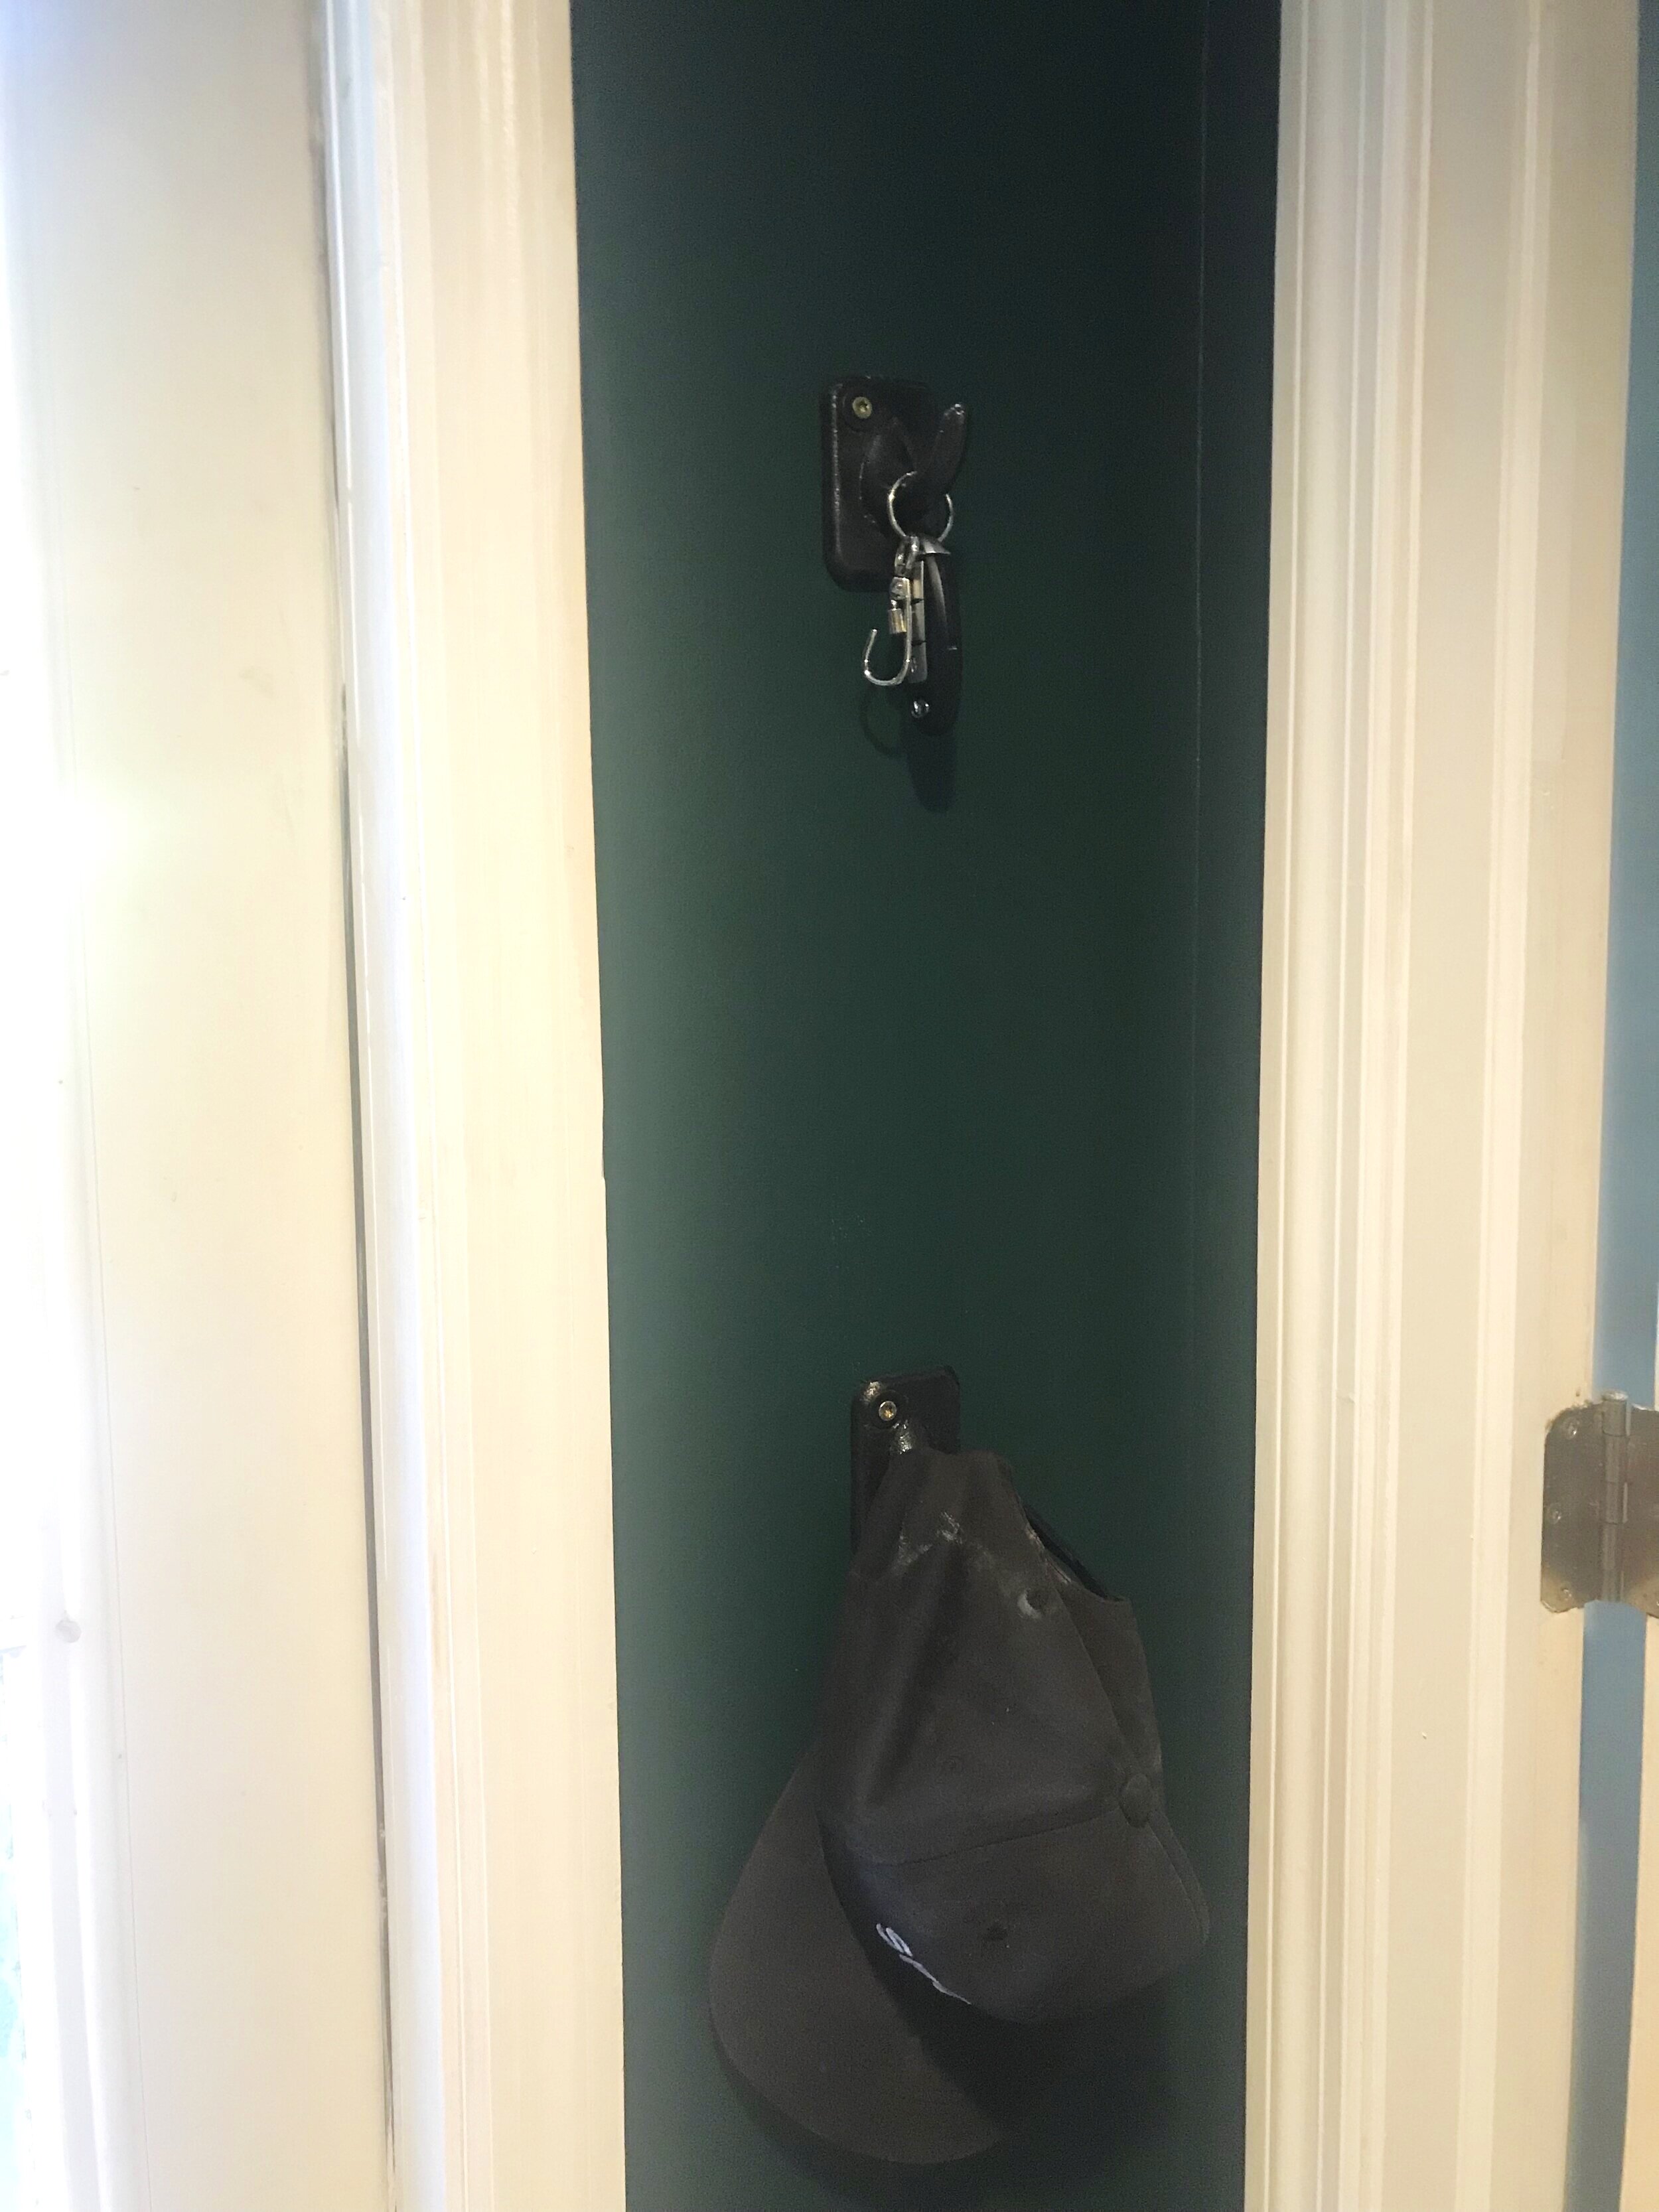
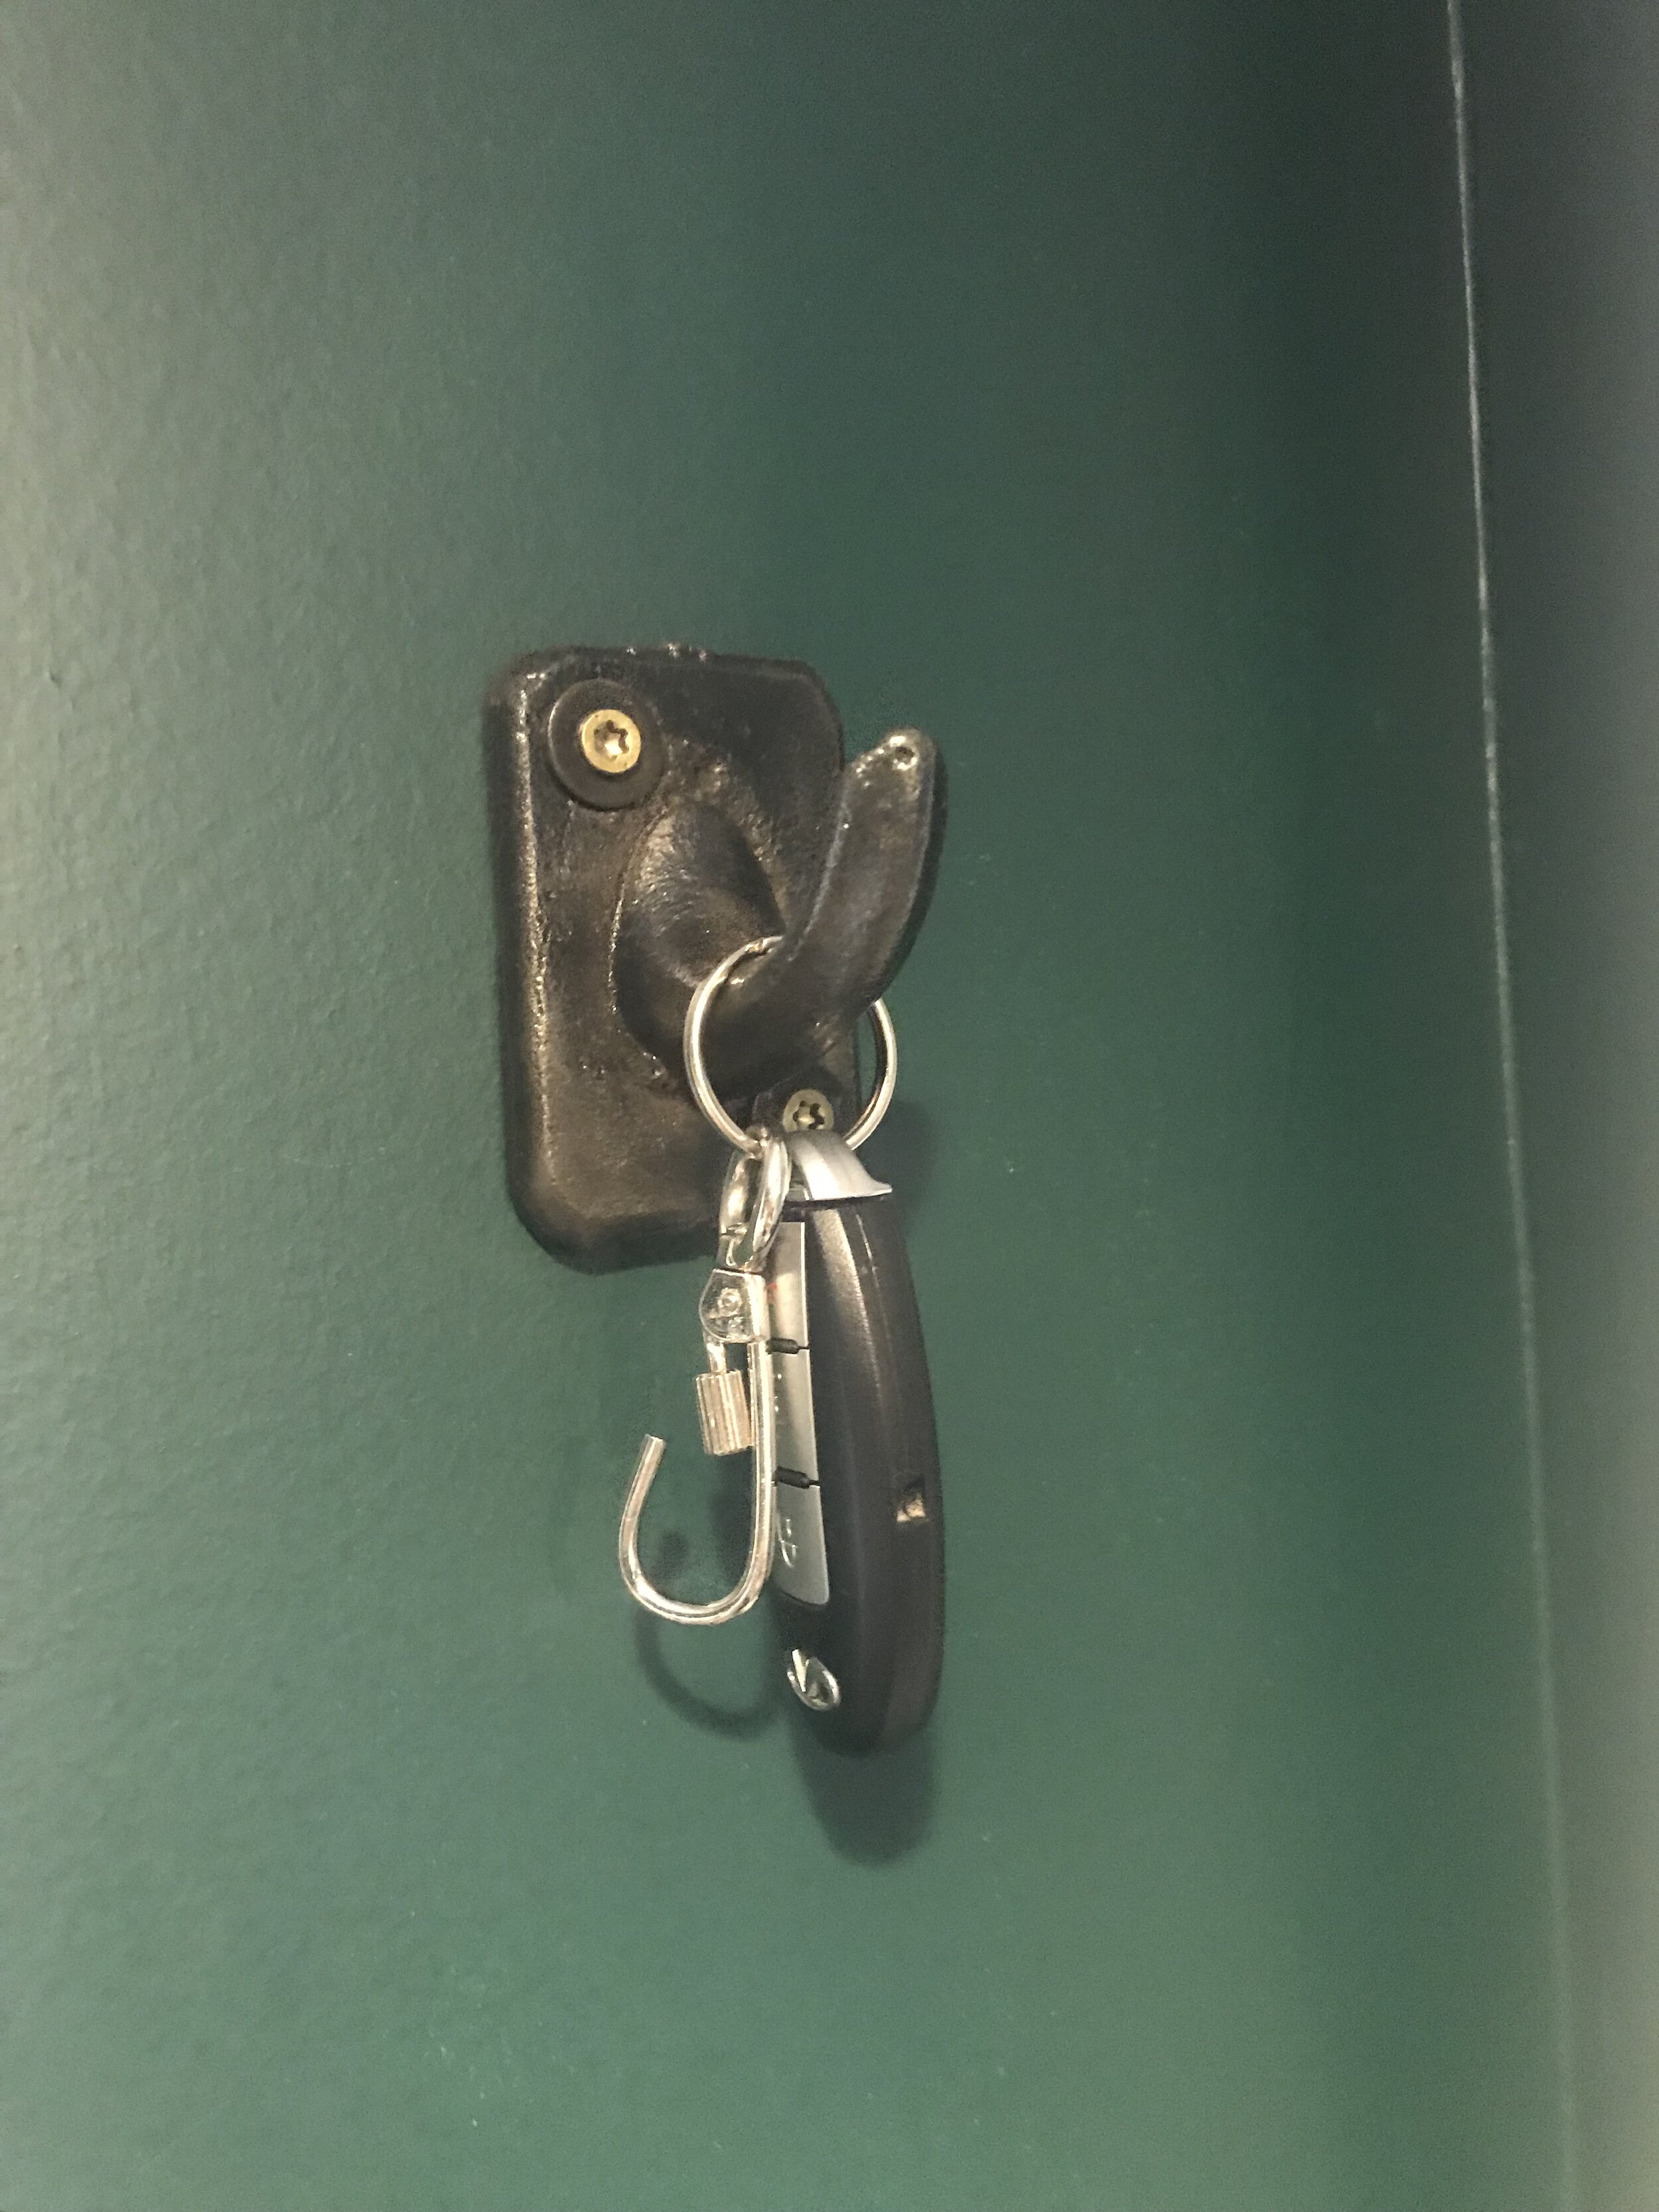
On the opposite side of the room is a coat rack that Chris built and hooks he found in the barn that he cleaned up.
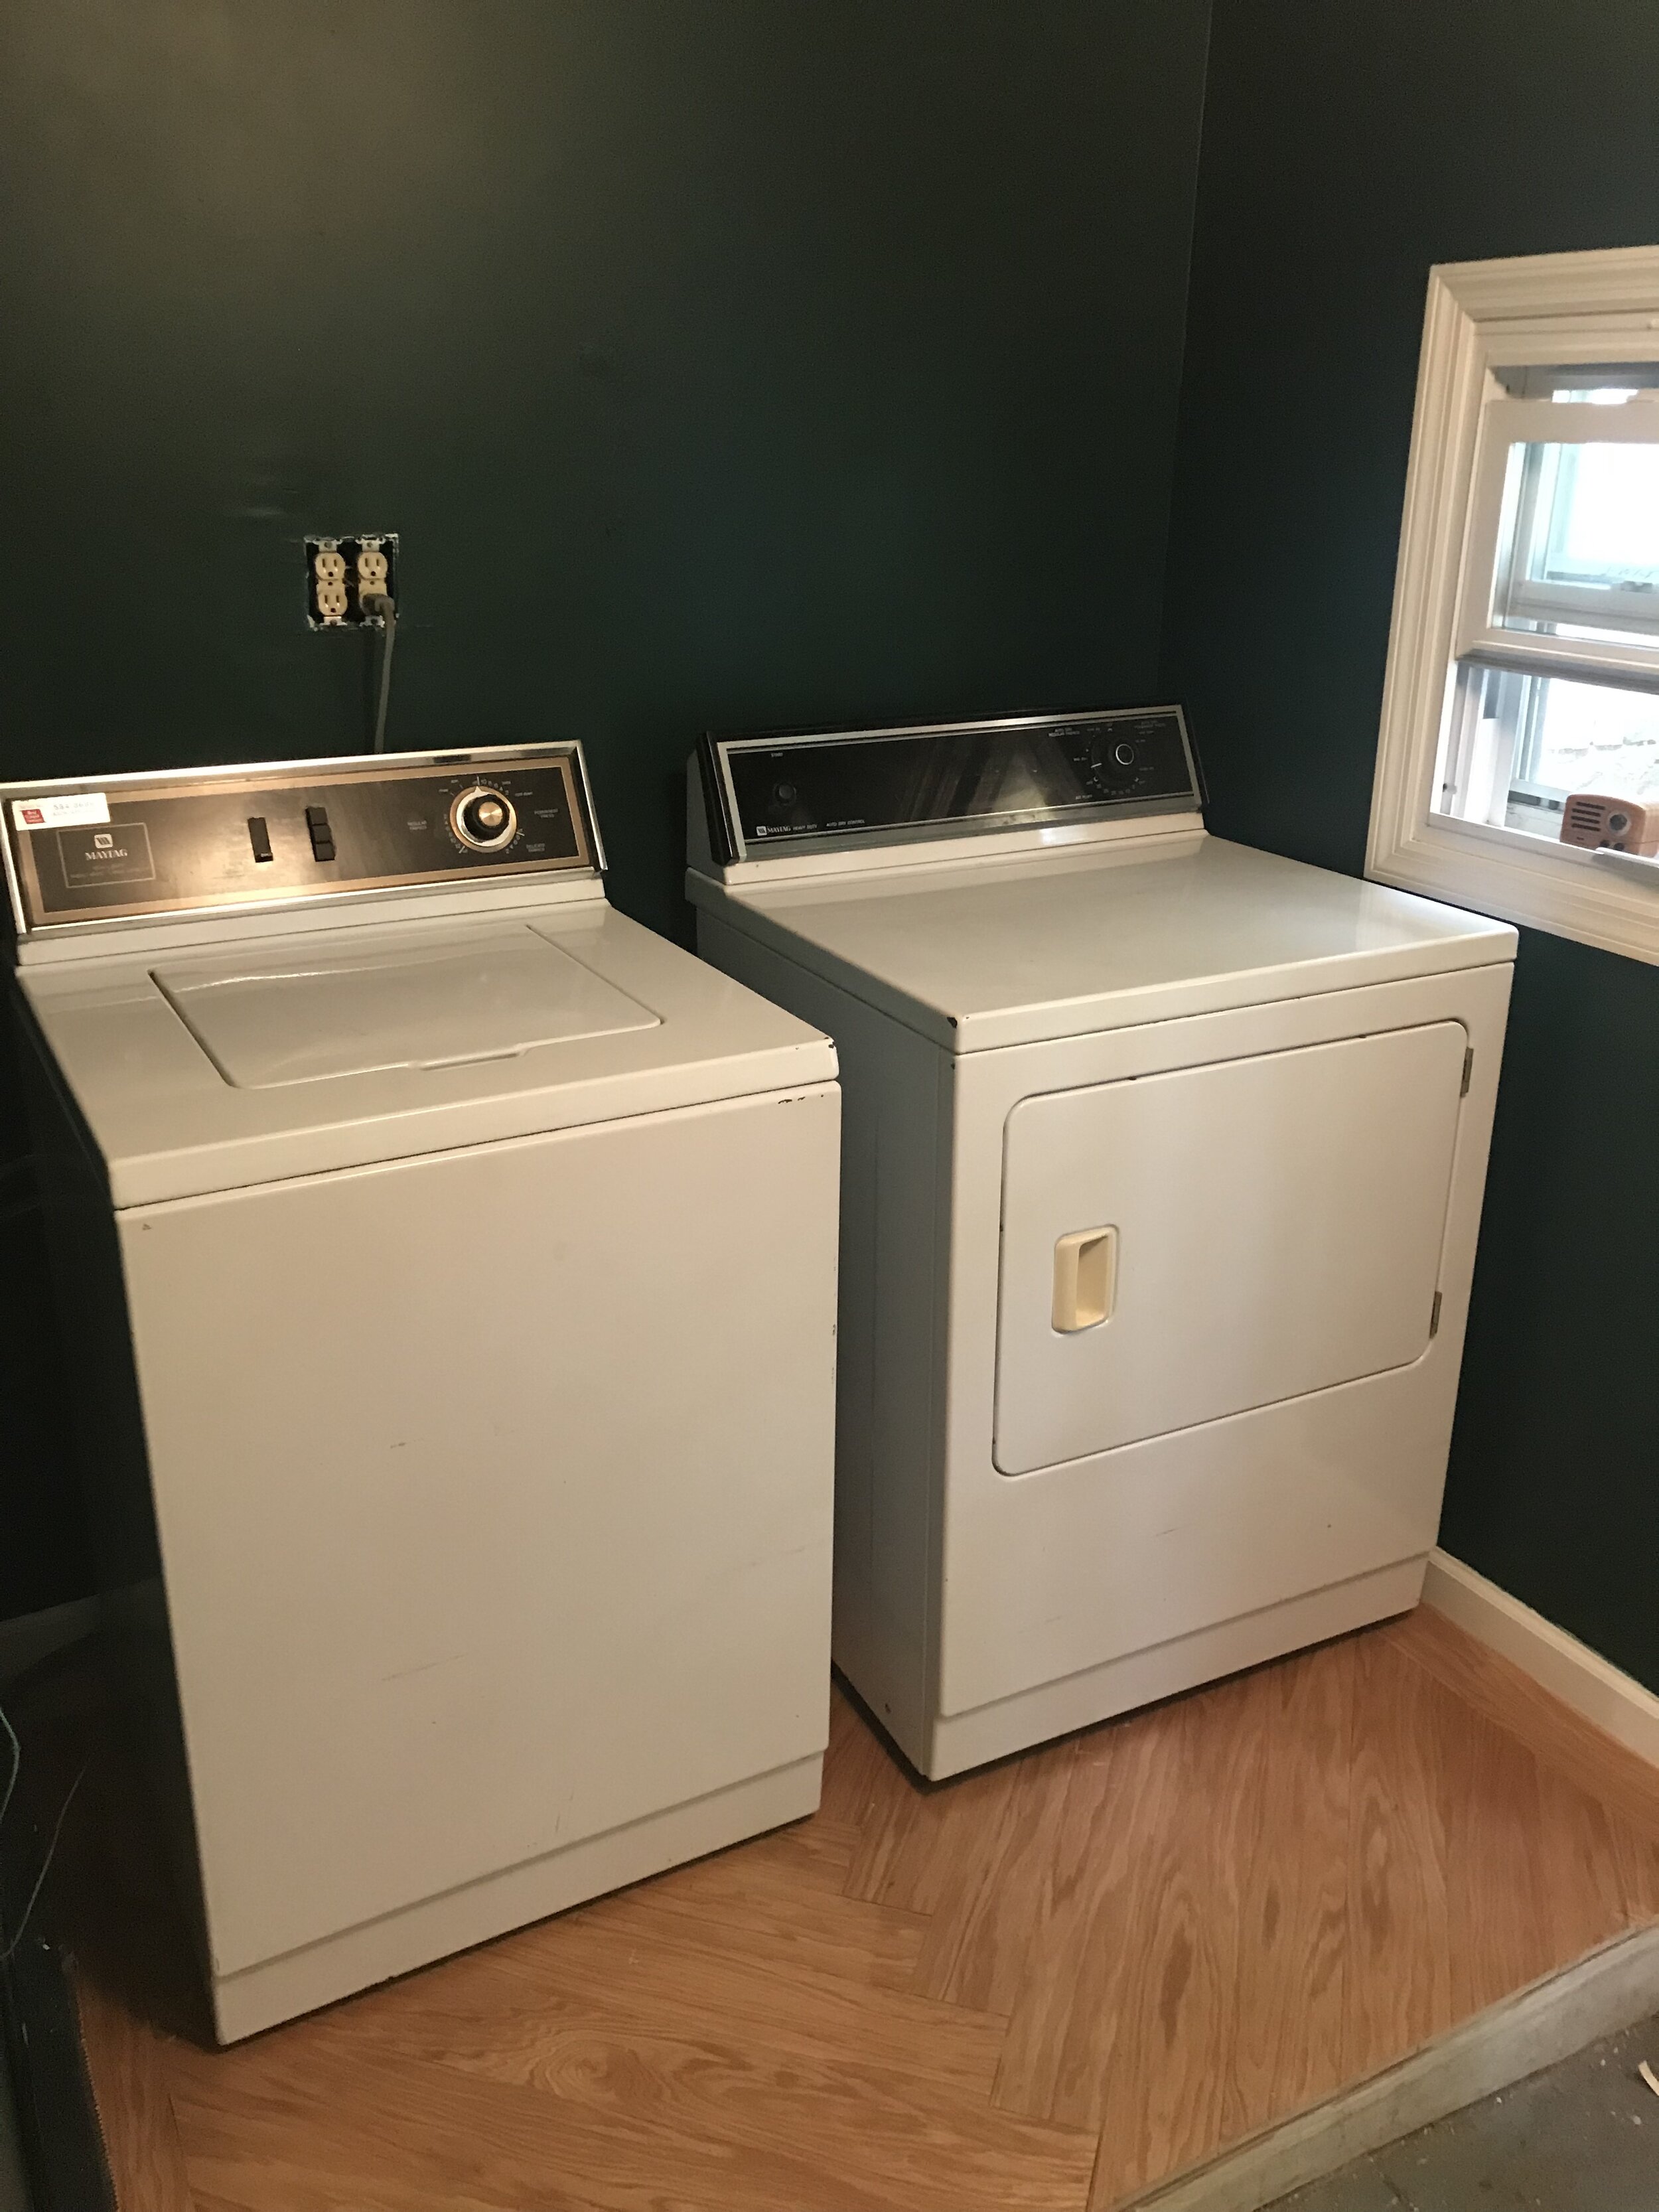
We chose to keep the original Washer and Dryer from the previous owner because they work really well. They are like your Grandma’s war machines. At some point I would love stackables but right now, if it ain’t broke…
Below are the Build videos of the Coat Rack and the Shoe Rack if you want to check out step by step.
We upload a “How to” build video once a week so check out our Youtube channel for more home projects and furniture builds.

